8. Power-o Resume Engraving
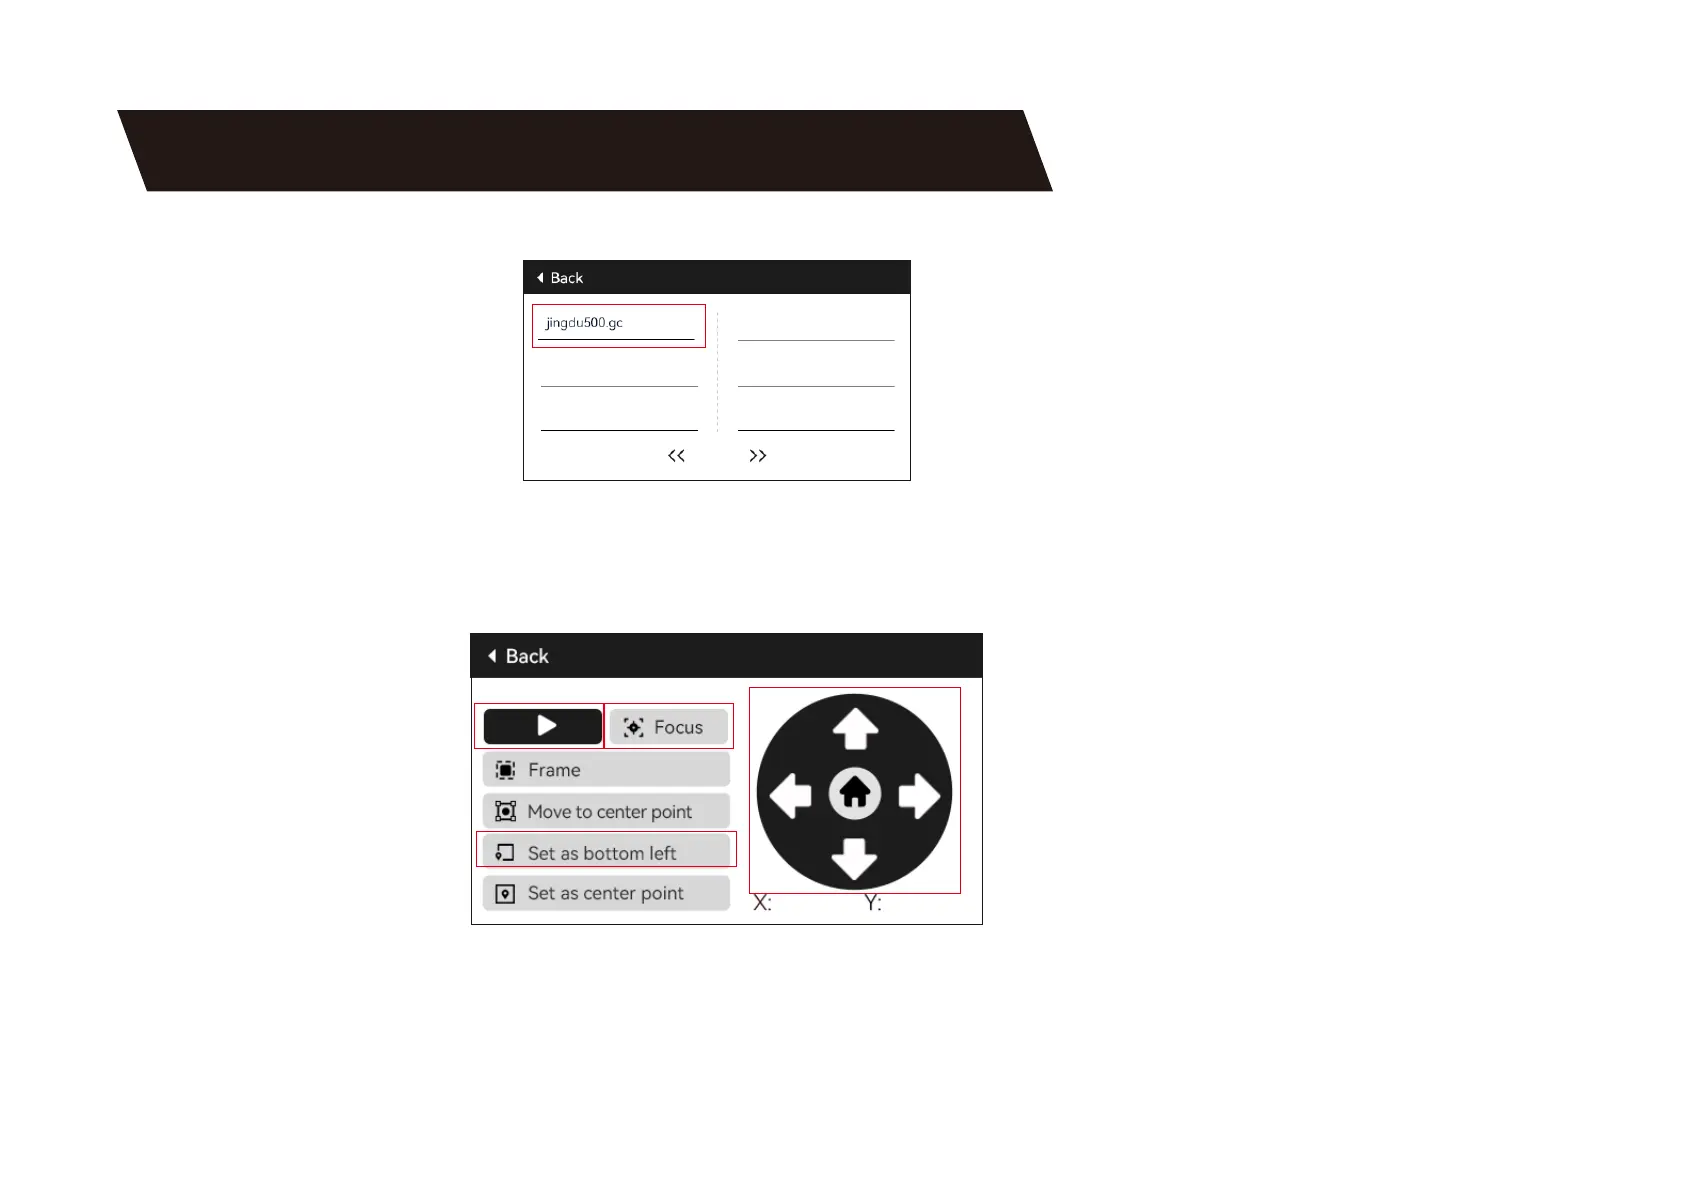
8.2.2 Select the engraving le.
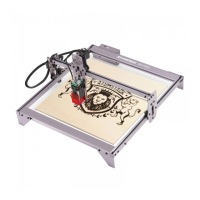
8.2.3 Use the touch screen controller to move the laser to the desired engraving position, as shown in Figure 1.
8.2.4 Click "Auto Focus", as shown in Figure 2.
8.2.5 Click "Set as Bottom-Left Corner" to set the current position as the initial position, as shown in Figure 3.
8.2.6 Click "Sta". After parsing the le, the machine will automatically sta the engraving process, as shown in Figure 4.
8.2.7 In case of a power outage during the engraving process, after powering on, the machine will prompt "Unnished job present".
Click "Conrm" and the machine will parse the coordinates and continue engraving the unnished pa.
Engraver 12345
1
2
3
4
10