SMA&SMQ - User manual012
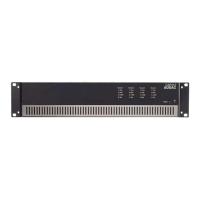
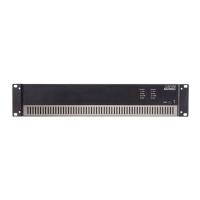
Rear panel description
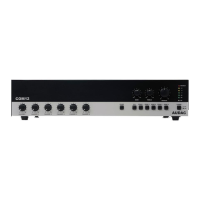
The rear panel of all SMA/SMQ ampliers is almost identical, with few minor differences between the different
models. The SMA series ampliers (2-channel versions) have two inputs and two outputs, while the SMQ
series ampliers (4-channel versions) have four. Other provided connectivities such as RS-232 and power are
identical for all models.
AC Power inlet with fuse
The mains power supply (230~240 V AC / 50 Hz or when the voltage selector is switched 100~120V AC / 60 Hz
(NOT implanted in SMQ1250)) has to be applied to this AC power inlet. The connection is made by an IEC power
connector and is tted with a fuse. When replacing the fuse, make sure that the value of the replacement fuse
matches the value of the original fuse. (SMA350: T6.3AH/250V - SMA500: T8AH/250V - SMA750: T12AH/250V
- SMQ350: T8AH/250V - SMQ500: T12AH/250V - SMQ750: T16AH/250V - SMQ1250: T16AH/250V)
Loudspeaker output connections
The loudspeaker output connections are implemented in two ways, using speaker output connectors and
terminal block output connectors. This way, connections can always be made in the most simple way for every
application.
A detailed description for connecting loudspeakers in the most appropriate way for each application can be
found in the next chapter ‘Connecting the amplier’.
Signal input connections
Signal input connectors are implemented in two ways, using balanced XLR and 3-pin terminal block connectors.
This way, connections coming from the signal source such as pre-amplier, mixer or matrix system can always
be made in the most easy and appropriate way while allowing signal linkthrough to other ampliers.
RS232 Connection
The amplier can be controlled through external hardware such as home & industrial automation systems by
linking it to the RS-232 connection. The pinout and communication settings are described in an earlier chapter
of this user manual.
The complete RS-232 command instruction set and conguration information can be downloaded from the
AUDAC website.
Optional expansion port
Installation of optional modules is possible with the optional expansion slot. In standard conguration
this D-size hole is covered with a blind plate which needs to be removed before installing the module.
AUDAC provides the possibility to extend the device with a Dante™ audio network interface.
The optional expansion module ANI44XT can be installed quickly and easily. More information
on available modules and how to install them can be found on the AUDAC website.

 Loading...