SMA&SMQ - User manual 013
Chapter 3
Quick start guide
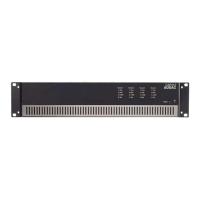
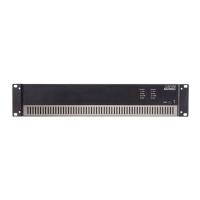
Connecting the amplier
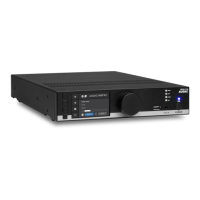
Conguring the amplier
1) Conguration using presets
In case your setup is a pre-dened set solution from AUDAC, a set solution conguration le will be available
(*.SOL) whereby all settings for the conguration can be made by uploading the corresponding le to the
amplier. In this case, the preset le should be downloaded from audac.eu. As next, the le should be stored
on an USB storage device and inserted to the USB port on front of the amplier. After inserted the USB
storage device, browse to the ‘Settings’ > ‘General setup’ > ‘USB’ > ‘Load’, browse to the correct le and
press the function dial. After selected, all settings for the set solution will be loaded in one action, and all other
conguration steps can be skipped. In case a custom conguration is required, proceed to the next step.
1) Connecting audio inputs
Connect all the audio sources to the input connections on the rear side of the amplier. Depending on the
installation and the used sources (pre-ampliers, mixers, matrix systems, ... ) the appropriate selection of
input connectors can be made between XLR and terminal block.
2) Connecting loudspeakers
Connect loudspeakers to the outputs of the amplier. Depending on the application and the connected
loudspeakers, the appropriate selection of loudspeaker connections can be made between speaker and
terminal block. In most standard applications, loudspeakers will be connected to the +1 / -1 terminals of the
speaker connector (or + / - terminals of terminal block connector). Depending if any channels should be
connected in bridge, corresponding connections should be made as indicated on the rear panel.
3) Other connections
After the in- and output connections are made, other connections such as mains power (and RS-232 if
required) can be made. After connecting them, the amplier is ready to be powered-up and congured.
2) Conguring the outputs
The rst step when a custom conguration is required is conguring the output channels. In standard
conguration, every output channel is functioning independently. In case this conguration is required for
your setup, this step can be skipped. When your setup requires one (or more) bridged output channels,
channel bridging settings can be made by selecting the corresponding output and browse to the ‘Settings’
> ‘Output setup’ > ‘Bridge’ menu. When the bridge function is switched on, two channels will be merged
to one output channel doubling the output power. On the main screen, only one fader will be displayed for
a bridged channel.
NOTE: For further information about connecting the outputs in bridge mode, see page 17
of this manual.
ATTENTION
Make sure the power of the device is turned OFF before any connections or wiring adjustments are made. Disregarding
this rule can lead to permanent damage of the equipment.

 Loading...