SMA&SMQ - User manual014
Ready
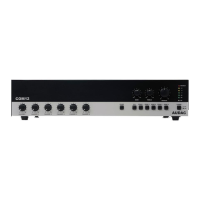
3) Conguring the inputs
After the output conguration has been made, the next step is the input conguration. In standard conguration,
every output channel is patched with the corresponding input channel (Input 1 to Output 1, ... ). In case this
conguration is required for your setup, this step can be skipped. In cases where specic inputs should be
assigned to the outputs, the input selection can be made in the settings menu under ‘Settings’ > ‘Input’.
Selection is possible between all applied inputs, including summed inputs (Converting stereo inputs to mono).
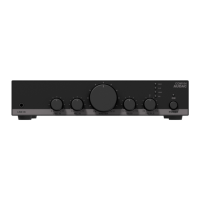
After the inputs are assigned to the outputs, the input gain for every used input should be set. The input
gain can be adjusted under ‘Settings’ > ‘General setup’ > ‘Input gain’. On the right side of this screen are
colour indicators shown for every input, giving feedback of the currently set gain. A correct regulation of the
input gain is achieved when the green indicator is frequently blinking, the orange indicator is only illuminated
at the peaks (-6 dB) and the red indicator blinks rarely or not. When the red indicator blinks frequently, the
input is overdriven and the gain needs to be reduced. When the green indicator blinks rarely or not, no input
signal is detected and the gain needs to be increased.
4) Acoustics conguration
After the in and output congurations have been made, the next step is making acoustic congurations and
optimalizations. When bass cabinets are used in the installation, it might be required to add low-pass lters to
the bass cabinets channel, and high-pass lters to the mid/high loudspeakers channels. Filter congurations
can be made in the ‘Setup’ > ‘Output conguration’ > ‘Filters’ menu. Sound quality can be optimized to
specic acoustics using a 7-band equalizer which can be found in the same menu. Besides, other specic
congurations such as limiting can be made in the same menu.
After all above connections and congurations have been made, the system is ready for rock & roll. More
specic features such as password protection, standby mode, and many more can be congured. How this
should be done can be found in further chapters of this instruction manual.

 Loading...