37
ADVANCED FUNCTIONS
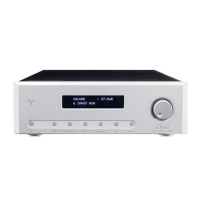
These functions, all activated with the “SET” button (part 6 at page 47), will enable you to
modify the operation status of your integrated amplifier AUDIA Flight One.
To “enter” the available menus, after pressing the “SET” button, you select the needed
one with the multi-functional knob and then again press the “SET” button.
All changes are stored and remain in the memory even in absence of power.
•
Set input gain
With this function you can, for each stereo input (1 – 5), select a gain in the range +/-
12dB at steps of 1 dB (fig. 9, at page 45).
This function is useful to equate the levels of the different sources connected to the
amplifier, to avoid annoying volume differences when selecting different inputs.
You can use the remote control for this function.
•
Set input phase
With this function you can, for each stereo input (1 – 5), select the polarity (fig. 10, at
page 46).
This function is essential if you connect sources with opposite phase.
You can use the remote control for this function.
•
Set input gain A/V
With this function you can, for each A/V channel (“Front L”, “Front R”, “Rear L”, “Rear
R”, “Center” e “Sub”), select a gain in the range +/- 12dB at steps of 1 dB (fig. 11, at page
46).
This function is useful to set the levels of the different A/V channels.
You can use the remote control for this function.
•
Set edit
With this function, the user can modify the display representation of the different inputs
(1 – 6), so that he can write, for example, the name of the source for each input (fig. 12,
at page 46) with a maximum of 13 characters.
Selecting this function, the display will come on with “SET EDITING” on the first row,
and one input on the second.
Moreover, a flashing cursor will appear on the second row.
With the cursor on the left, under the number, acting on the multi-functional knob, you
select the input you want to edit, whereas, pressing the “SET” button, the cursor will
move to the right, and, acting on the knob, you can change the letter.
Repeat this procedure until the indication has been completely changed.
Once all the changes have been made, moving back the cursor on the left under the
number, after about five seconds the program will exit from the menu.
You can use the remote control for this function.