14
Setting up your
PC
to work
with
Audacity
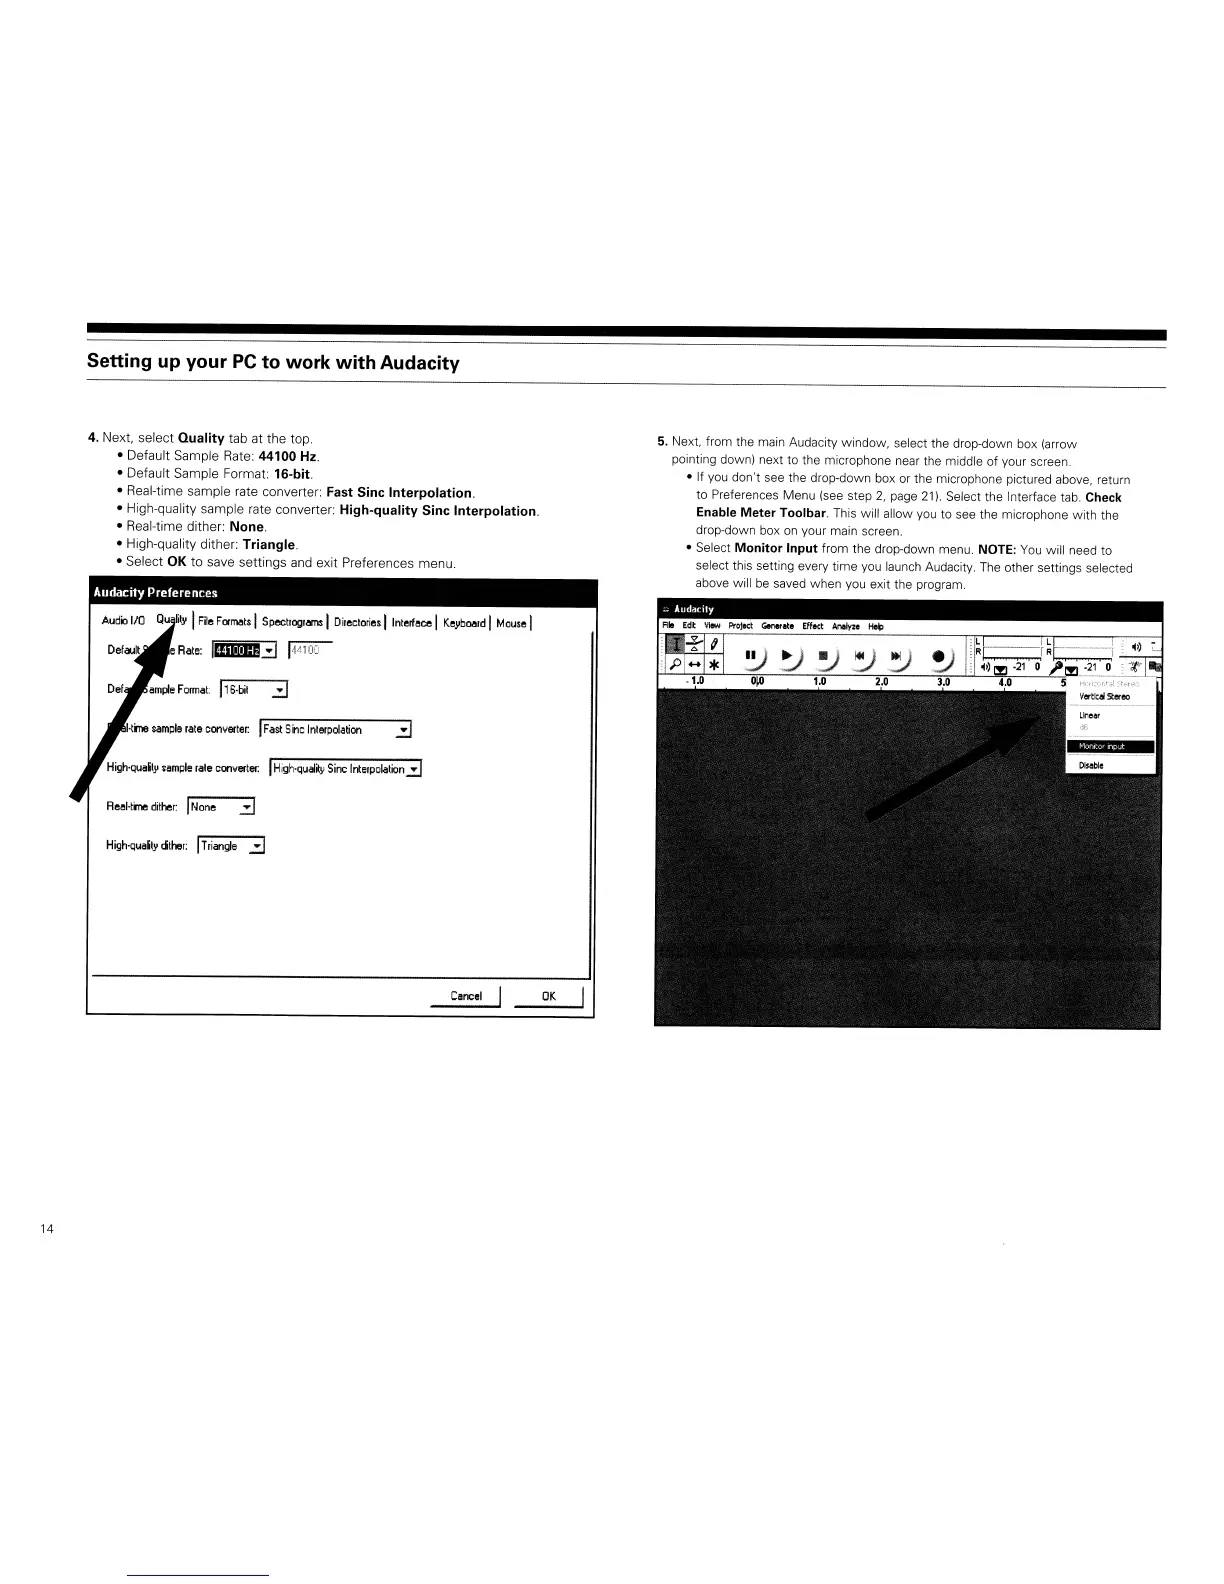
4. Next, select
Quality
tab at
the
top.
• Default Sample Rate:
44100
Hz.
• Default Sample Format:
16-bit.
• Real-time sample rate converter:
Fast
Sine
Interpolation.
• High-quality sample rate converter:
High-quality
Sine
Interpolation.
• Real-time dither:
None.
• High-quality dither:
Triangle.
• Select OK to save settings and exit Preferences menu.
Audacity Preferences
Audio
I/O
Qu
ill'
I
File
FOIlT\!lts
I
SpectlogrlllT\S
I
Directories
llnterfllce I
KeybOllrd
I
Mouse
I
e
Rate:
1III!II::3
1·'141
00
IF
as!
S
inc
Interpolation
High'Qua5ly
sample
lale
Conllelter.
I
High·qual~y
Sine
Interpolation::::J
RellHine
dither:
I
None
::3
High'Qua5ty
dtller:
IT
rian~e
:::oJ
Cllncel
OK
5. Next, from the main Audacity window, select the drop-down box (arrow
pointing down) next to the microphone near the middle of your screen.
• If you don't see the drop-down box or the microphone pictured above, return
to Preferences Menu (see step
2,
page 21). Select the Interface tab. Check
Enable
Meter
Toolbar. This will allow
you
to see the microphone with the
drop-down box
on
your main screen.
• Select
Monitor
Input
from the drop-down menu. NOTE:
You
will need to
select this setting every time you launch Audacity.
The
other settings selected
above will
be
saved when you exit the program.
 Loading...