AudioArts Lightning / June 2018
INSTALLATION AND POWER
page 1 – 3
NOTE:
This console contains
static-sensitive devices.
Normal precautions
against static discharge
should be observed.
Unpacking and Installing the Console
The AudioArts Lightning console is shipped as two packages.
One carton contains the console and “Installation and Connections Quick
Reference”; and the other contains the rackmount power supply, connecting
cable, and connector kit. Remove packing materials and store them in the
box for future use. Carefully place the console on your countertop (the
Lightning audio console is designed for countertop placement). The rubber
feet on the bottom keep the console from being easily moved when simply
placed on the counter.
Avoid proximity to any electromagnetic elds, such as large power
transformers, motors, and uorescent lighting xtures.
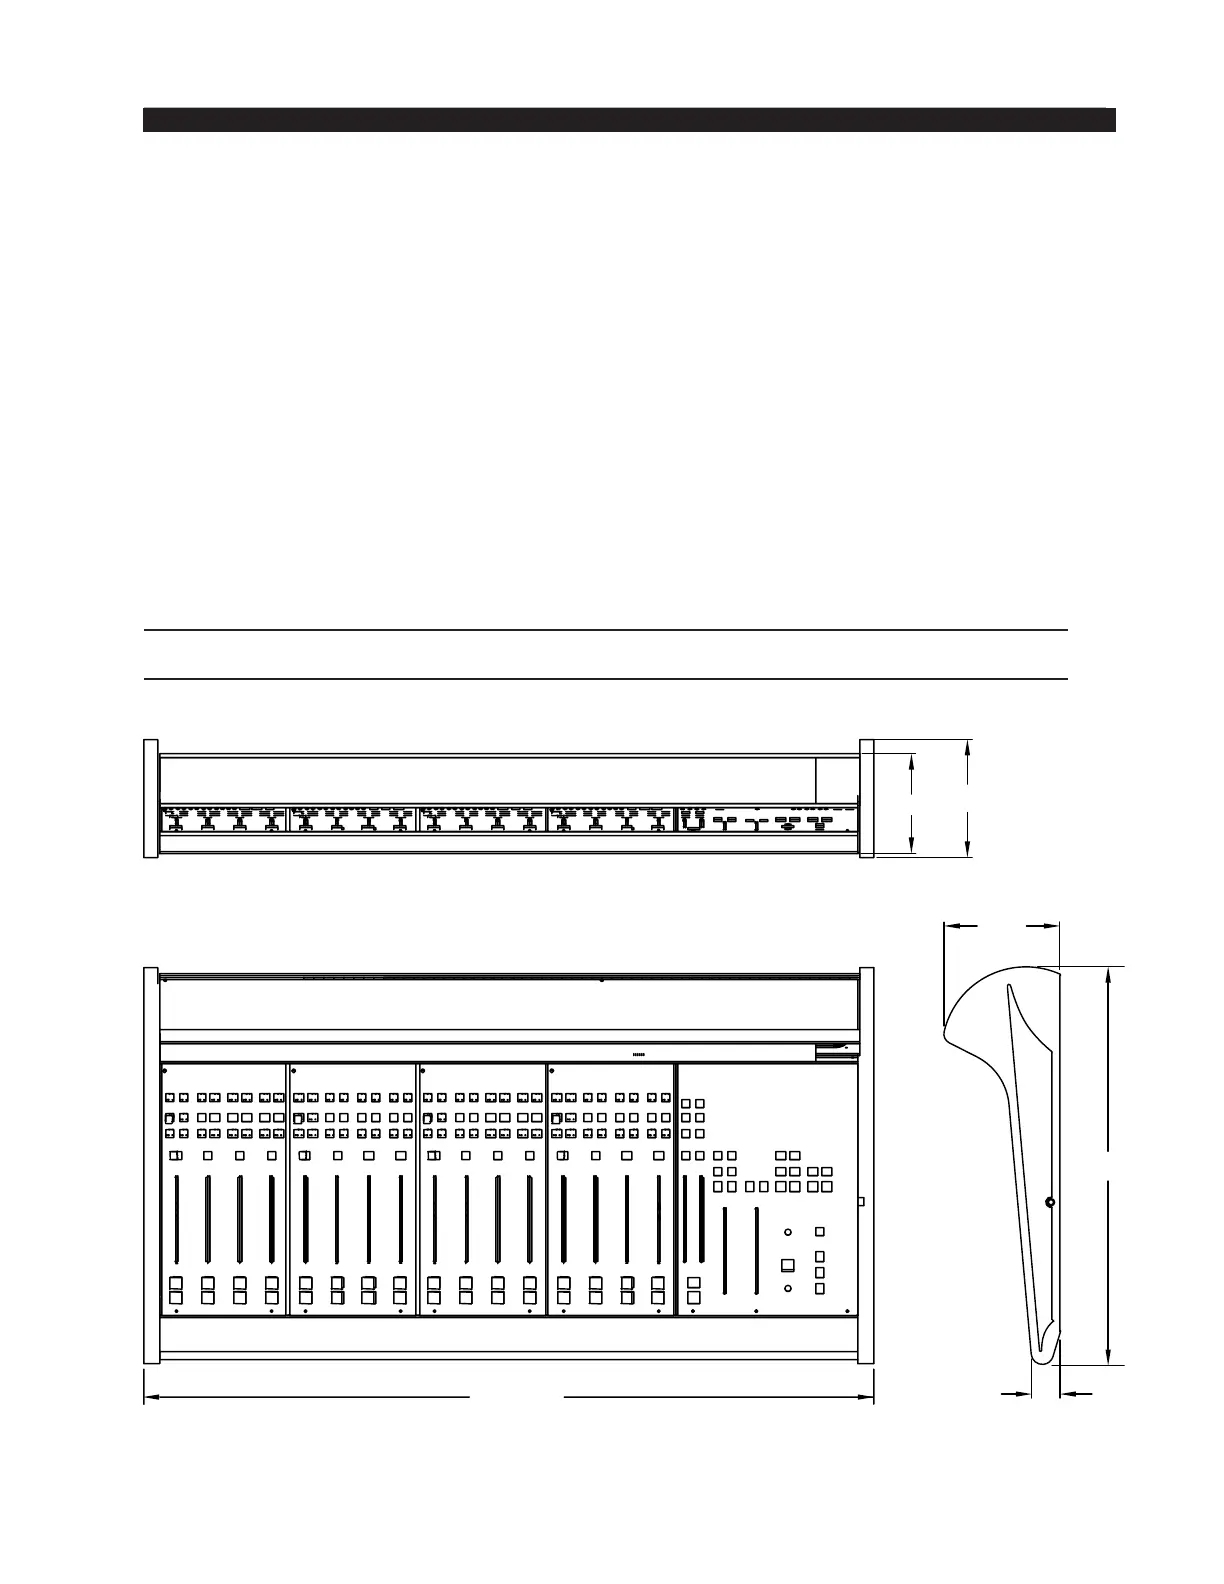
The console extends approximately 5-7/8" above the countertop at the
meterbridge. The hinged meterbridge will require 7-1/7" above the countertop
surface and 1" behind the rear meterbridge to open freely.
Do not connect the Lightning console to its power supply (and do not connect
the power supply to the AC power line) until instructed to do so.
36 -13/16”
5-7/8”
20 -1/16”
1-1/2”
5-1/16”
5-7/8”