27
16.
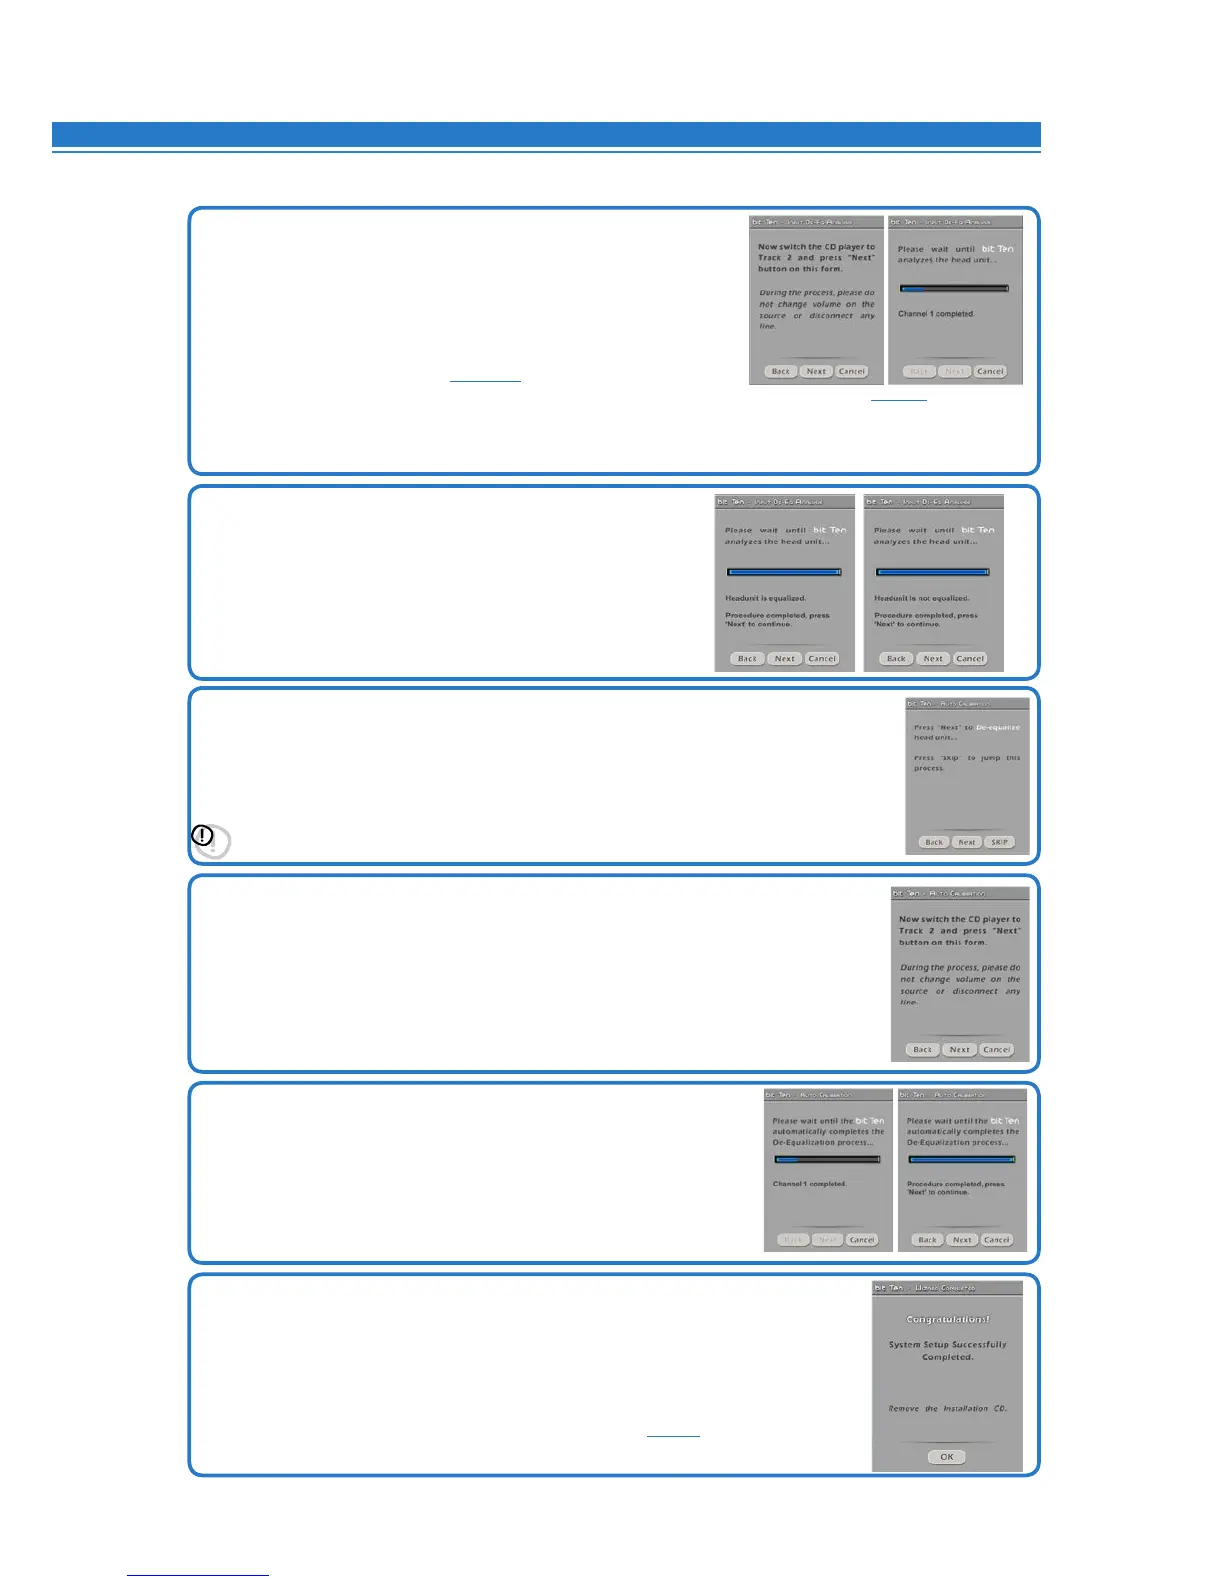
Once analysis has completed, the following messages could be
displayed:
- Head unit is equalized: The head unit is equalized,
so we recommend to de-equalize the signal afterwards.
- Head unit is not equalized: The head unit is not equalized,
so you don’t need to de-equalize the signal afterwards.
Press BACK to go back to the previous step.
Press NEXT to go ahead with the setup procedure.
Press CANCEL to exit the procedure.
17.
Source de-equalization.
Press BACK to go back to the previous step.
Press NEXT to go ahead with the de-equalization.
Press SKIP to skip the de-equalization procedure and proceed to point 20.
Important: Confirmorskipthede-equalizationprocesswithin5minutes,
otherwise the bit Ten D will automatically reset and turn off.
18.
Running the de-equalization procedure.
If you decide to run the procedure, follow the instructions as listed below:
- Play track 2 of the bit Ten D Setup CD (press Play);
- Set all source tone controls to zero (0);
- Set source balance and fader to center (0);
- Don’t change the source volume level previously
set through the input calibration.
Press BACK to go back to the previous step.
Press NEXT to go ahead with the
de-equalization.
Press CANCEL to exit the procedure.
19.
Through a real-time progress bar and specific messages,
the software shows how the procedure is being executed.
Once the procedure is complete, you will see “Press Next to Continue”.
Press BACK to go back to the previous step.
Press NEXT to go ahead with the setup procedure.
Press CANCEL to exit the procedure.
20.
System configuration successfully completed.
Stop playing the Test track, remove the supplied
Setup CD from the CD player of your head unit and then click OK.
Once the de-equalization is complete, the bit Ten D DE-EQ CHECK LED will turn on
indicating that you have recorded a curve. If you were to repeat the
de-equalization, new data will replace the previous ones.
To clear the memory and turn the DE-EQ CHECK LED off
see 6.1.2
.
8
15.
Equalization analysis: setting the source.
To run this procedure, follow the instructions as listed below:
•Disconnectallthebit Ten D RCA outputs (Front, Rear, Sub)
if already connected to the amplifiers.
•Playtrack2ofthebit Ten D CD.
•Setalltoneandequalizercontrolstozero(0).
•Setbalanceandfadertocenter(0).
If the calibration volume is lost, to find it simply proceed again
as described in paragraphs
8.1.8 - 8.1.9
and verify that the IN LEVEL
LEDs flash occasionally. The DRC can display the calibration level, if your system has it
(see 10.2).
Press BACK to go back to the previous step.
Press NEXT to go ahead with the setup procedure.
Press CANCEL to exit the procedure.