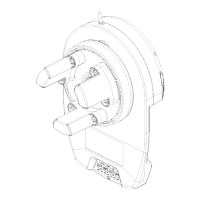
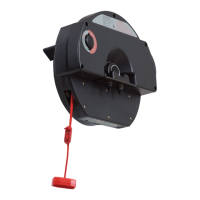
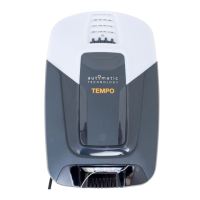
HIRO Installation Manual GDO-12V1
17
© Copyright 2019
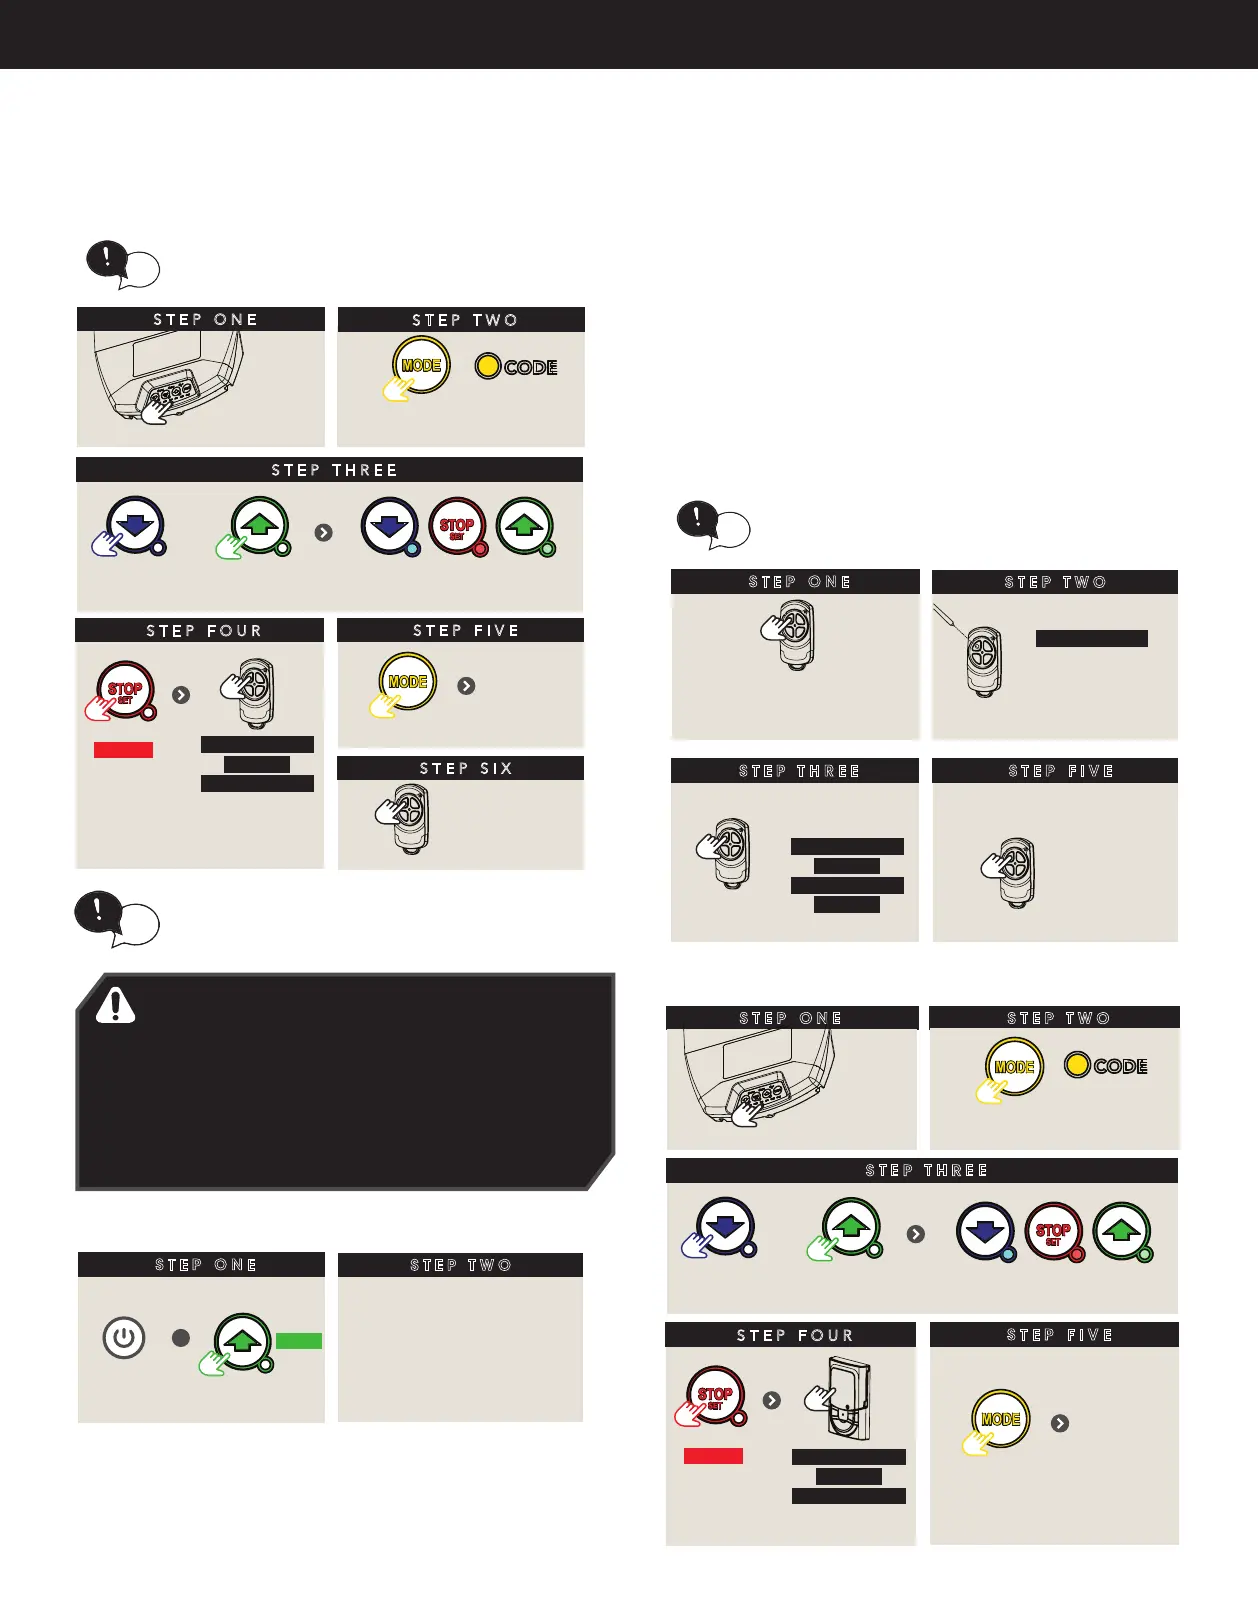
6.8.1 Remote Control Transmitter Button to Operate Door
HELPFUL TIP: Refer to Appendix for Additional
Transmitter coding functions
tip
6.8 Coding Transmitters
WARNING! The manufacturer is not responsible for
any radio or TV interference caused by unauthorized
modifications to this equipment. Such modifications could
void the user’s authority to operate the equipment.
AVERTISSEMENT! Le fabricant n’est pas responsable des
éventuelles interférences avec la réception de la radio
ou de la TV due à une modification de cet équipement
effectuée sans autorisation. De telles modifications
peuvent invalider le droit à utiliser l’équipement.
The opener can only be operated from remote
controllers that have been programmed into its
memory. Up to 64 remotes can be programmed.
STEP THREE
Press repeatedly
tip
remove
controls cover
STEP TWO
STEP ONE
STEP TWO
Take a pre-coded
remote and press the
button to duplicate
REMOTELY CODING A REMOTE CONTROL
Remotely coding works when you have a
pre-coded remote control and are in range of the
opener.
tip
Use a pen,
HOLD for 2 sec
the middle button
through the
coding hole
STEP THREE
Opener ashes & beeps
HOLD for 3 sec
HOLD for 3 sec
RELEASE
Take new
remote
RELEASE
STEP FIVE
Press to test
Opener stops ashing &
beeping
STEP ONE
Press repeatedly till
CODE LED is lit
OR
till all three LED’s are lit
STEP FOUR
to enter
coding
HOLD
HOLD for 3 sec
HOLD for 3 sec
RELEASE
Release both
buttons
STEP FIVE
STEP SIX
Press to test
Then replace controls cover
To exit
coding
68.2 Erasing Programmed Codes
STEP ONE
STEP TWO
Follow Section 6.7.1 to store
new transmitter codes
ERASING ALL TRANSMITTER CODES GDO-12V2
+
till Code
LED ashes
Switch
power ON
HOLD
Switch power OFF
6.8.3 Selecting The Function To Be Coded
NOTE: Only the function of the existing transmitter button can
be assigned to new transmitter. Please read instructions prior to
proceeding - there is a time-out facility for security reasons.
a. Using the existing transmitter, operate the Shutter with the
transmitter button which has the function to be coded (e.g.
Button 1 has been coded with the OSC function assigned).
b. If the button’s function activates the Shutter (PART, OSC, CLS, STP
or OPN) wait for the Shutter to complete its cycle.
The opener can only be operated from remote
controllers that have been programmed into its
memory. Up to 64 remotes can be programmed.
STEP THREE
Press repeatedly
tip
remove
controls cover
STEP TWO
STEP ONE
STEP TWO
Take a pre-coded
remote and press the
button to duplicate
REMOTELY CODING A REMOTE CONTROL
Remotely coding works when you have a
pre-coded remote control and are in range of the
opener.
tip
Use a pen,
HOLD for 2 sec
the middle button
through the
coding hole
STEP THREE
Opener ashes & beeps
HOLD for 3 sec
HOLD for 3 sec
RELEASE
Take new
remote
RELEASE
STEP FIVE
Press to test
Opener stops ashing &
beeping
STEP ONE
Press repeatedly till
CODE LED is lit
OR
till all three LED’s are lit
STEP FOUR
to enter
coding
HOLD
HOLD for 3 sec
HOLD for 3 sec
RELEASE
Release both
buttons
STEP FIVE
STEP SIX
Press to test
Then replace controls cover
To exit
coding
6.8.4 Installing a wall button control
STEP ONE
INSTALLING (US) WALL REMOTE CONTROL
STEP TWO
STEP THREE
Press repeatedly
remove
controls cover
Press repeatedly till
CODE LED is lit
OR
till all three LED’s are lit
STEP FOUR
to enter
coding
HOLD
STEP FIVE
Then replace controls cover
To exit
coding
HOLD for 3 sec
HOLD for 3 sec
RELEASE
Release both
buttons