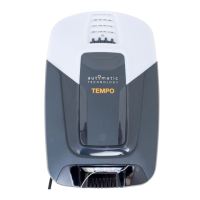
26 HIRO Installation Manual GDO-12V1
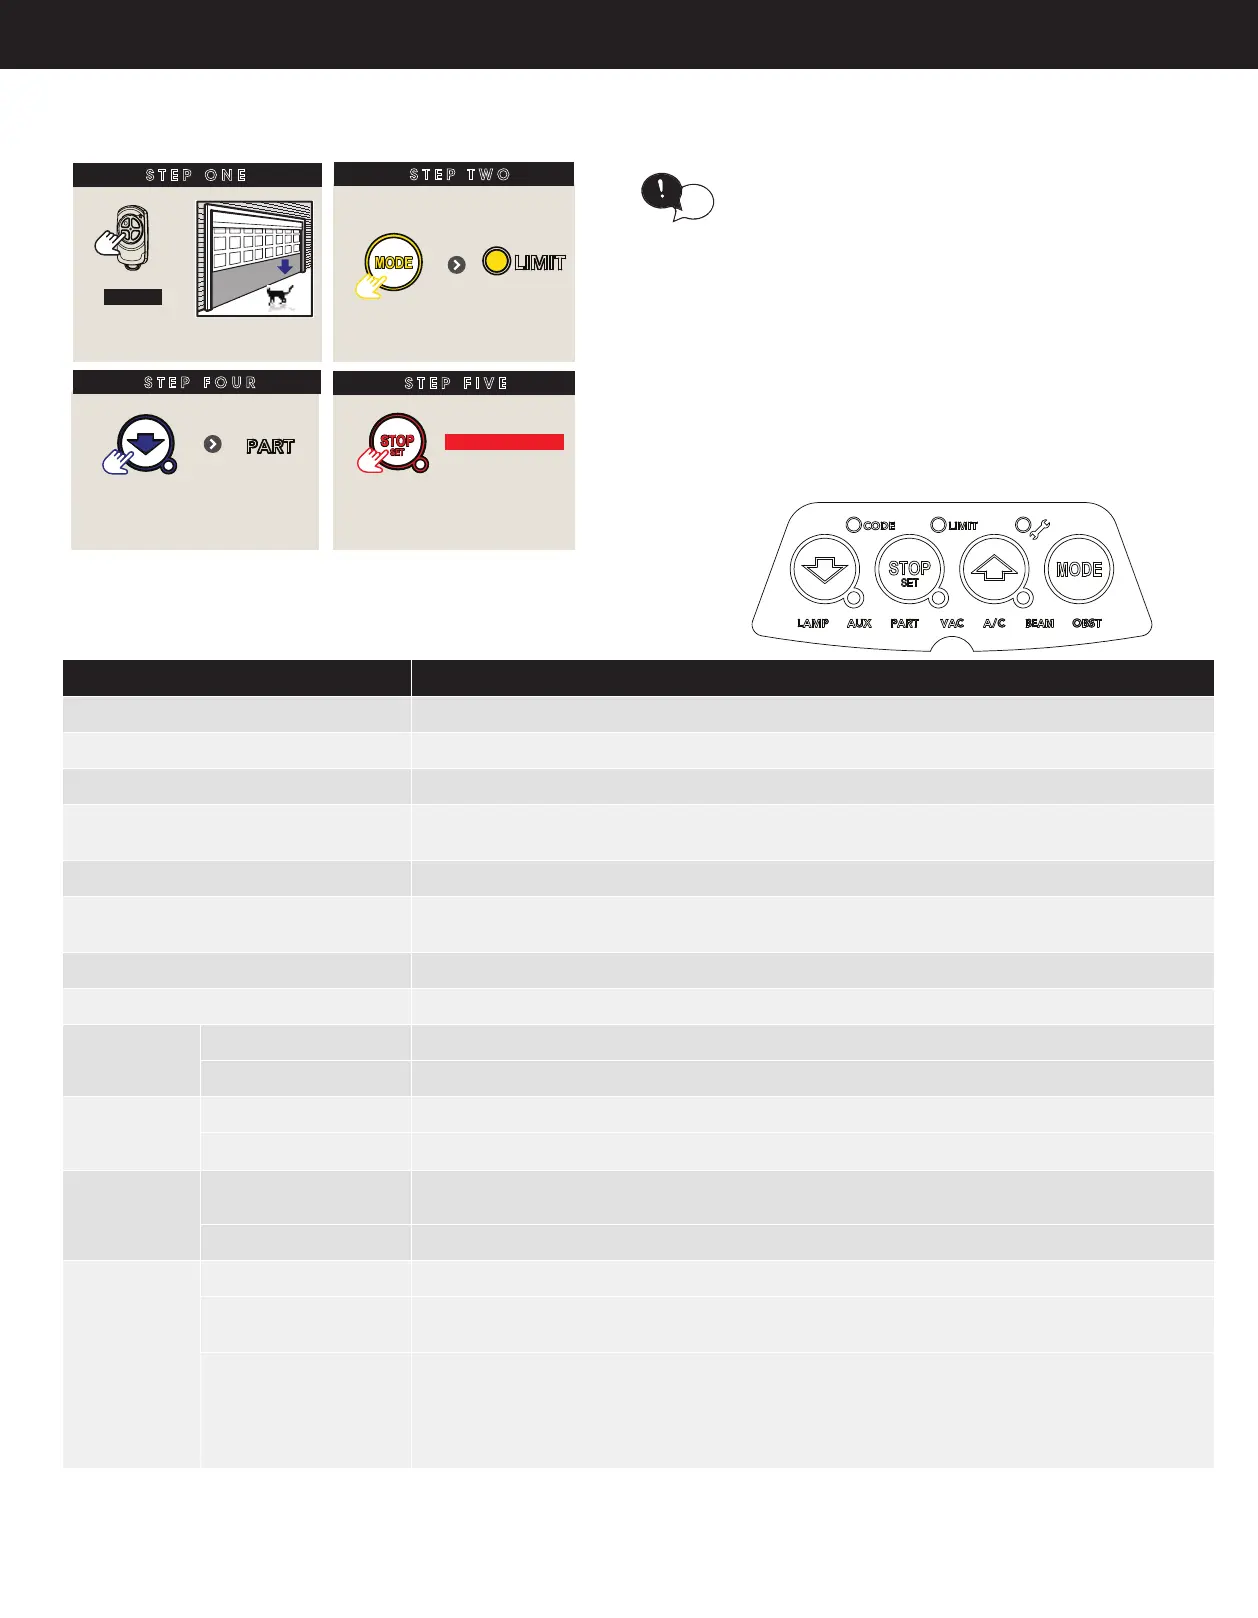
B - Setting the PET Mode position
When activated, PET mode drives the door to a
preset position from the close position, therefore
allowing a pet or parcel to go under the door.
tip
SETTING THE PET MODE POSITION
STEP ONE
HOLD
Close to
desired position
STEP TWO
Remove controls cover
Press
repeatedly
STEP FOUR
STEP FIVE
Proceed to Appendix E to
code a remote button to
PART Mode
till LIMIT
LED is lit
Press
repeatedly
till PART
LED lit
HOLD for 2 secs
Release
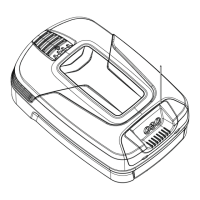
C - LED Status
The below table displays the status of the opener when LEDs are activated.
LED Indicators
Status
CODE LED
Flickers with transmitter activity or indicating transmitter may not be coded to the opener.
LIMIT LED
Indicates the opener is in Limit Set Mode
SPANNER LED
Indicates the opener is in Adjustment Mode
CLOSE / STOP / OPEN LED’S
Indicate the shutter status currently in use
(except during power failure, auto-close and part open)
LAMP LED
Only illuminates during the Adjustment Mode to change the light time parameter
AUX LED
Indicates the AUX output is activated, once a transmitter has been coded to the AUX
function.
PART LED
Indicates the shutter is in one of the part open positions.
VAC LED
Indicates the Vacation Mode is active
A/C LED On STEADY
means the auto-close timer was paused due to the beam being blocked.
FLASHES
to indicate the auto-close timer is running
BEAM LED On STEADY
when a beam is blocked.
FLASHES
when there is a P.E Fault
OBST LED On STEADY
Obstruction was detected. If shutter open then obstruction was while closing and vice versa
FLASHES
Stall / Overload detected. If shutter open then stall / overload while closing and vice versa.
SPANNER LED On STEADY
Indicates the service is due. Beeps three times at start of a drive cycle
MAIN LIGHT FLASHES
Two ashes indicates that the battery is faulty.
Five Flashes indicates that periodic maintenance is due after 3000 drive cycles.
FLASHES
+ OBST LED
+ OPEN LED
+ CLOSE LED
+ LIMIT LED
+ CODE LED
+ OPEN & CLOSE LEDs
Indicates a fault. The details is indicated on the other LEDS.
Indicates current sensor fault
Indicates failed to prole open travel - during limit setting only
indicated failed to prole close travel - during limit setting only
indicates position wrap fault / position sensor fault
indicates memory fault
indicates direction fault
When activated, PET mode drives the door to a
preset position from the close position, therefore
allowing a pet or parcel to go under the door.
tip
SETTING THE PET MODE POSITION
STEP ONE
HOLD
Close to
desired position
STEP TWO
Remove controls cover
Press
repeatedly
STEP FOUR
STEP FIVE
Proceed to Appendix E to
code a remote button to
PART Mode
till LIMIT
LED is lit
Press
repeatedly
till PART
LED lit
HOLD for 2 secs
Release