- 32 -
Ready to Begin?
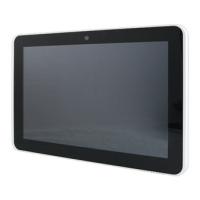
7”/10.1” CCD supports standard VESA mounting (75x75) to fit field site installation needs. Please read
through these instructions completely to be sure you’re comfortable with this easy install process.
Let’s follow below assembly instructions to begin.
CAUTIONS!
Avoid potential personal injuries and property damage!
The wall must be capable of supporting the weight of CCD and mount combined.
Do not use the mounting kits for any purpose not explicitly specified by
manufacturer.
Manufacturer is not responsible for damage or injury caused by incorrect assembly
or use.
Mounting Instructions
The mounting instructions are described in the following sections using 7” CCD as an example. You can
totally apply the same procedures to 10.1” CCD.
A.1 VESA Mounting Installation
Requirement
▪ 3
rd
party VESA mount adapter or monitor arm
▪ A PH1 screwdriver
▪ Four screws (4 x M4 4L recommended)
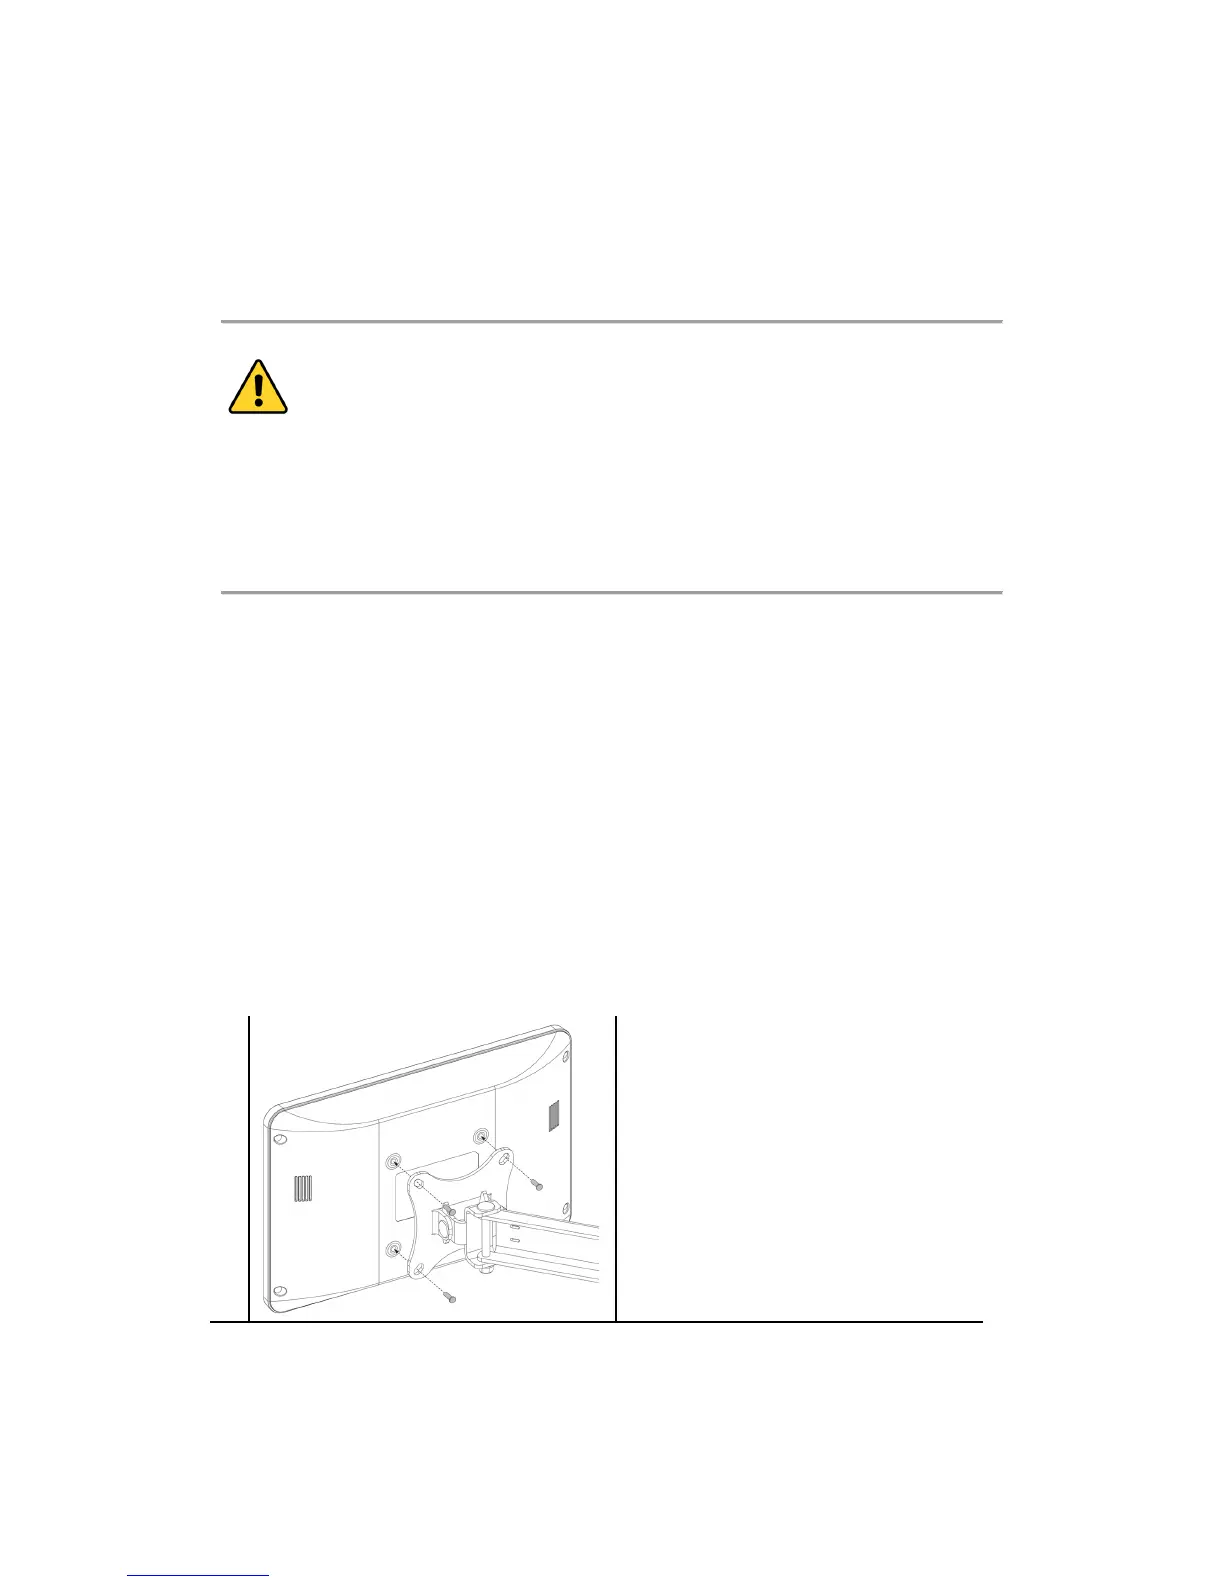
1
- Align the screw holes and attach CCD
to the 3
rd
party VESA mount adaptor or
monitor arm.
- Secure the back cover of CCD with 4
screws provided by the 3
rd
party VESA
mount manufacturer and assure all
mounting screws are properly engaged.