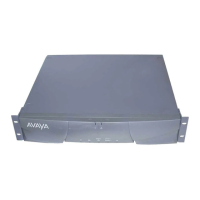
Job Aid Replacing the Avaya S8700 Media Server—Release 2.0 and Later
Replacing the S8700 Media Server
Replacing the Media Server with Release 2.0—S8700 11
December 2003 555-245-767, Issue 1.1
Installing the replacement S8700 Media Server
NOTE:
If reusing the hard drive from the failed media server, go to Reusing the hard drive on
page 11 before installing the replacement media server in the rack.
See Getting Started with the Avaya S8700 Media Server for information on installing the S8700 Media
Server in the rack and reconnecting all the cables.
Reusing the hard drive
If the hard drive in the failed media server is still good, then you want to reuse it in the replacement media
server. Use the following process to switch the hard drives.
• Removing the cover of the failed media server on page 11
• Removing the hard drive from the media server on page 12
• Replacing the cover on the failed S8700 Media Server on page 13
• Removing the cover of the replacement S8700 Media Server on page 14
• Removing the hard drive on page 14
• Installing the original hard drive in the replacement media server on page 14
• Replacing the cover of the replacement media server on page 14
CAUTION:
Wear an anti-static wrist ground strap whenever handling components such as the hard
drive. Connect the strap to an approved ground, such as an unpainted metal surface. Also,
place the hard drive on an anti-static mat that is similarly grounded. Do not place the new
or the old drive on a bare surface.
Removing the cover of the failed media server
For these steps, see Figure 1, Removing and replacing the cover on the media server, on page 12
1 Set the media server down on a flat surface with an electrostatic mat.
2 With your hex-head wrench, remove the 4 screws that hold the brackets to the side of the media
server. Removing these screws also allows you to release the media server cover on the sides.
3 Use a #1 cross-point (Phillips) screwdriver to unscrew the two screws at the back of the media
server that hold the cover in place.
4 Slide the media server cover back from the front panel until the cover’s tabs are released from the
top slot of the front panel.
5 Lift the cover straight up and remove it from the media server.

 Loading...


