Continued
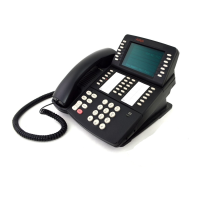
Familiarizing Yourself with the Telephone
23
Starting Up
Connecting the telephone to the telephone line cable
Connect a plug at the end of the telephone line cable in socket 2. Then press the
cable in the guide.
Insert the plug at the other end of the telephone line cable in the wall socket / UAE.
Setting the callback function (Flash time)
Set the sliding switch
K at the side of the telephone to the “100 ms” setting
(short Flash).
Labels
Labels are available on the telephone with which to label the phone numbers
assigned to the one−touch keys and for emergency service numbers.
To print a label:
Prize the cover up at the tab using your fingernail then remove the label.
To reinsert the printed label:
Insert the printed label, slide the cover into place and press down on the other side
until it snaps into place.
Wall assembly
The telephone is also suitable to be installed on a wall. You need the optionally
available wall bracket for T3 telephones to do this. In order to prevent the receiver
from falling when placed on−hook, the receiver cradle is equipped with a small
hook device. Use a small screwdriver to turn the hook device 180° until a small
hook is produced at the top end.