Chapter 4: Making Studio Connections 21
Connecting Inserts
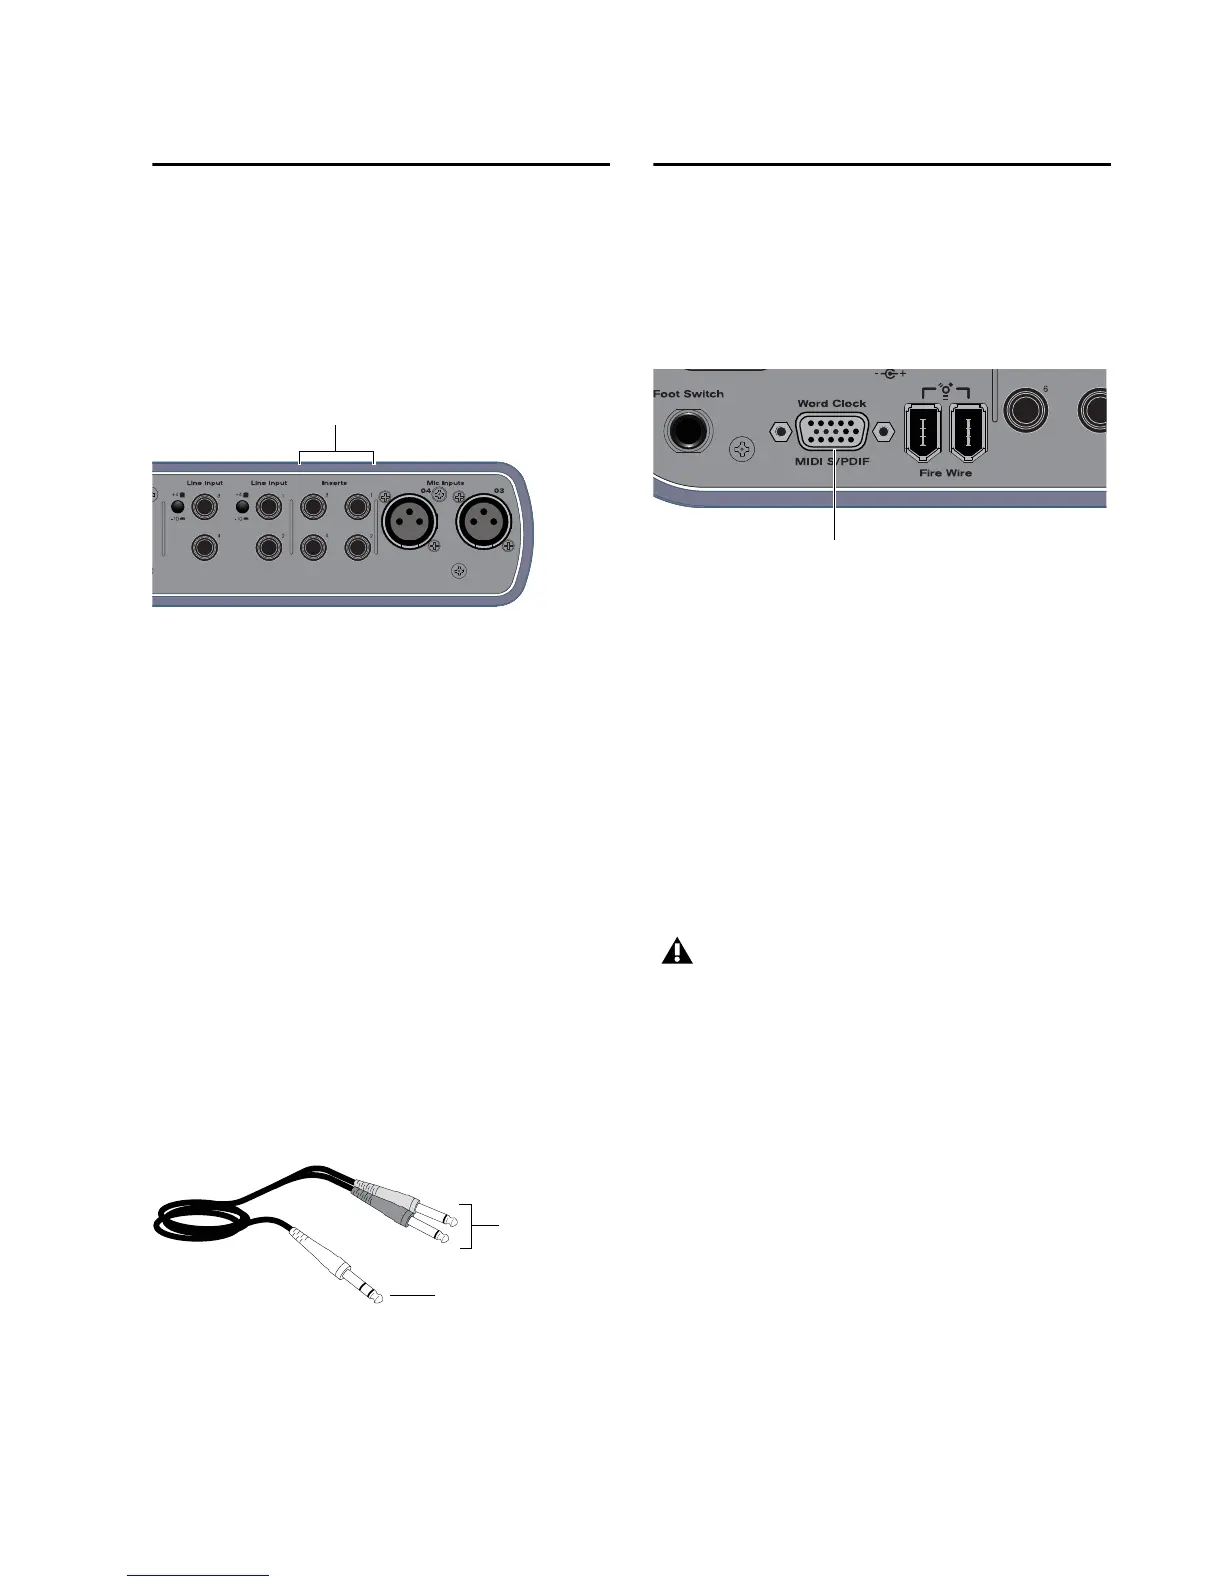
Mbox Pro provides a total of four insert jacks
(Inserts 1–4) for inserting external processing
devices such as an EQ or a compressor between
the input channel’s onboard mic preamp and
the onboard analog to digital convertor.
To insert an external processor on an input:
1 Using a 1/4-inch insert cable (single TRS con-
nector to dual TS connectors), connect the sin-
gle TRS connector (the connector with two
rings) to one of the insert jacks on your
Mbox Pro.
2 Connect the dual TS connectors (the “Y” end
of the cable) to the external processor as follows:
• Connect the TS connector that corre-
sponds to the tip (send) on the TRS connec-
tor to the input of the processor.
– and –
• Connect the other TS connector that corre-
sponds to the ring (return) on the TRS con-
nector to the output of the processor.
Connecting Digital I/O
Mbox Pro provides digital inputs and outputs
for S/PDIF-format digital audio. S/PDIF digital
I/O can be used in combination with analog I/O,
and are independently routable.
Connecting Digital Devices
To connect Mbox Pro to an external digital device:
1 Using the included breakout cable, connect it
to the Word Clock, MIDI, and S/PDIF input on
the back panel of the Mbox Pro.
2 Using RCA (coaxial) cables, connect the
Mbox Pro S/PDIF In to the S/PDIF output of the
device.
3 Connect the Mbox Pro S/PDIF Out to the
S/PDIF input of the external device.
4 Be sure to read the next section for important
information.
Insert jacks for external processing on Mbox Pro
Insert cable