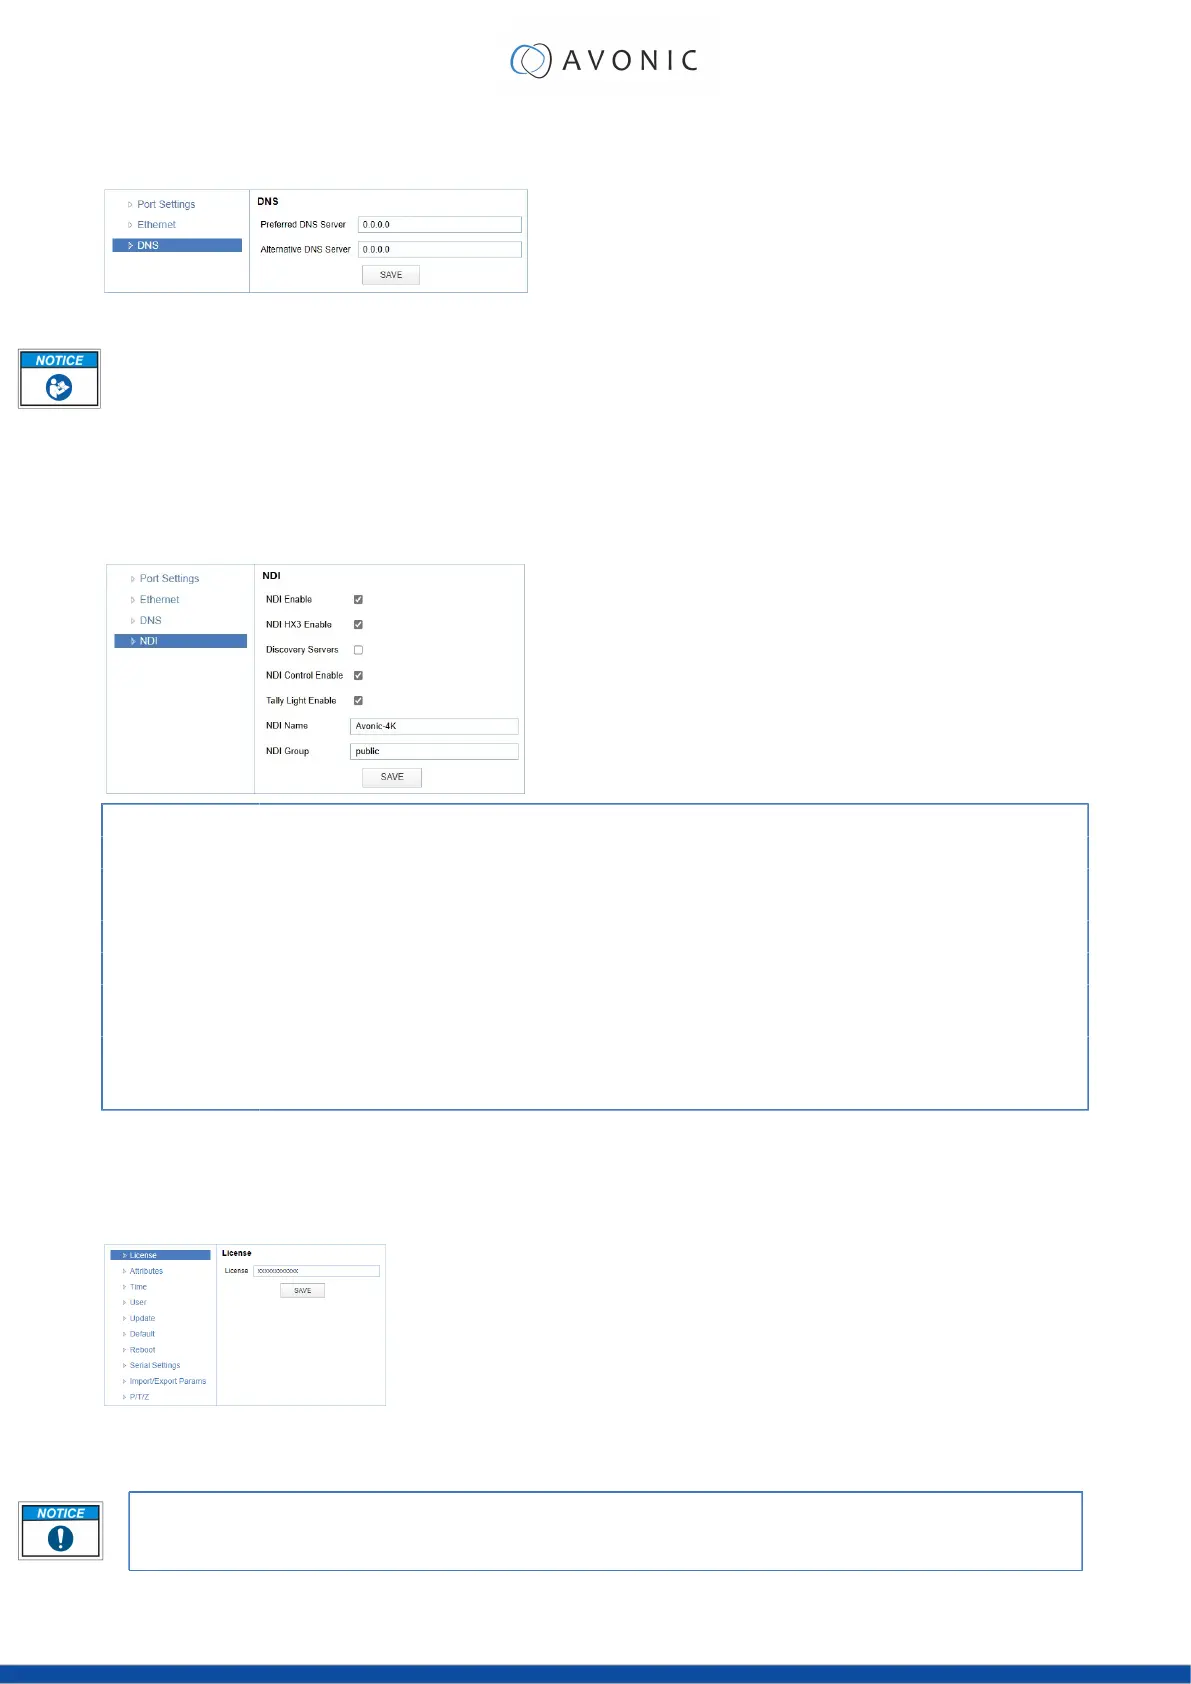
NETWORK - DNS
Here, you can specify the Preferred and Alternative DNS Server.
Figure 39: WebGUI > NETWORK > DNS
Click SAVE to apply your settings. A small confirmation dialogue appears in the bottom right corner.
NDI®| HX Settings
This part concerns the NDI®| HX functionality of your Avonic NDI®| HX camera. With the NDI enabled and NDI
control enabled, you can easily control every device with NDI®| HX functionality in your IP network. See also NDI
Studio Tools on the website .
NDI Enable Checkmark box turns the NDI®| HX capability ON or OFF.
NDI HX3 Enable Enable/disable NDI®| HX3 functionality of your camera.
Discovery Servers Enable/disable Discovery Servers. This is a server that operates as a centralized registry of NDI sources and can be
helpful for installations where Multicast is not desirable or possible.
NDI Control Enable Enable/disable NDI®| HX functionality of your camera.
Tally Light Enable Enable/disable tally light functionality. (Control the tally light through VISCA)
NDI Name Is the name with which the camera presents itself to other NDI®| HX hardware or software on the local Network (LAN).
This is useful for easy camera recognition.
NDI Group Sometimes you want to limit visibility of NDI camera to specific systems. Or may need access to NDI cameras from
another subnet. The NDI Access Manager lets you assign sources to groups, and choose which of these various systems
receive. This setting sets up to which group this camera must belong.
SYSTEM
You can use the SYSTEM tabs to define the desired system settings.
License
Figure 40: WebGUI > SYSTEM > License
Under license you can enter the license key you obtained for the tracking functionality of the camera.
• License is visible from MCU and Camera version 1.1.4. Update your camera to use the license feature!
• You can acquire a license through your local sales channel or directly at Avonic.
44
 Loading...