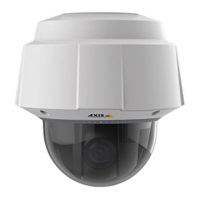
AXIS Q6032 PTZ Dome Network Camera
Hardware Overview
SD card slot - A standard or high-capacity SD card (not included) can be used for local recording with removable storage.
NOTICE
To prevent corruption of recordings, the SD card should be unmounted before removal. To unmount, go to Setup > System
Options > Storage > SD Card a n d click Unmount.
Control button - The control button is used for:
• ConnectingtoanAXISVideoHostingSystemservice.See
page 43
. To connect, press and hold the button for about
1 second until the Status LED flashes gr een.
• ConnectingtoAXISInternetDynamicDNSService. See
page 43
. To connect, press and hold the button for
about 3 seconds.
• R esetting the product to factory default settings. See
page 49
.
Power button - Press the power button to temporarily power the product when the dome cover is removed. The power button is also
used with the control button to reset the camera to factory d efault settings. See
page 49
.
Multi-connector - Terminal connector for connecting e xternal equipment:
• Audio equipment
• Input/Output (I/O) devices
• AC/DC power supply
When connecting external equipment, a multi-connector cable (available from Axis) is required in order to maintain the product’s IP
rating, see
Multi-Connector Cable (sold separately), on page 58
.
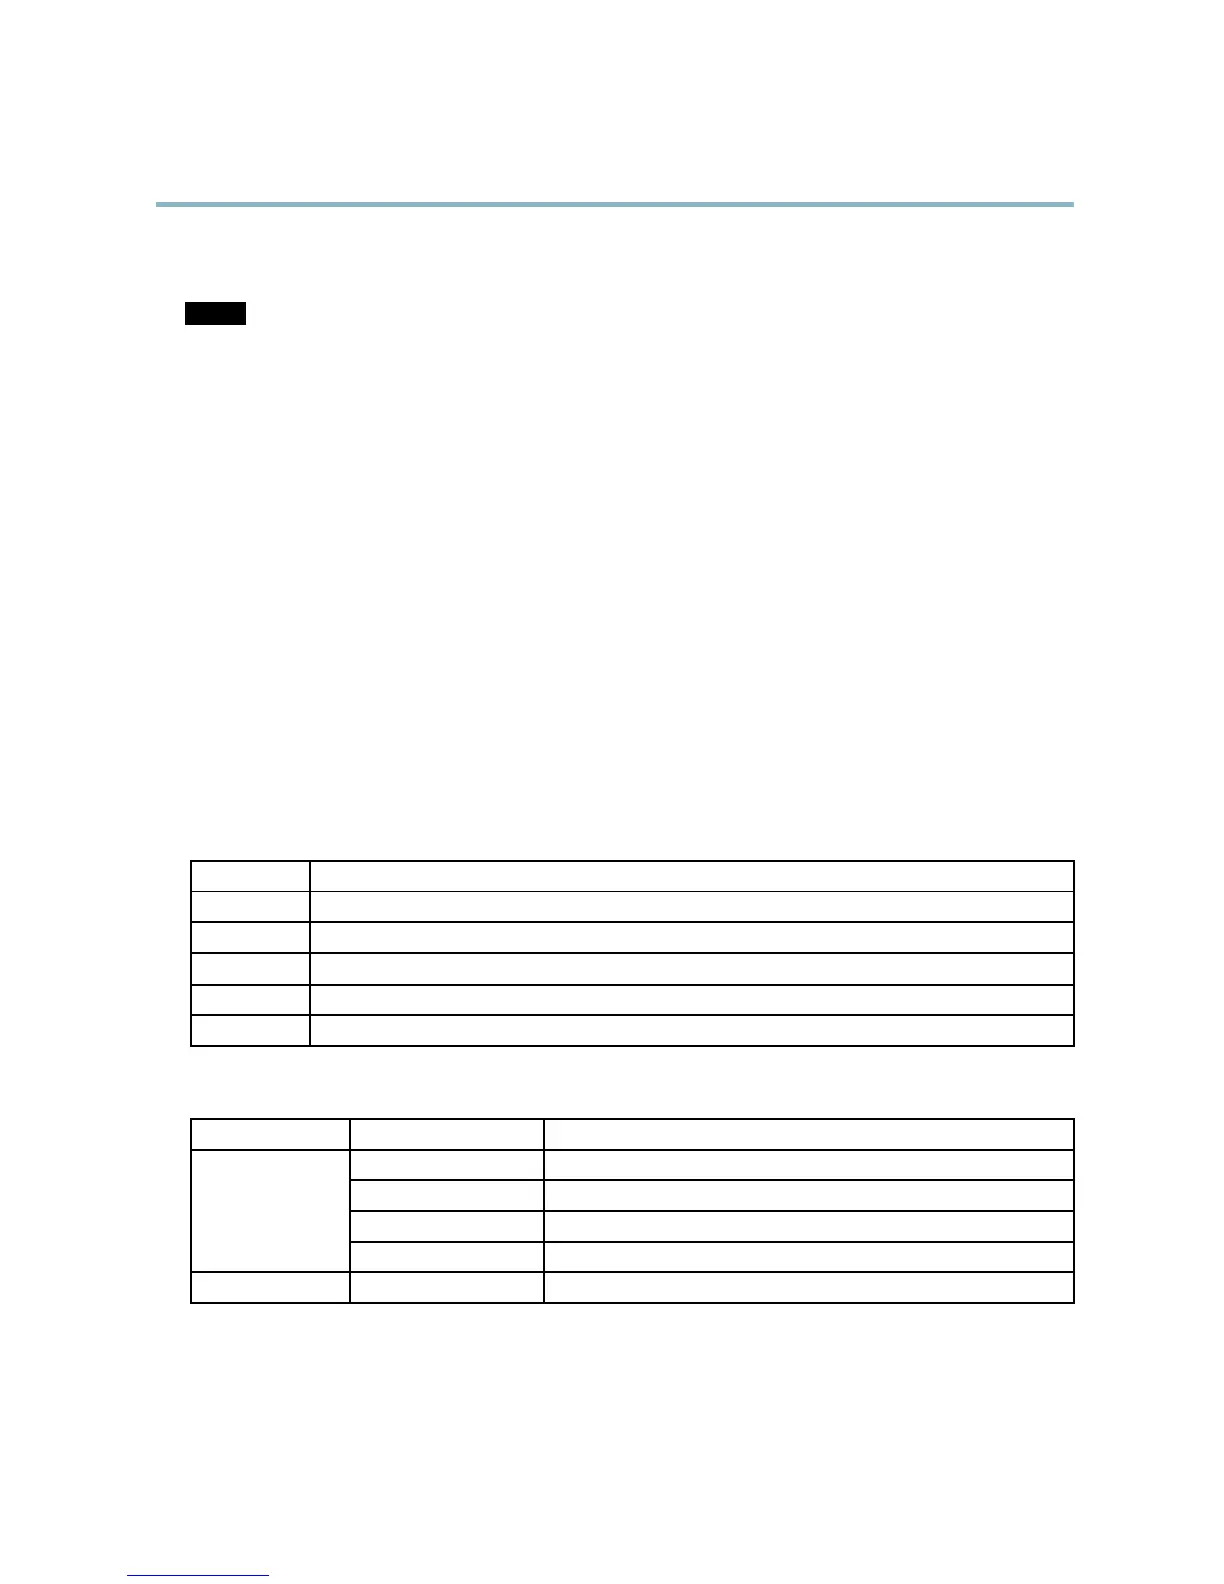
LED Indicators
Color
Indication
Unlit
Connection and normal operation
Amber
Steady during startup. Flashes during firmware upgrade.
Amber/red Flashes amber/red if ne twork connection is unavailable or lost.
Red Flashes red for firmware upgrade failure.
Green Shows steady green for 1
0 seconds for normal operation after restart.
Midspan LED Indicators
LED
Color
Indication
Unlit No camera connected.
Green Steady when camera connected, normal o peration.
Green, flashing Slow flash when over current or short circuit condition on the por t.
Port
Green, flashing
Fast flash when input voltage is out of range or other internal error.
AC input Green Steady when A C power connected.
6
 Loading...