AXISQ60Series
8.Slidetheunitholdersonthenetworkcameraintotheslotsinthemountingplateand
rotatethecameraunit.
9.Installthesuppliedmidspan,seetheInstallationGuidedeliveredwiththemidspanor
nditonwww.axis.com
Installthecamerawithadropceilingmount
WARNING
Thecombinedweightofthecameraandceilingmountisapproximately3200g(7.1lb).
Makesurethattheceilingmaterialisstrongenoughtosupportthisweight.
NO NO
NO
TICE TICE
TICE
Theceilingtileshouldbe5–60mm(3/16–23/8in)thick.
1.Removetheceilingtileinwhichthedropceilingmountistobetted.
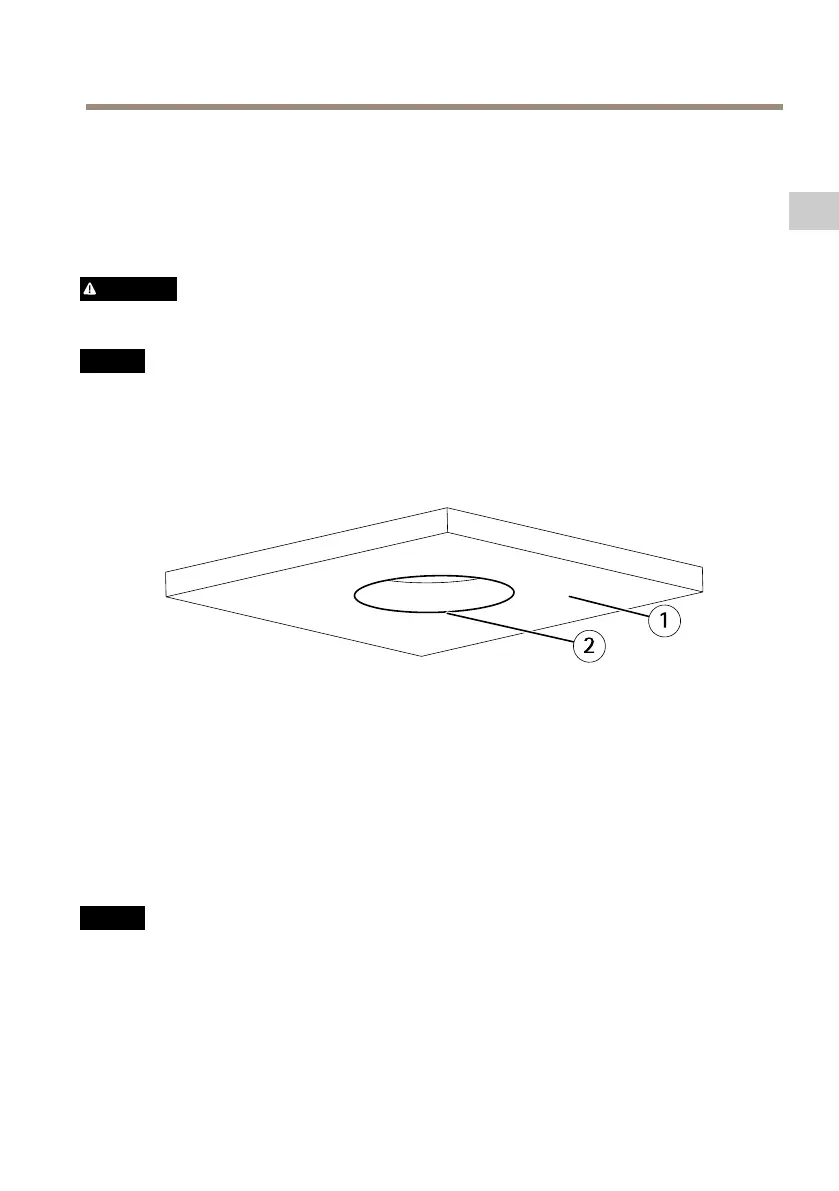
2.Cutaholeintheceilingtileforthedropceilingmount.Usethesuppliedtemplateto
markthepositionandcutaroundthetemplate.
1
Ceilingtile
2
Holediameter225mm(87/8in)
3.Assembletheceilingbracketandattachittotheceilingtile.Makesurethearrowson
themountingplateandtheceilingbracketarepointinginthesamedirectionforthe
logotypesonthecameraandthetrimringtoalign.
4.Tightenthebracketarmscrews.
5.Loosenthecamerabaselidscrewsandremovethecamerabaselid.
6.Routeandconnectthenetworkcableand,ifused,themulti-connectorcabletothe
camera.
NO NO
NO
TICE TICE
TICE
•Becarefulnottodamagethecableswhenconnectingthem.
•Makesurethatthefoamgasketholesarealignedwiththecabletracks.Ifusinga
multi-connectorcable,removethecut-outpieceforthemulti-connectorcablefrom
thefoamgasket.
23
EN
 Loading...