14 english
4.5 Electrical connection
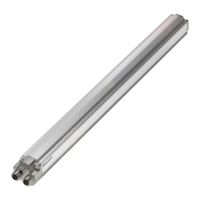
Fig. 4-6:
8 7 6 5 4 3 2 1
8 7 6 5 4 3 2 1
Retaining screws
Typical housing with connection terminal assembly,
pinassignment
Pin Wire color
1)
BTL7-A510-… BTL7-G510-… BTL7-C500-… BTL7-C570-… BTL7-E500-… BTL7-E570-…
1 YE yellow
2)
Not used
3)
0…20mA 20…0mA 4…20mA 20…4mA
2 GY gray 0V
3 PK pink
2)
10…0V 10…–10V Not used
3)
4 BU blue GND
4)
5 BN brown 10…30V
6 GN green
2)
0…10V –10…10V Not used
3)
7 RD red La (programming input)
8 WH white Lb (programming input)
1) Recommended wire color when using the calibration box (see Fig. 6-1 on page17)
2) In addition to the 0V gray wire, only one output signal may be connected, i.e. either the yellow, pink, or green wire!
3) Unassigned leads must be connected to GND on the controller side but not to the shield.
4) Reference potential for supply voltage and EMC-GND!
Tab. 4-1: Connection assignments
Note the information on shielding and cable
routing (see Section 4.6).
Use 90°C rated conductors.
4
Installation and connection (continued)
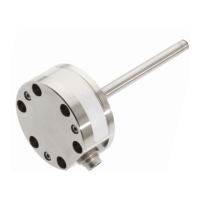
4.4 Replacing electronics module
DANGER
Explosions
Opening the housing can result in sparks which can trigger
explosions in explosive atmospheres.
► Do not open housing when an explosive atmosphere
may be present!
1. Disconnect power source.
2. Unscrew and remove housing cover.
3. Note wire locations for re-assembly and disconnect
wiring.
4. Disconnect the 2 electronics module retaining screws
(see Fig. 4-6).
5. Carefully pull the electronics module out of the pressure
housing (avoid bending the measuring range).
6. Carefully slide new electronics module into the pressure
housing (avoid bending the measuring range).
7. Secure the electronics module using the 2 new screws
provided with the replacement module.
8. Connect wiring (see Electrical connection on page14).
9. Re-install the housing cover flush and tighten to
33…40Nm (25…30ft∙lb). Tighten secondary retaining
screws (ATEX).
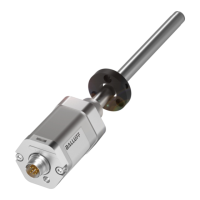
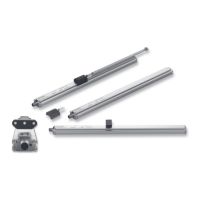
BTL7-A/C/E/G5_ _-M_ _ _ _-J-DEXC-TA12
Magnetostrictive Linear Position Sensor – Rod Style
Type of protection “db” and “ta”
Flameproof enclosure