R5911443 /11 UDM74
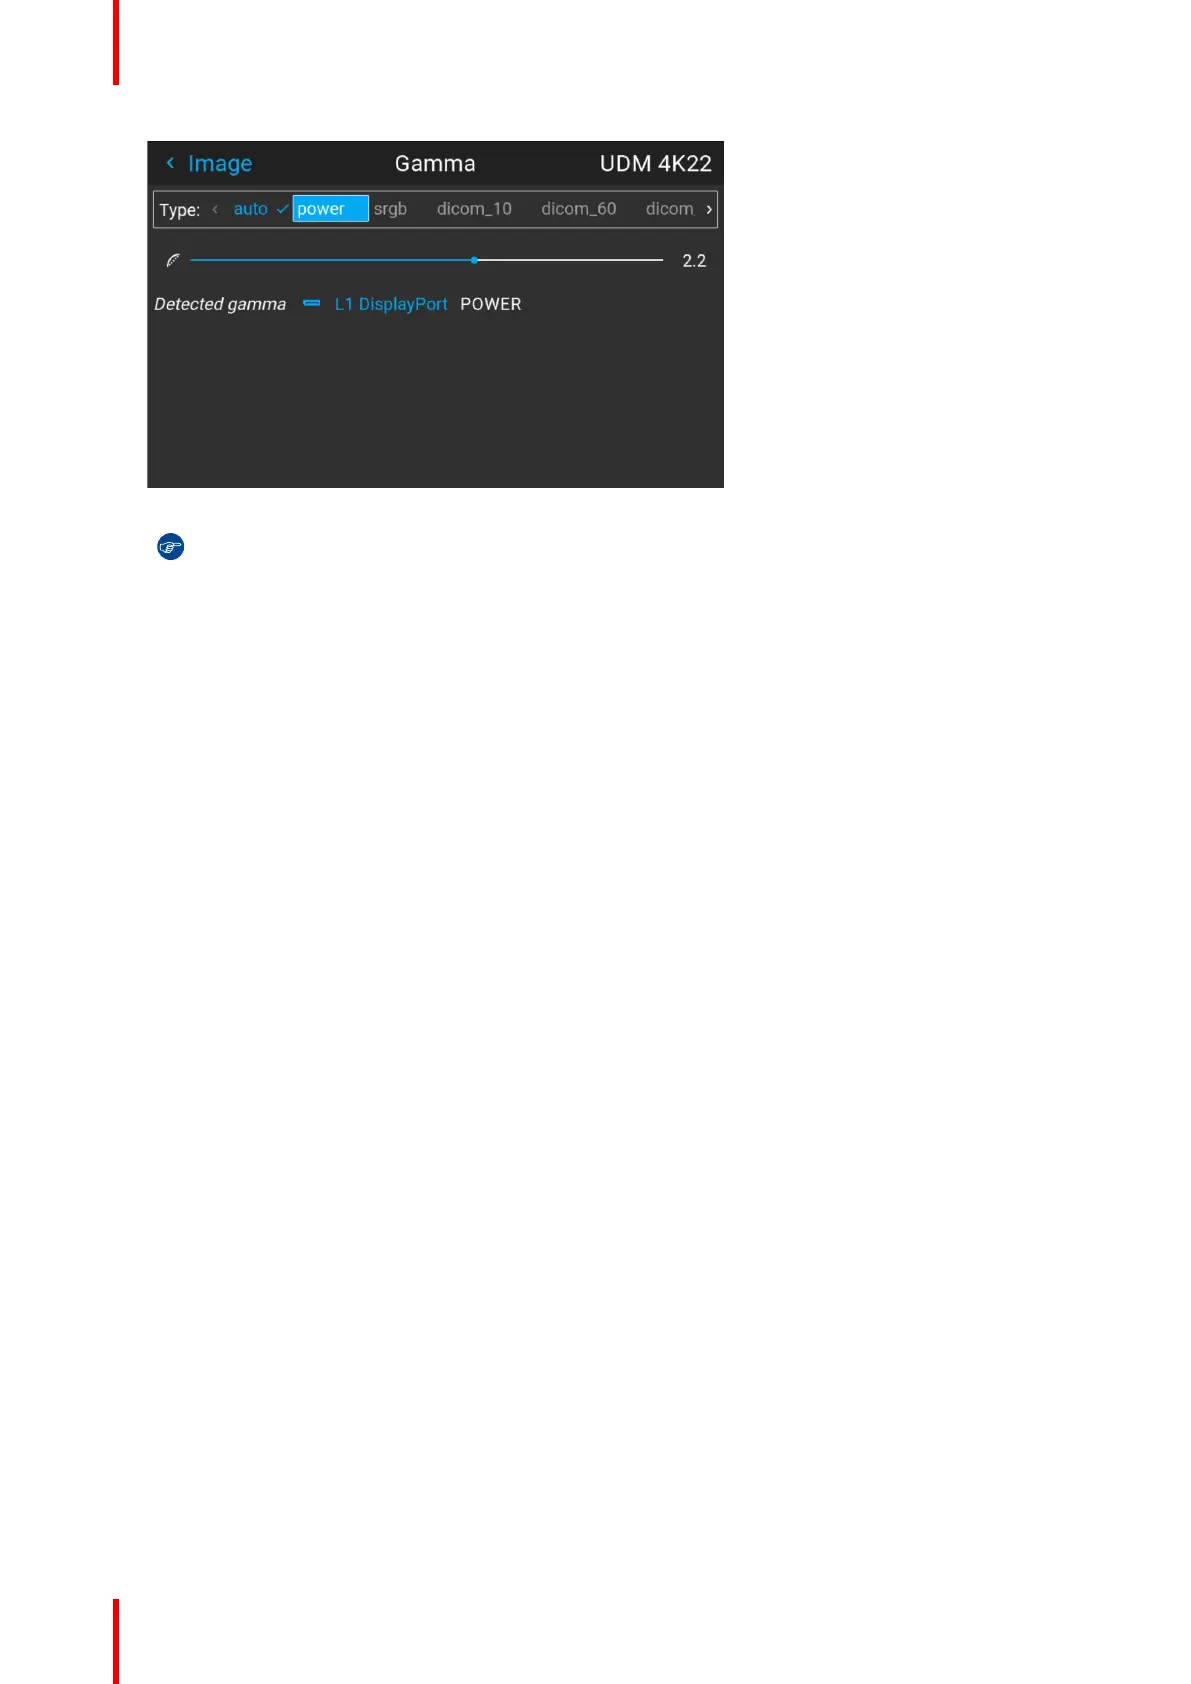
Image 7–15 Example of selecting a gamma type
Tip: If not sure what gamma type to select, keep the default value auto selected. This automatic
mode will determine the used gamma type based on the incoming signal.
However: keep in mind when using the automatic mode, your media player needs to be
configured correctly as well. While most mainstream media player devices will be configured
correctly by default, we cannot guarantee this is the case for every device available on the market.
If you notice the projected image seems “off”, it may be necessary to check the configuration of
your media player. For more info, check the user guide of your media player device.
7.7 Tilted brightness uniformity correction
What is tilted brightness uniformity correction?
Projectors in the events and simulation market can be installed at any angle possible. However, this can result
in the lens being positioned in an angle (horizontal or vertical) towards the projection surface.
Due to this, one side of the projected surface can become brighter than the other (left vs right side, top vs
bottom side or both). While a slight difference in brightness might not be that noticeable in a single-projector
setup, when having your projector installed in a multi-projector setup brightness differences can possibly ruin
immersion..
From Pulse 2.3.8 onward, the Tilted brightness uniformity menu allows you to correct the projected image.
Using this menu you can make the side (s) of the projected image closest to the screen less bright, so that
every side of the projected image looks equally bright.
How is the correction applied?
The Tilted brightness uniformity menu has two sliders that applies a “darkness gradient” over the horizontal
and/or vertical axis. This is applied as follows:
• A positive horizontal correction will result in the right side of the screen becoming less bright than the left
side.
• A negative horizontal correction will result in the left side of the screen becoming less bright. than the right
side.
• A positive vertical correction will result in the bottom side of the screen becoming less bright than the top
side.
• A negative vertical correction will result in the top side of the screen becoming less bright than the bottom
side.
GUI – Image

 Loading...