G 120 II V
Page 10 1st Edition, Rev. 0 Chg. 2
2.1.2.2.7 Parameters
This button takes the user to the parameters screens. There are a total of 9 screens. These parameters are
set at the factory for each specific unit. Changing these parameters will change how the unit operates, so
only users 2 and 3 are allowed to change them. If user 1, Operator, tries to change a parameter a window
will pop up stating “Access Denied”. To change a parameter just touch the number which needs to be
changed and a keypad will pop up. Punch in the new number and press the “ENT” key.
Pressing the Pressure Units button toggles the run screen pressures between PSI and BAR.
Pressing the X button will return the screen to the main menu.
2.1.2.2.8 Tools
Like the Parameters and Configuration options only users 2 & 3 can make changes or use this option. The
first page of the tools option is used for maintenance purposes. The buttons are used to check the PLC and
can only be used when the unit is OFF. The second page is used to set the internal calendar/clock and to
select the language displayed on the monitor. English, Spanish, and Portuguese are the current choices.
More languages may be added at a later date. The third page offers activation of the Anybus (internet)
Server, to turn off or on the key beeping sound, or to clear the alarm history. The final button “START” is
used to save the current set parameters to the internal EEPROM. If this button is pressed the current set-
ting are saved to the memory and a status bar of the operation will be shown.
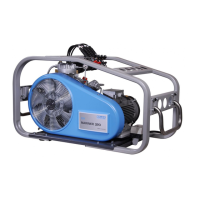
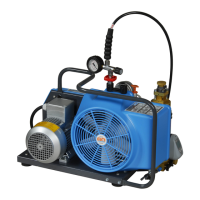
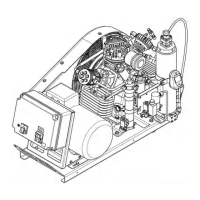
2.2 Starting and Stopping Unit
2.2.1 Before Starting.
1. Check the compressor oil level, See Chapter 3.
2. Ensure that all panels and guards are properly installed.
3. If the unit is equipped with doors, ensure all doors are closed.
4. Ensure that the E-Stop Button is pulled out.
Figure 2-7 Parameters Screen