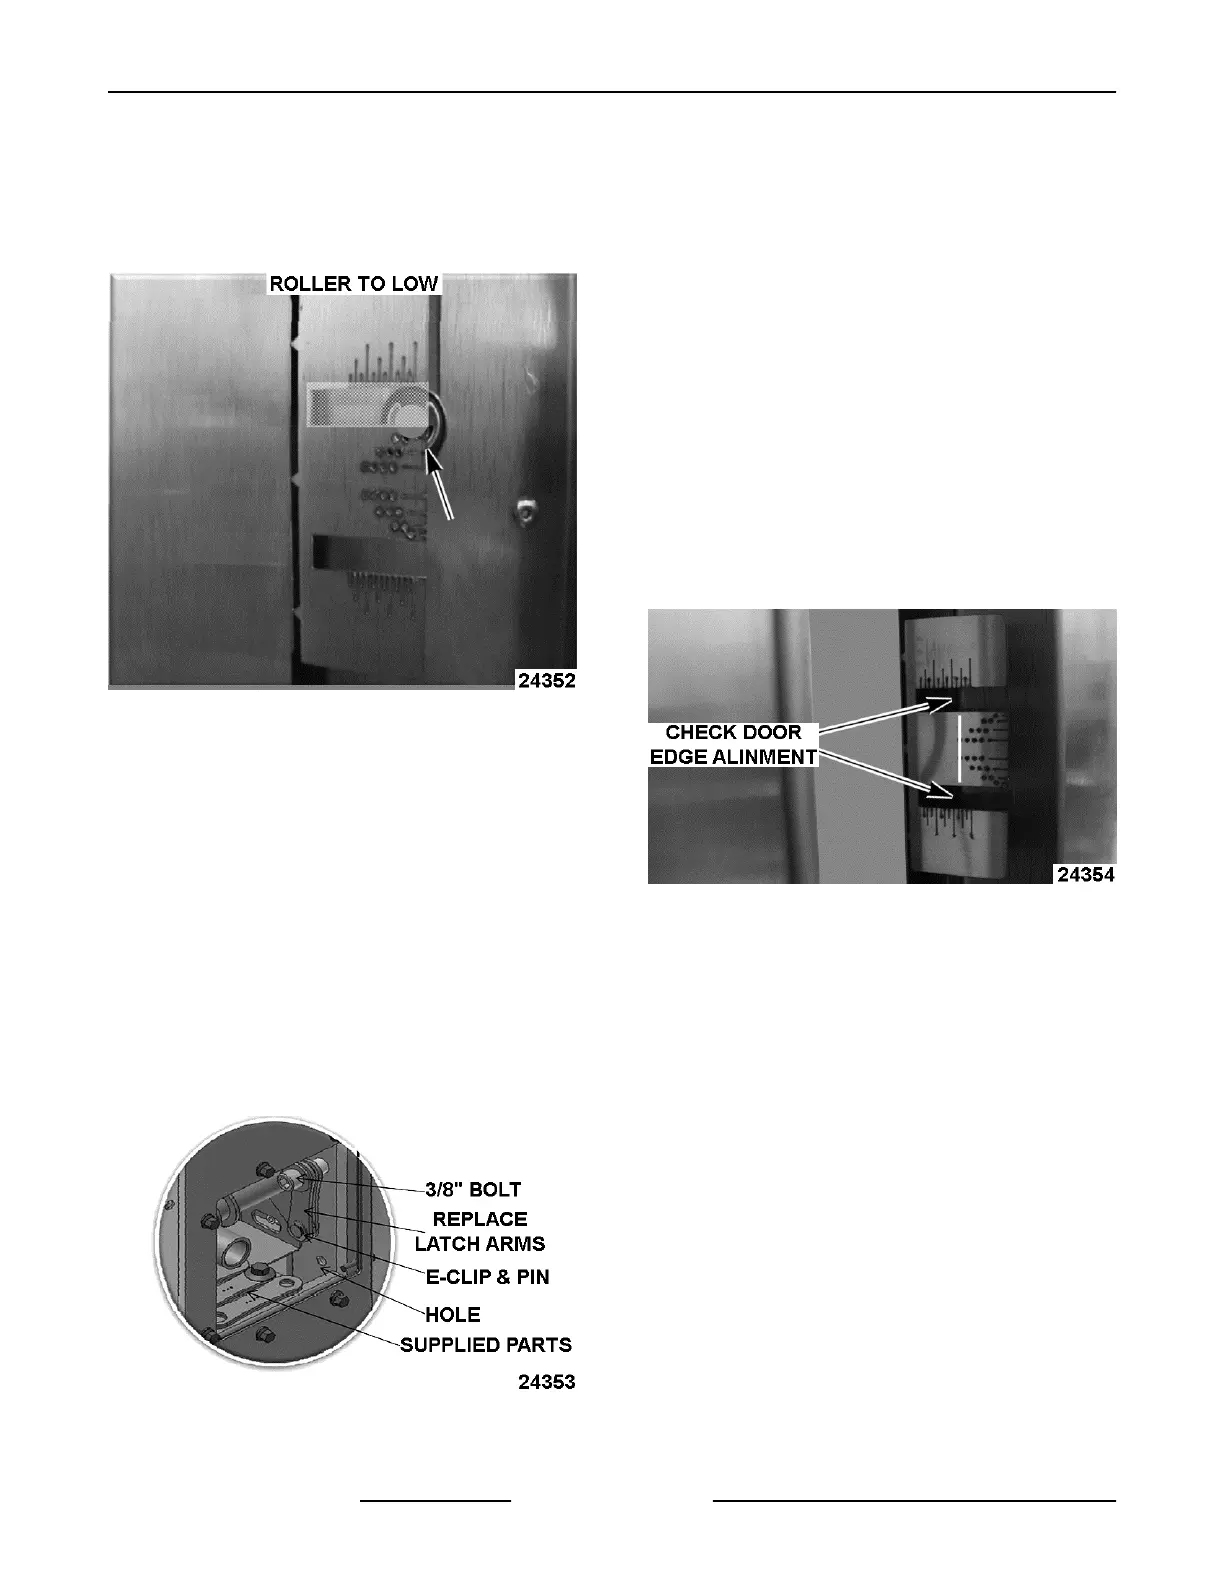
NOTE: The horizontal line closest to bottom of roller
shaft will determine which latch arm to use. The
horizontal lines and latch arms are identified with a
different number of holes. Diagram below shows you
would need
to replace latch arms using latch arms with
two oo’s.
Fig. 78
4. To install latch arms:
A. Remove inner door handle cover.
B. Remove 3/8” bolt. DO NOT discard the tube,
bolt or washer.
C. Remove E-clip and pin. DO NOT discard the
E-clip or Pin.
D. Replace two latch arms with parts supplied.
Reassemble inner mechanism, making sure
linkage arms are located in the up position.
Re-attach inner door handle.
NOTE: For left hand hinge, bolt and arms must be
flipped and mounted to hole. place unused arms to
latch box and secure with 1/4-20 bolt.
Fig. 79
5. To adjust door gasket seal:
A.
Place a piece of paper at bottom hinge side
between door and door gasket.
B.
Close oven door and slowly pull on paper.
There should be just enough drag to hold
paper from falling. Repeat this procedure
around door every couple of feet. If door is
too tight on hinge side, loosen the hinges on
the door and adjust door outward, reverse if
to loose. For latch side adjustment, loosen
screws on ramp(s) and move ramp(s) in or
out.
C. After adjusting the ramps for proper gasket
seal, make sure rollers contact ramps at the
same time. To check this, push the door
closed until one roller lightly touches a ramp,
check to see where door edge aligns with
vertical lines on the ramp gauge. The door
edge should align with the same vertical line
on each ramp gauge.
Fig. 80
D. If adjustment is required, move a ramp so
that both rollers contact the ramps at the
same time.
NOTE: Keep in mind the door gasket seal. Both
ramps need to be in correct location to equalize
pressure on rollers.
6. Repeat the process until desired results are
obtained or call Bakery Product Support.
7. After desired results obtained, bend alignment
gauges back & forth to break off and discard.
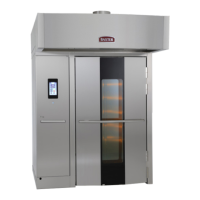
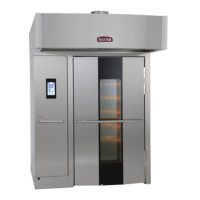
INSTALLATION INSTRUCTIONS OV500-EE SERIES GAS RACK OVENS AND OV500 SERIES ELECTRIC RACK
OVENS - INSTALLING OVEN
F45469 Rev. D (1019) Page 34 of 49
 Loading...