Do you have a question about the BEA LZR-WIDESCAN and is the answer not in the manual?
| Brand | BEA |
|---|---|
| Model | LZR-WIDESCAN |
| Category | Accessories |
| Language | English |
Advice on vibrations, covering, light sources, and temperature changes.
Guidance on cleaning optical parts with appropriate products.
Notes on protection film, personnel, testing, and warranty voidance.
Information on the laser class and safety standards for the device.
Cautionary statement regarding hazardous radiation exposure from improper use.
Guidelines for safe interaction, including grounding and personnel requirements.
Describes motion, presence, and safety detection fields for door operation.
Lists four additional functions that can trigger specific outputs.
Explains the sensor's analysis of objects based on height, width, and depth.
Explains LED states and how they indicate sensor functions.
Defines symbols and maps them to main/additional detection functions.
Step-by-step instructions for opening and closing the sensor cover.
Guidelines on mounting height, position, and bracket installation.
Steps for securing the sensor and connecting its wiring.
Overview of electrical connections and the teach-in process.
Remove protection film and activate laser spots for positioning.
Methods to adjust parallel and tilt angles using side and top screws.
Procedure to align red spots and validate sensor position using the wizard.
Final step to lock the sensor's position by tightening the angle lock screw.
Process of unlocking the sensor and entering access codes.
Choosing relevant detection fields for parameter adjustment.
Steps to access the LCD menu and navigate options.
Options for language selection, password setting, and advanced adjustments.
Steps and requirements for performing the install teach-in.
Choosing and configuring Standard, Corridor, or Corner application presets.
Defining OUT1, OUT2, and REL functions for selected presets.
Overview of factory defaults, teach-in, service mode, and reset options.
Configuring outputs 1, 2, and relay with detection functions.
Adjusting width, depth, object type, and time settings for detection modes.
Further details on motion detection parameters like direction options.
Further details on presence detection parameters like presence time.
Further details on safety detection parameters like max presence and uncovered zone.
Explanation of different motion detection direction settings like bidirectional, uni-directional.
Configuring logic (NC/NO) and holdtime for outputs 1 and 2.
Performing output tests and setting relay logic and holdtime.
Options for quick start functions and heating modes (OFF, ECO, AUTO).
How the Pull-Cord function triggers door opening when an object is detected.
Steps to launch and perform the Pull-Cord teach-in process.
Method to delete the configured Pull-Cord zone.
How objects above a certain height activate the Height Trigger.
Using the trigger for partial or full door opening based on object height.
Accessing and configuring the height limit via LCD menu.
How slow-moving objects trigger the door open.
Adjusting the speed limit via LCD menu for slow-moving objects.
Explains Motion, Presence, and Safety detection functions.
Details Motion+, Pull-Cord, Speed Trigger, and Height Trigger.
How to assign functions to outputs 1, 2, and relay using a 3-digit code.
Reshaping detection fields by walking within them.
Selecting desired fields for walk teach-in via LCD or remote.
Procedure to walk the trace of the field and stop to complete learning.
Options to invert fields using LCD and delete learned walk traces.
Solutions for CPU, power supply, and internal sensor problems.
Troubleshooting faulty teach-ins due to angle or flatness issues.
Resolving errors with sensor outputs, detection engine, or wiring.
Addressing issues with memory, LED/LCD display, service mode, or password.
Solutions for late motion detection and other miscellaneous problems.
Details on technology, detection modes, field size, and emission characteristics.
Specifications for power consumption, response time, and I/O capabilities.
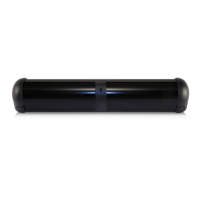
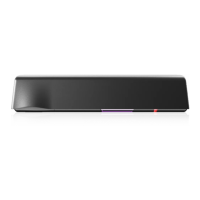
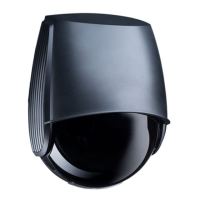
Information on dimensions, material, protection degree, and temperature range.
Specifications for vibration resistance and relevant norm conformity.
Guidelines on manufacturer liability and technician qualifications.
Requirements for risk assessment, safety inspections, and signage.