EasyManua.ls Logo

BEA ULTIMO - User Manual

BEA ULTIMO
20 pages
Print Icon
To Next Page IconTo Next Page
Loading...
75.0034.03 ULTIMO 20220120 Page 1 of 20
ULTIMO
EN
ACTIVATION AND SAFETY SENSOR FOR
AUTOMATIC, SLIDING DOORS
Visit website for
available languages
of this document.

Questions and Answers

  • J
    Jesse AlvarezAug 16, 2025
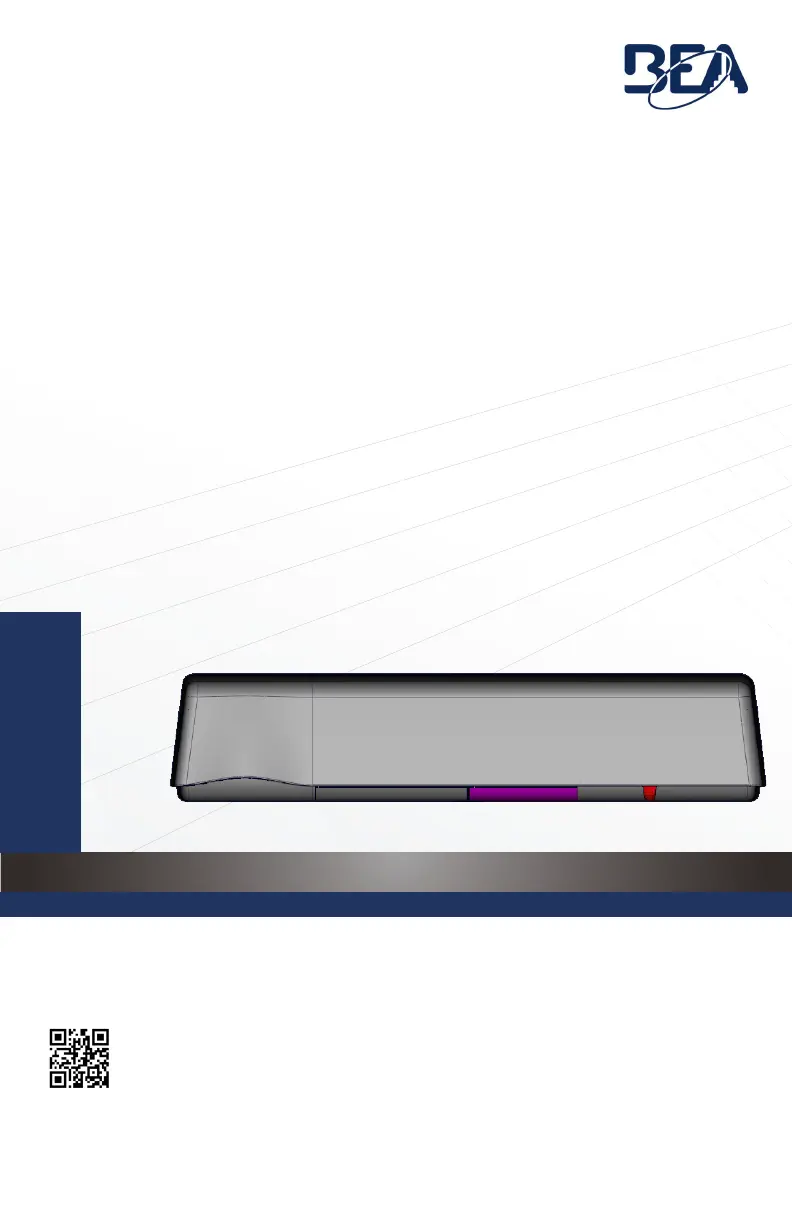
    What to do if the RED LED flashes quickly when unlocking my BEA ULTIMO Accessories?
    • B
      Brian GriffinAug 16, 2025
      If the RED LED flashes quickly when unlocking your BEA Accessories, it likely means the sensor is password protected. Enter the correct password. If you've forgotten the password, cut and restore the power supply to access the sensor without needing a password for one minute.
  • J
    Jonathan JohnsonAug 19, 2025
    What to do if the RED LED illuminates sporadically on my BEA ULTIMO?
    • S
      Stephanie LinSep 12, 2025
      If the RED LED illuminates sporadically on your BEA Accessories, consider the following: * Check if the sensor is secure and tighten the header cover and mounting screws. * Check the position of the cable and sensor cover. * If it's a non-threshold application and the sensor sees the door, turn on the visible red spots and adjust the angle of the AIR curtains. * If external conditions disturb the sensor, change the AIR immunity filter and AIR frequency.
  • S
    Suzanne VargasAug 22, 2025
    Why does the RED LED flash quickly after a setup on my BEA ULTIMO Accessories?
    • M
      Margaret MyersAug 22, 2025
      The RED LED might flash quickly after setup on your BEA Accessories for a few reasons. The sensor might be detecting the door during setup, so move the AIR curtains away from the door. Also, ensure the bottom of the sensor is mounted within 5” of the bottom of the door header. If neither of these resolves the issue, try launching a new assisted setup.
  • K
    Katherine TuckerAug 25, 2025
    What to do if RED Visible External Monitoring (Test Indication LED) flashes continuously on my BEA ULTIMO Accessories?
    • D
      Dr. Richard HunterAug 25, 2025
      If the RED Visible External Monitoring (Test Indication LED) flashes continuously on your BEA Accessories, check the wiring and verify that the door control monitoring is set to the correct test logic according to the door control.
  • B
    billyhollandAug 27, 2025
    What to do if RED Visible External Monitoring (Test Indication LED) does not flash on my BEA ULTIMO?
    • L
      Linda AlvarezAug 28, 2025
      If the RED Visible External Monitoring (Test Indication LED) on your BEA Accessories isn't flashing, verify that the door control is capable of monitoring and that the sensor monitoring wires are properly connected to the door control. Also, check that monitoring (TEST) is turned ON in the sensor settings. If the issue persists, the sensor may be malfunctioning and need replacement.
  • J
    Joshua MckeeAug 31, 2025
    What does LT1 - Assisted Setup Error mean for BEA ULTIMO?
    • W
      warnoldAug 31, 2025
      If you're getting an LT1 - Assisted Setup Error on your BEA Accessories, and the IR curtain is set to 1, 2, 4, or 5, it means that C2 and/or C3 are interfering with the door during the closing cycle. To fix this, increase the tilt angle of the interfering curtain to move it away from the threshold.
  • A
    Amy ConnerSep 2, 2025
    What does LT2 - Assisted Setup Error mean for BEA ULTIMO?
    • M
      Michael ChapmanSep 3, 2025
      If you're getting an LT2 - Assisted Setup Error on your BEA Accessories, and the IR curtain is set to 1, 2, 4, or 5, it means C2 and/or C3 are interfering with the door during the opening cycle. Increase the tilt angle of the interfering curtain to move the curtain away from the threshold.
  • S
    Shelley WelchSep 6, 2025
    What does N1 - Assisted Setup Error mean for BEA ULTIMO?
    • S
      Steven BallardSep 6, 2025
      If you're getting an N1 - Assisted Setup Error on your BEA Accessories, and the IR curtain is set to 3, 6, or 7, it means that C2 and/or C3 are interfering with the door during the closing cycle. To resolve this, increase the tilt angle of the interfering curtain to move it away from the threshold.
  • M
    Mackenzie GarciaSep 8, 2025
    What does LT3 - Assisted Setup Error mean for BEA ULTIMO?
    • A
      Ashley BarkerSep 8, 2025
      If you're encountering an LT3 - Assisted Setup Error on your BEA Accessories, and the IR curtain is set to 1, 2, 4, or 5, it indicates that C1 is not on the door threshold. Decrease the tilt angle of the interfering curtain to place the curtain on the threshold.
  • A
    Abigail MorrisSep 12, 2025
    What does N2 - Assisted Setup Error mean for BEA ULTIMO Accessories?
    • R
      Regina GomezSep 12, 2025
      If you're getting an N2 - Assisted Setup Error on your BEA Accessories, and the IR curtain is set to 3, 6, or 7, it means C2 and/or C3 are interfering with the door during the opening cycle. Increase the tilt angle of the interfering curtain to move the curtain away from the threshold.

Summary

PREPARATION AND SAFETY GUIDELINES

INSTALLATION PRECAUTIONS

Covers essential installation guidelines and warnings regarding mounting and detection field setup.

SAFETY AND WARRANTY INFORMATION

Outlines safety requirements, grounding, qualified personnel, testing, and warranty terms.

MOUNTING AND WIRING

SENSOR MOUNTING

Explains how to physically install the sensor centered over the clear opening for dual and single sliders.

WIRING CONNECTIONS

Details the electrical connections for the sensor, including power supply and safety inputs.

ACTIVE INFRARED (AIR) SAFETY FIELD

TROUBLESHOOTING GUIDE

RED LED INDICATIONS

Troubleshooting steps for various issues indicated by the red LED on the sensor.

ORANGE LED INDICATIONS

Troubleshooting steps for various issues indicated by the orange LED on the sensor.

GREEN LED INDICATIONS

Troubleshooting steps for various issues indicated by the green LED on the sensor.

BEA ULTIMO Specifications

General IconGeneral
CompatibilityAutomatic doors
Supply Voltage12 – 24 VAC/DC
Operating Temperature-20°C to +50°C
OutputRelay
Relay Hold TimeAdjustable 0.5 - 30 s
Housing MaterialABS
MaterialPlastic

Related product manuals