AUTOMATIC
DOOR
CAUTION
AUTOMATIC DOOR - STAND CLEAR
AUTOMATIC
DOOR
CAUTION
AUTOMATIC DOOR - STAND CLEAR
AUTOMATIC
DOOR
CAUTION
AUTOMATIC DOOR - STAND CLEAR
AUTOMATIC
DOOR
CAUTION
AUTOMATIC DOOR - STAND CLEAR
AUTOMATIC
DOOR
CAUTION
AUTOMATIC DOOR - STAND CLEAR
AUTOMATIC
DOOR
CAUTION
AUTOMATIC DOOR - STAND CLEAR
AUTOMATIC
DOOR
CAUTION
AUTOMATIC DOOR - STAND CLEAR
AUTOMATIC
DOOR
CAUTION
AUTOMATIC DOOR - STAND CLEAR
1
75.0034.03 ULTIMO 20220120 Page 5 of 20
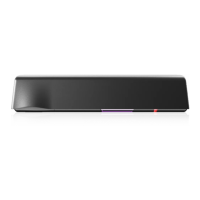
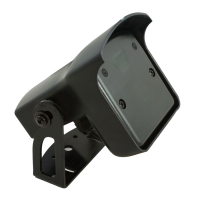
1. Using the provided mounting template, mount the sensor centered over the clear opening*,
ensuring that the bottom of the sensor is no higher than 5 inches from the bottom of the
door header.
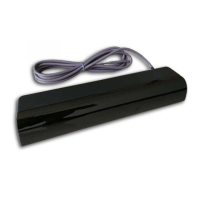
2. Route the harness (20.5349) using the wire stay as shown.
MOUNTING
DUAL SLIDER SINGLE SLIDER
• Sensor connectivity (power and relays) must utilize only the supplied harness.
• Sensor is intended to be monitored for proper operation by the door operator or system.
• Harness shall be routed separated from any Mains or non-Class 2 voltage cable for correct operation or
shall be rated for the Mains voltage, and suitable protection and routing means shall be used according to
National and Local Codes to prevent damage to the harness and/or sensor.
* Extreme left or right mounting is an option for single-sliders when
using IR:Width settings 4 or 5 (see page 12). Be sure that the edge
of the sensor is aligned with edge of the door header
max. 5 in
MOUNTING & WIRING