INSTALLATION
1. General
The installation of the VHF transceiver depends on the type of aircraft and its
equipment. Therefore, only general information can be given in this Section.
2. Testing before installation
A. General
Before installing the VHF transceiver in an aircraft, inspect the unit for signs
of transport damage.
B. Visual examination
Before commissioning, visually examine the unit paying particular attention
to the following defects :
(1) Dirt, dents, scratches, corrosion or broken attaching parts, damaged
paintwork on housing, parts of the housing and panel.
(2) Dirt or scratches on the identification plate, front panel, LCD or
inscriptions.
(3) Dirt, bent or broken pins, displaced inserts of plugs and sockets.
(4) Dirt and mechanical damage to pushswitches and operating knobs.
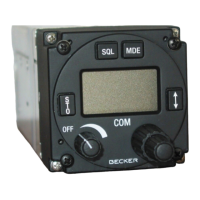
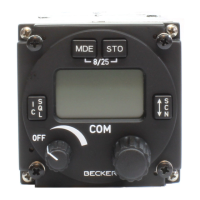
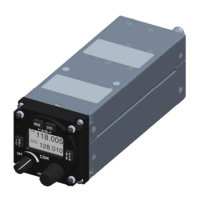
3. Mechanical installation
A. Mechanical installation of VHF transceiver.
The VHF transceiver is designed for installation in the instrument panel of an
aircraft. It is constructed for mounting behind the panel. The circular cutout
and the mounting holes are to be drilled in accordance with the small instru-
ment size. The mounting point shall be at least 30 cm from the aircraft ma-
gnetic compass, to avoid any interference to the magnetic compass by the
Transceiver. The necessary dimensions are given in Fig. 2-3. Attachment is
by means of four screws, which are included in the delivery.
B. Mechanical installation of a temperature sensor
The VHF transceiver enables temperatures in the -20°C to +55°C range to be
displayed, with the aid of the fitted measuring device and the connection of
an external temperature sensor. The location of the mounting of the tempera-
ture sensor depends on the particular purpose and local conditions. The wi-
ring diagram is shown in Fig. 2-4. A twisted, screened cable should be used.
INSTALLATION AND OPERATION
AR 4201 - ( )
Page 2-1
23-10-01 December 15/95