Mechanical Installation – Part 1: Tiles
Version: 1.0 ───
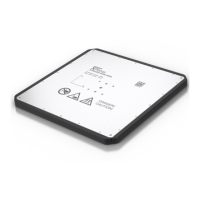
43XPlanar
Mounting example
This chapter provides information about installing an XPlanar. The
assembly is described based on a simple symmetrical system with
3x4tiles as an example.
Observe the order of assembly
Assemble the XPlanar one step at a time. Insert the tiles one after
the other into the machine bed. This avoids complications with po-
sitioning and mounting individual tiles at the end of the first part of
the mechanical installation.
7.1
Preparation
Before you start installing the tiles, you need to provide a suitable
machine bed.
7.1.1Technical aids
You need the following aids for the mechanical installation:
• Suitable torque wrench
• Suitable screwdrivers
• Soft-faced hammer
• Lint-free cloth
7.1.2Machine bed
The machine bed is not part of the scope of supply and must be pro-
vided by the customer.
Beckhoff recommends the following material for the milled machine
bed:
• Aluminum
Dimensional drawings and 3D models online
The dimensional drawings and 3D models for the machine bed are
available for download from the Beckhoff website: www.beck-
hoff.de/download
Distance
In order to facilitate assembly and maintenance work, sufficient
clearance to the underside of the machine bed is required. Ensure
adequate cooling of the tiles by providing adequate space below the
tile, by installing a fan[+] or by using a water-cooled machine bed.