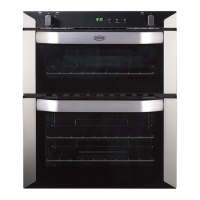
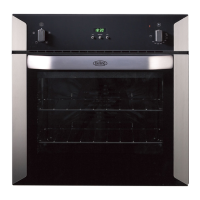
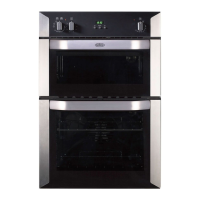
Step 1: Prepare installation
Do not lift the oven by the door
handle.
Whilst every care is taken to eliminate
burrs and raw edges from this product,
please take care when handling - we
rec ommend the use of protect ive
gloves during installation.
Please note that the weight of this
appliance is approximately 2 3kg
(unpacked). Take care when lifting it
into the housing unit - always use an
appropriate method of lifting.
If the appliance is to be installed near
to a corner where the adjacent
cabinets run at right angles forward of
the appliance, there must be a gap of
at least 90mm between the appliance
and the cabinets, to prevent
overheating of the cabinets.
1. Remove the fixing screws from the
polythene bag on the top of the
appliance, but leave the appliance
in the base try packaging until you
are ready to install it.
Note: When removing the appliance
from the base tray packaging,
care should be taken to ensure the
outer frame trim is not damaged.
2. (i) When installed in a typical
600mm deep built in housing unit,
the false back should be removed
from the housing unit to provide
the necessary depth for installation.
(ii)When the false back is
removed, it is normally the case
that the support shelf for the
appliance leaves a gap between
the back edge and the wall of
approximately 80mm.
(iii) If no gap occurs between the
back edge of the shelf unit and the
wall behind the unit, we recommend
that a gap of at least 30mm is
made by shortening the shelf.
21
INSTALLATION INSTRUCTIONS
90mm (minimum)
Front of
oven
12mm gap
Back edge
of support
shelf
30-80
mm
Rear
wall