31
12.2 Replacing the saw blade
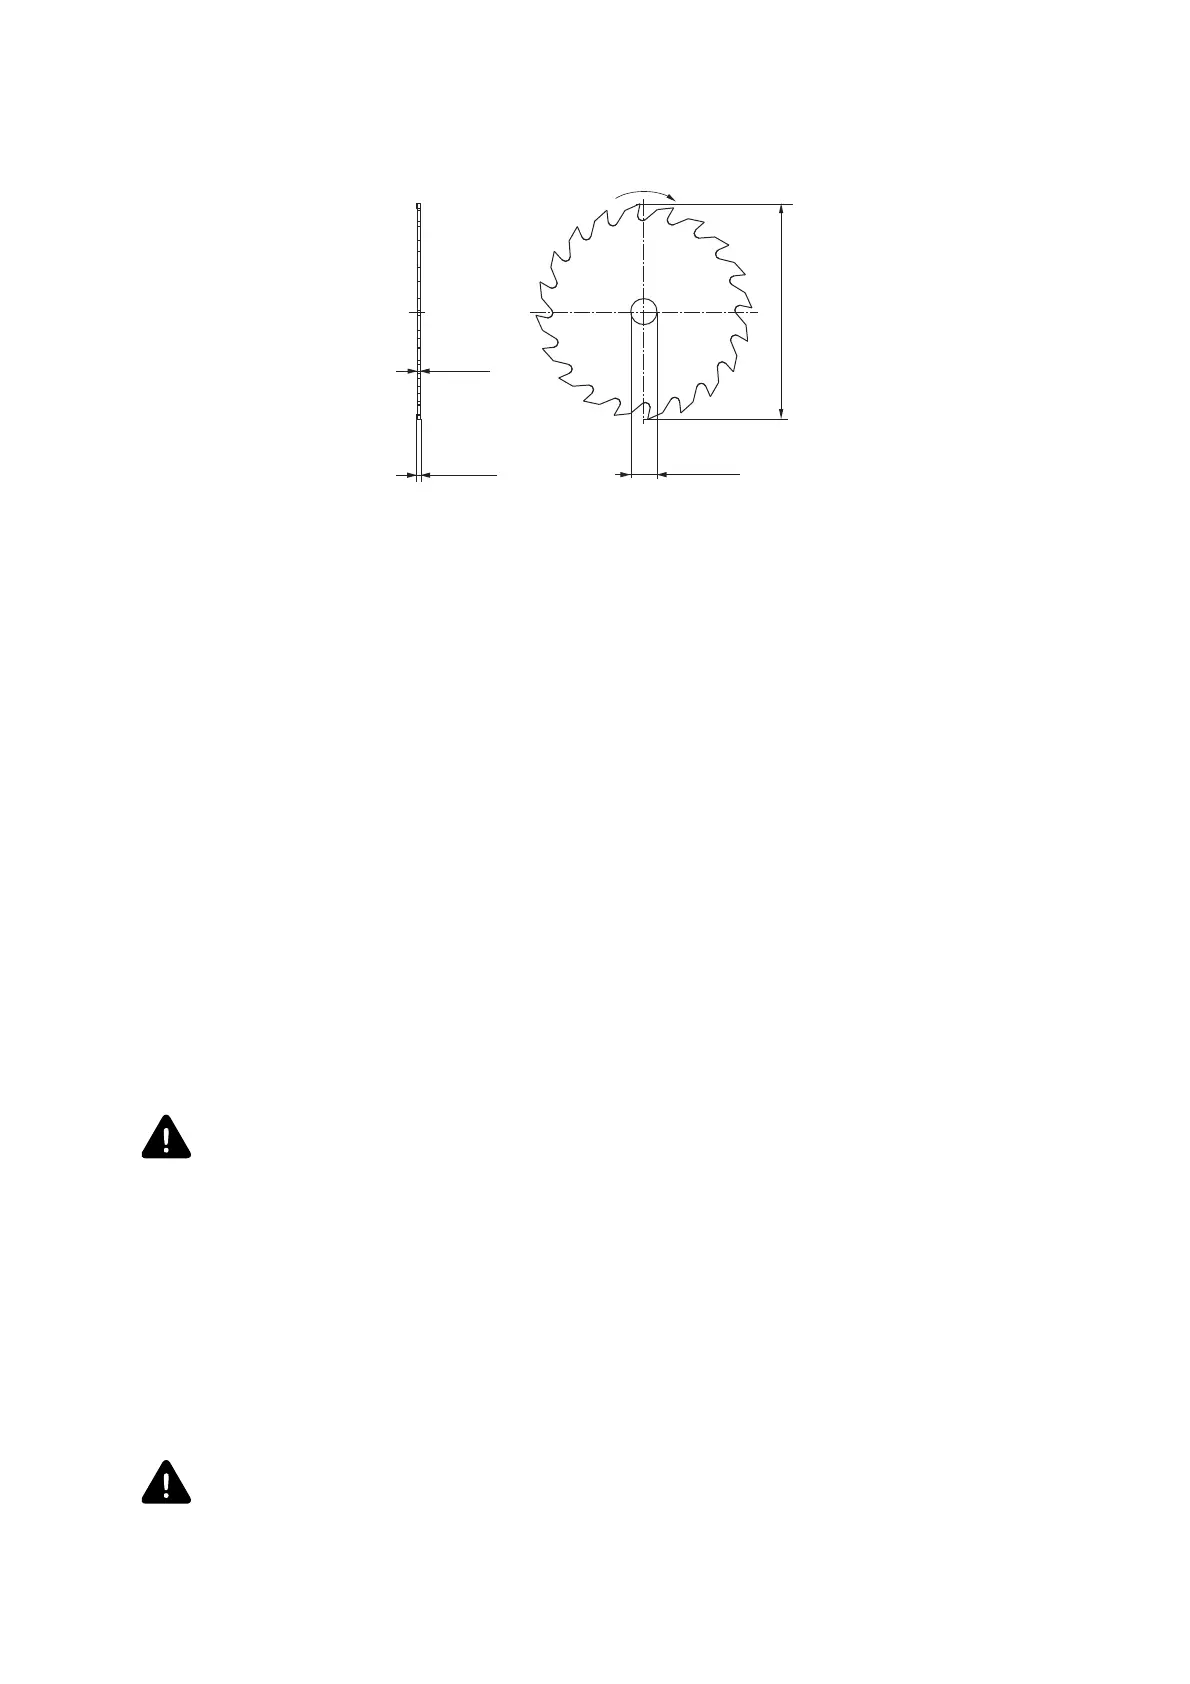
It is recommended to apply the saw blades with carbide blades for this machine (Fig. Z).
Fig. Z
Saw blade
When installing the saw blade it is necessary to observe the rotating direction. Installing
process is similar to the one described in the paragraph 11.6.1. The direction of the teeth
should coincide with the arrow direction on the security casing that protects the saw blade
above the work table.
12.2.1 Dismounting the saw blade/ cutter
Lower the saw blade 25 (cutter 40) with the help of the lever 27 (Fig. В2) to the down
position.
Unscrew the flywheel to fix the position of the saw blade/cutter 32.
Remove the cover of the saw blade (cutter) fencing 30with the help of the screw driver.
Install the flywheel 32 to its place.
Lift the saw blade/cutter to the uppermost position and fix it with the flywheel 32.
Put the wrench 68 into the gap between the saw blade/cutter and the insert hole of the
cutting table 31, fix the position of the flange of the saw blade/ cutter.
With the help of the box wrench 56, hold the wrench 68 unscrew the union joint of the nut 67
and flange of the saw blade/cutter.
Mind the left union joint of the nut 67. Tightening is performed counterclockwise,
loosening – clockwise.
Unfix the flywheel 32 and lower the saw blade/cutter to the down position.
Unscrew the flywheel 32.
Remove the nut 67 and the saw blade 25 (cutter 40).
12.2.2 Installing the saw blade/cutter
If necessary, clean all the parts before installation.
Install a new saw blade/cutter на on the bearing flange, set the nut 67.
Do not use saw blades of the smaller size. The distance between a saw blade and
a splitting knife should be up to 5 mm.
Ø32 mm
3,2mm
2÷2,2mm
ØD mm