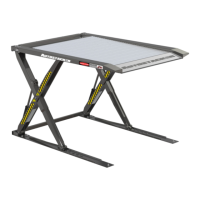
Autostacker™ Parking Lift 60 P/N 5900002 — Rev. D — August 2019
Installing the Control Stands
The Control Stand holds the Controls to operate a Lift in your setup; each Lift has its own Control
Stand. The Control Stand can be placed at the Front or Rear of the Lift, although the installation for
either orientation is different. Those procedures are described here.
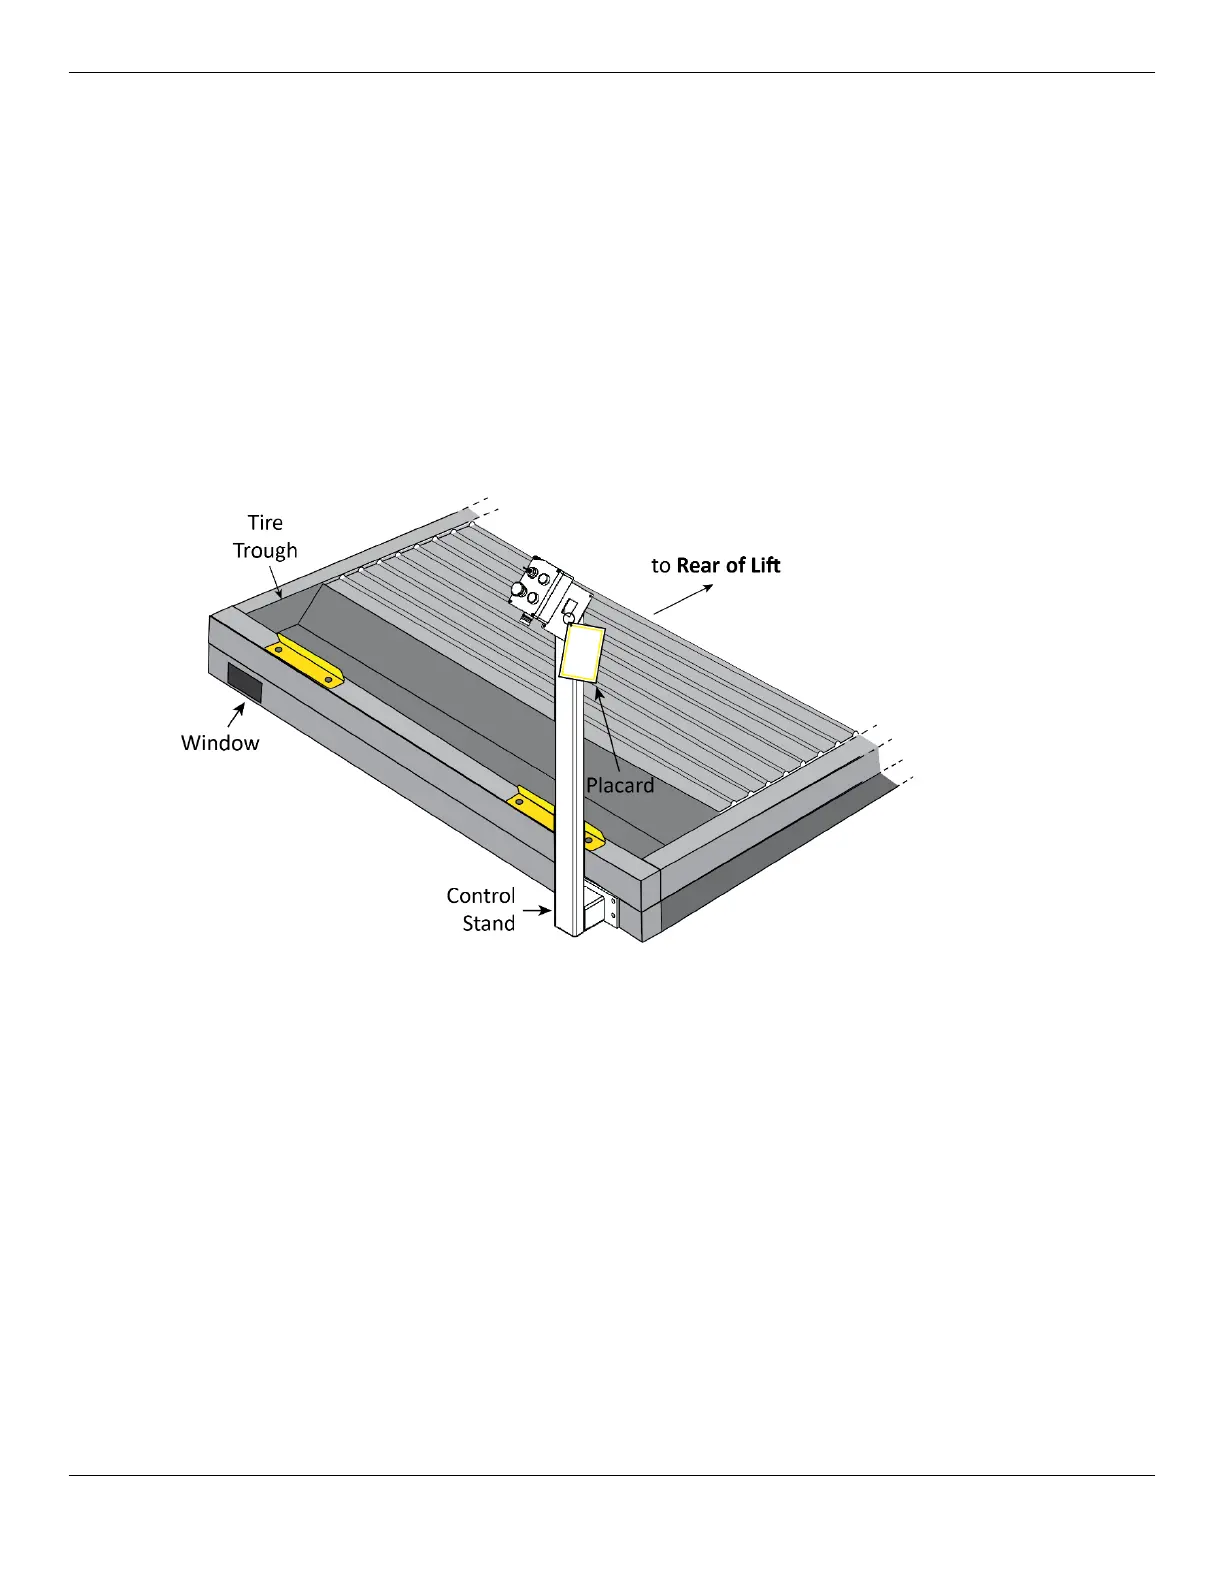
Each Control Stand comes with a Placard containing operation instructions.
The following steps explain how to
install
, but not make the connections to, the Controls for each
Lift. An Electrician is
not
needed to install the Controls, only to connect them to the Power Unit.
⚠ DANGER Do not connect the wires to the Power Unit at this point; that task is for an
Electrician. All wiring connections made to the Power Unit must be performed by a
licensed, certified Electrician.
The following drawing shows the Control Stand at the
Front
of the Lift.
Not necessarily to scale. Not all components shown. Drawing shows the Stand at the Front of the Lift.
To install the Control Stand at the
Front
of the Lift:
1. Find the Control Box, Control Stand, and the three rolls of Electrical Cables from the Control Kit (14
AWG-4, 16 AWG-2, and 16 AWG-6).
2. By the Power Unit, route the 14-4 Cable through the Bottom Connector Tube.
Let the wires hang out of the Window you want to use.
3. Place the Control Stand nearby the selected Window, with the opening at the bottom of the
Control Stand facing towards the Lift.
4. Remove the Screws from the Control Box to have access to the wiring inside.
5. Connect the 16-6 Cable to the Controls, then route the Cable through the Stand.
Refer to Wiring Diagrams for wiring information.
6. Connect the two Solenoids on each Lift together with the 16-2 Cable, then attach the 16-2 cable
to the 16-6 Cable.
Refer to Wiring Diagrams for wiring information.