18
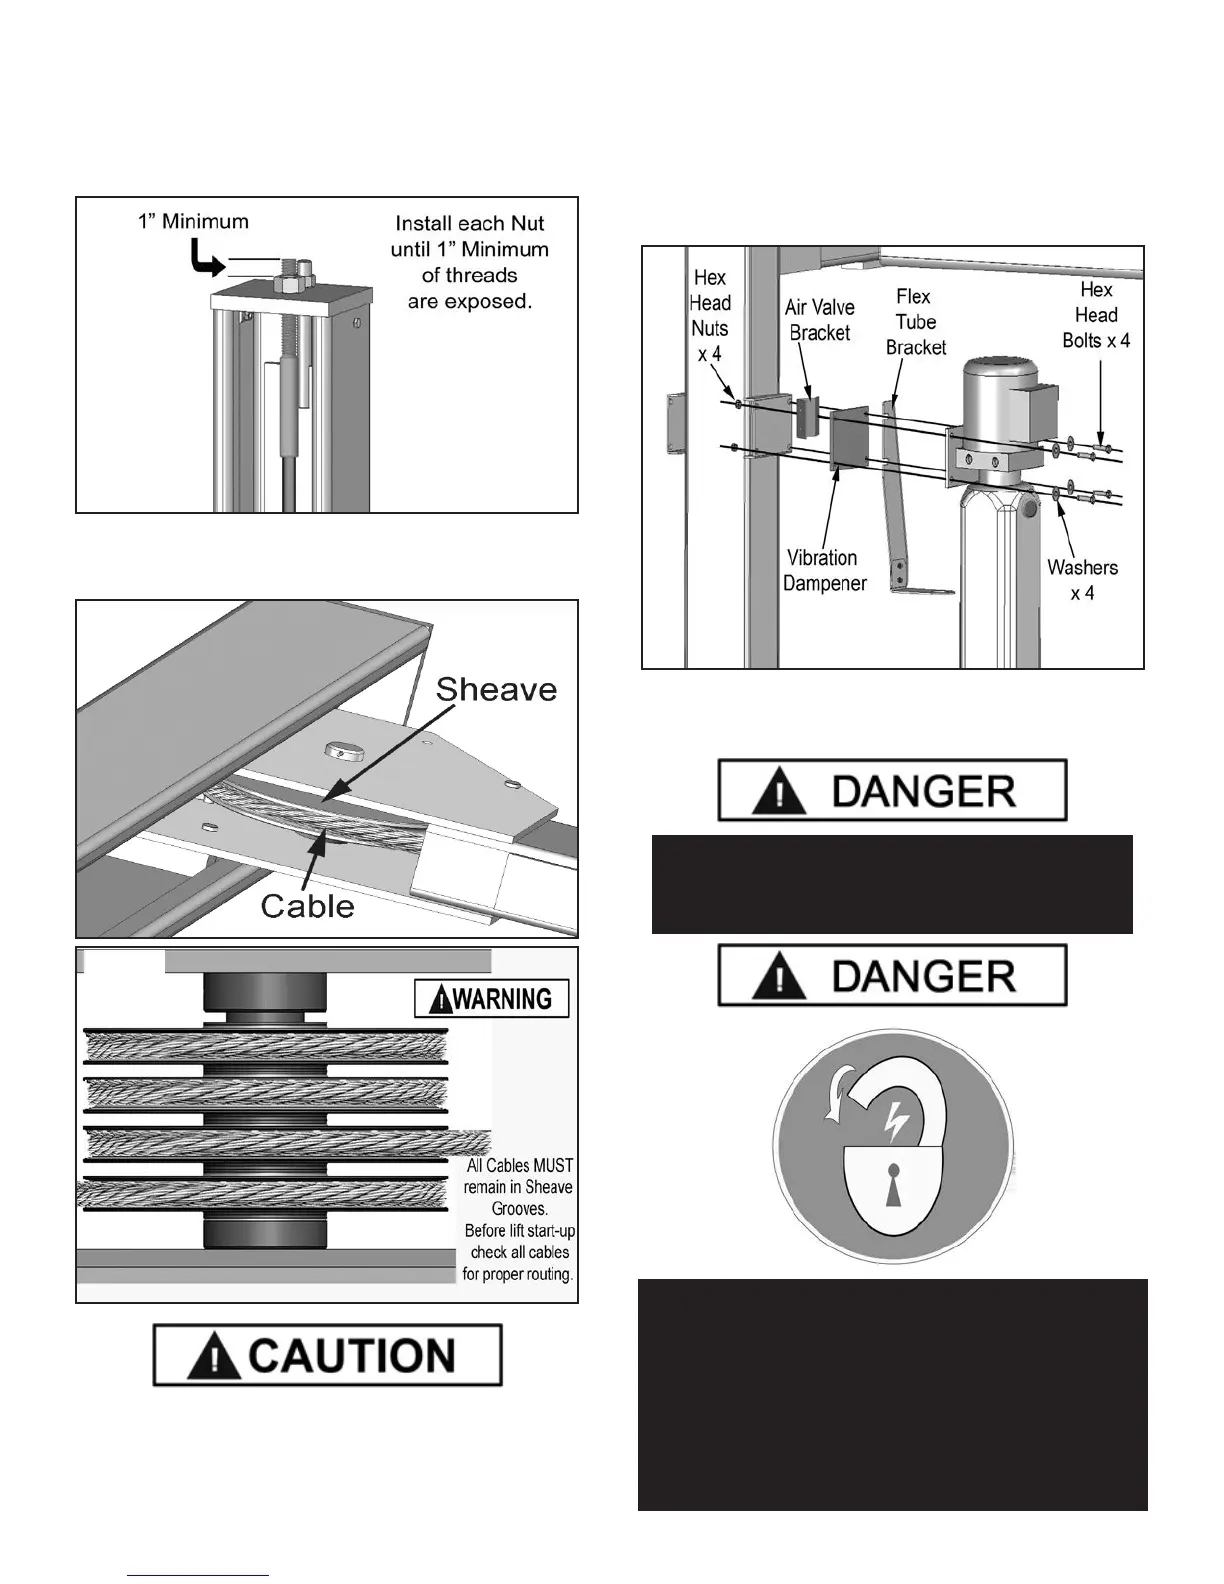
3. Secure using the M22 Hex Nuts and Flat Washers.
Tighten each nut until there is at least one inch of thread
protruding through the top of the Nut. The Cables will
remain loose until start up and nal Cable adjustments
are made. (See Fig.8.6)
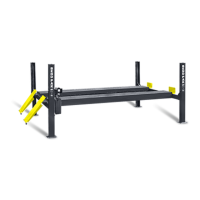
3. After routing the Cables double-check to make sure
all are properly positioned and remain within the grooves
of ALL Sheaves. (See Fig. 8.7 - 8.8)
CAUTION!
Remember to tighten the Sheave Shaft Lock Screw.
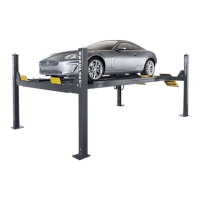
STEP 9
(Power Unit Installation)
1. Mount the Power Unit, the Flex Tube Mounting
Bracket, the Vibration Dampener and the Air Valve
Mounting Bracket to the Power Unit Mounting Bracket
using the M8 hex bolts and nyloc nuts. (See Fig 9.1)
2. Fill the reservoir with 12 quarts of 10-WT hydraulic oil
or Dexron automatic transmission fluid.
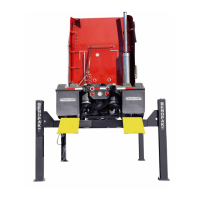
Fig 8.6
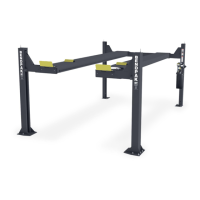
Fig 8.7
DANGER !
DO NOT PERFORM ANY MAINTENANCE OR
INSTALLATION OF ANY COMPONENTS WITH OUT
FIRST ENSURING THAT ELECTRICAL POWER HAS
BEEN DISCONNECTED AT THE SOURCE OR PANEL
AND CANNOT BE RE-ENERGIZED UNTIL ALL
MAINTENANCE AND/OR INSTALLATION
PROCEDURES ARE COMPLETED.
DANGER !
ALL WIRING MUST BE PERFORMED
BY A LICENSED ELECTRICIAN.
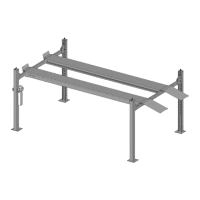
Fig 9.1
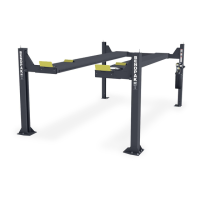
Fig 8.8