13
120001 Rev K 1-19-18
The dispenser is bolted to a pallet with bolts and nuts. With the lower doors removed and safely stored
away, remove the nuts and bolts that secure the dispenser to the pallet as shown in figure 1 and figure
2.
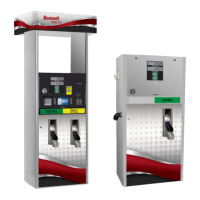
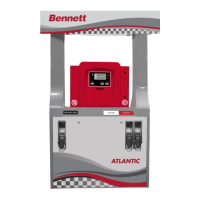
Thread two lifting straps (900 lbs. Capacity each minimum) through the dispenser as shown in figure 3
and figure 4. Be careful not to allow the straps to go under any of the hydraulic castings such as the
meter outlet, copper tubes or valves. The straps should be lifting only against the front and rear chassis.
Use a forklift or pallet lifting device with the forks spread wider than the pump and gently lift the
dispenser. This lifting method will also work on the high hose dispenser. Place the dispenser gently on
the island using care to line up the base anchor bolt holes with the anchor bolts embedded in the
concrete island.
WARNING: Lift only to the height required to set the dispenser on the island. Keep hands
and feet clear of the dispenser while it is suspended in the air.
Figure 4 - Front View - Using lifting
straps to lift and move the dispenser.
Figure 3 - Side View - Using lifting
straps to lift and move the dispenser.
Notice the forks are spread wider than
the pump.
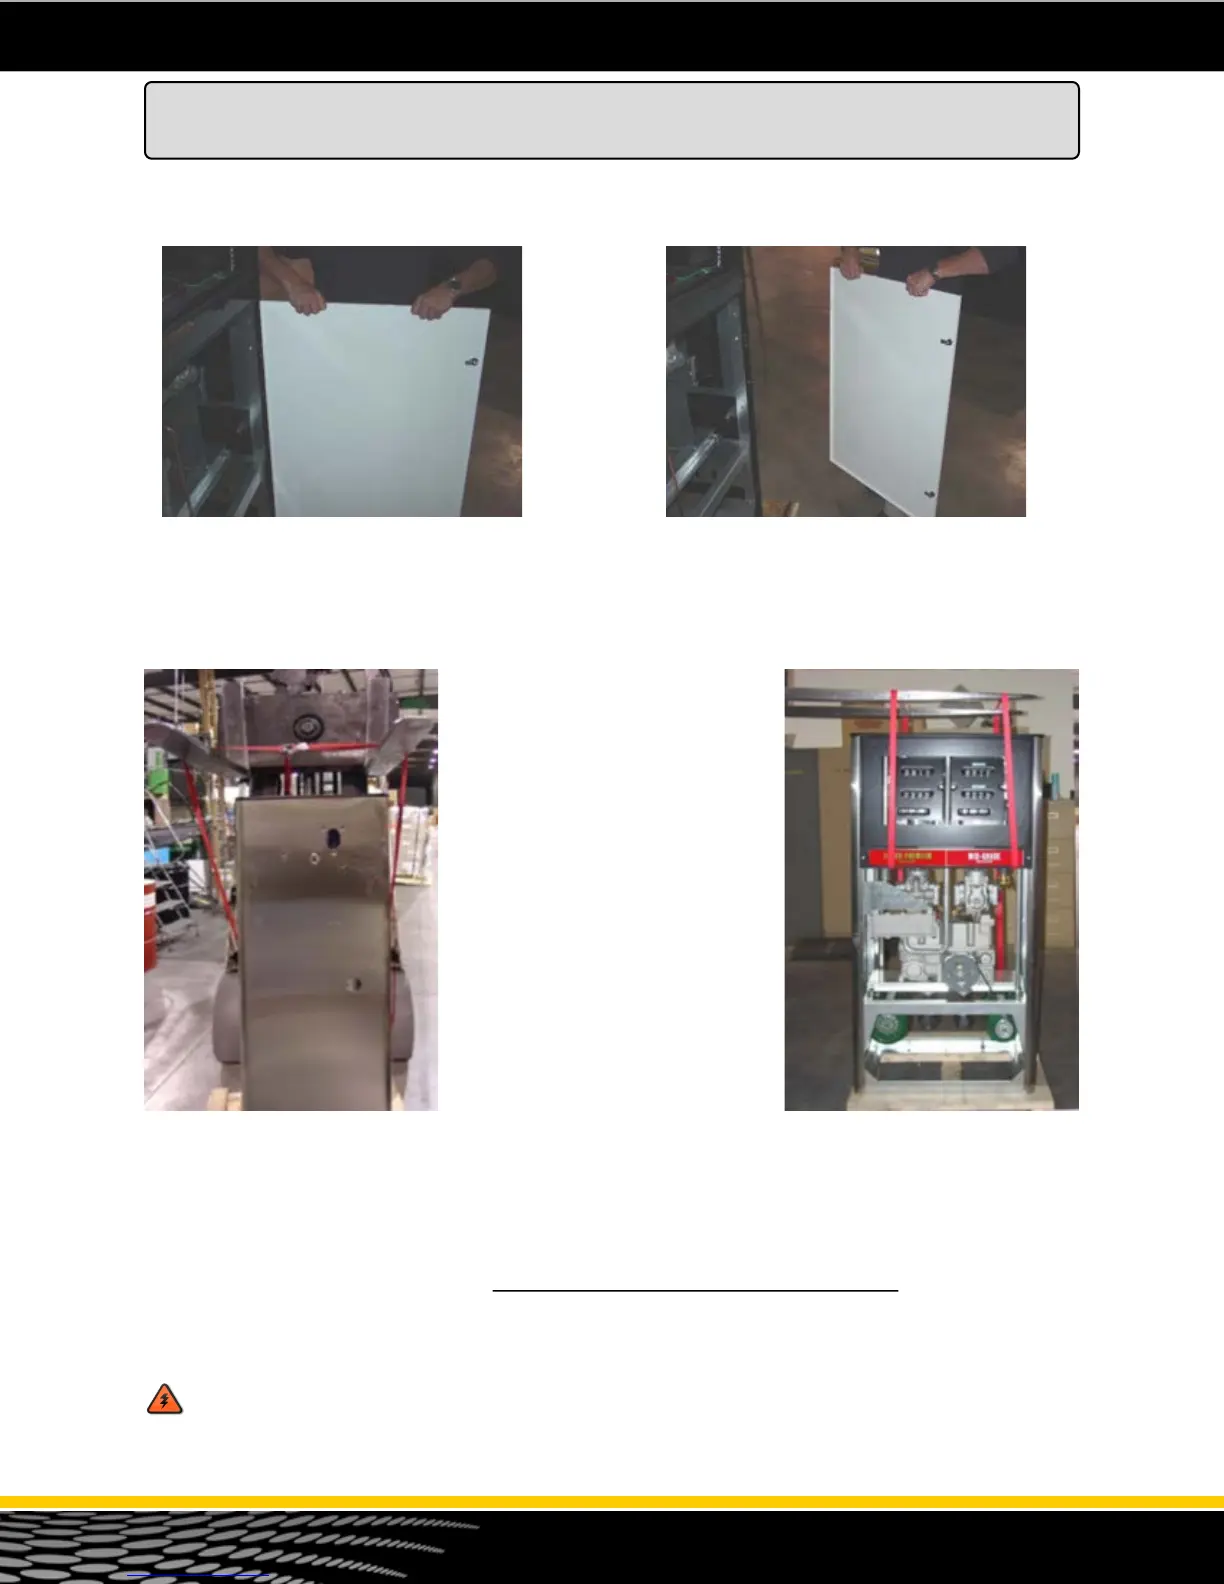
Figure 1 - Unlock the lower door with the keys
that come with the unit. Swing the door open 90
degrees and lift.
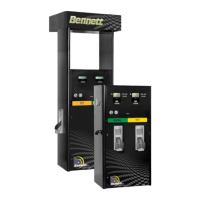
Figure 2 - Remove the door and store in a safe
place until it is ready to be re-installed.
Lifting a New Dispenser and Placing it on the Island