41
3000 Series Retail Operators Manual 108796 Rev C, 07/05
Electronically Calibrating the SB-100 (Standard Flow) and FPP (High Flow) METER (E-CAL)
How to set the Electronic Calibration
- Electronic calibration is a simple method to
calibrate the meters in the dispenser. Electronic calibration is the same for either the stan-
dard flow sb-100 meter or the high flow FPP meter. This method uses a mathematical
algorithm in the software to account for meter wear rather than mechanical methods to
limit the piston throw within the meter.
This method also eliminates the parts associated with mechanical calibration in the meter.
The result is a more symmetrical meter that will be intrinsically more accurate.
Follow these steps to electronically calibrate the meter:
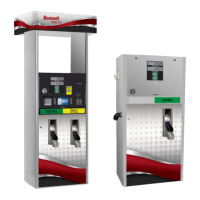
Step 1 - Pump 5 gallons or 20 liters (standard SB-100 meter) OR 50 gallons (high flow
FPP meter) as displayed on the dispenser display into your CERTIFIED TEST CAN.
Make sure to stop pumping at exactly the desired amount. See Fig. 2.
Step 2 - Read the plus / minus value in the test can.
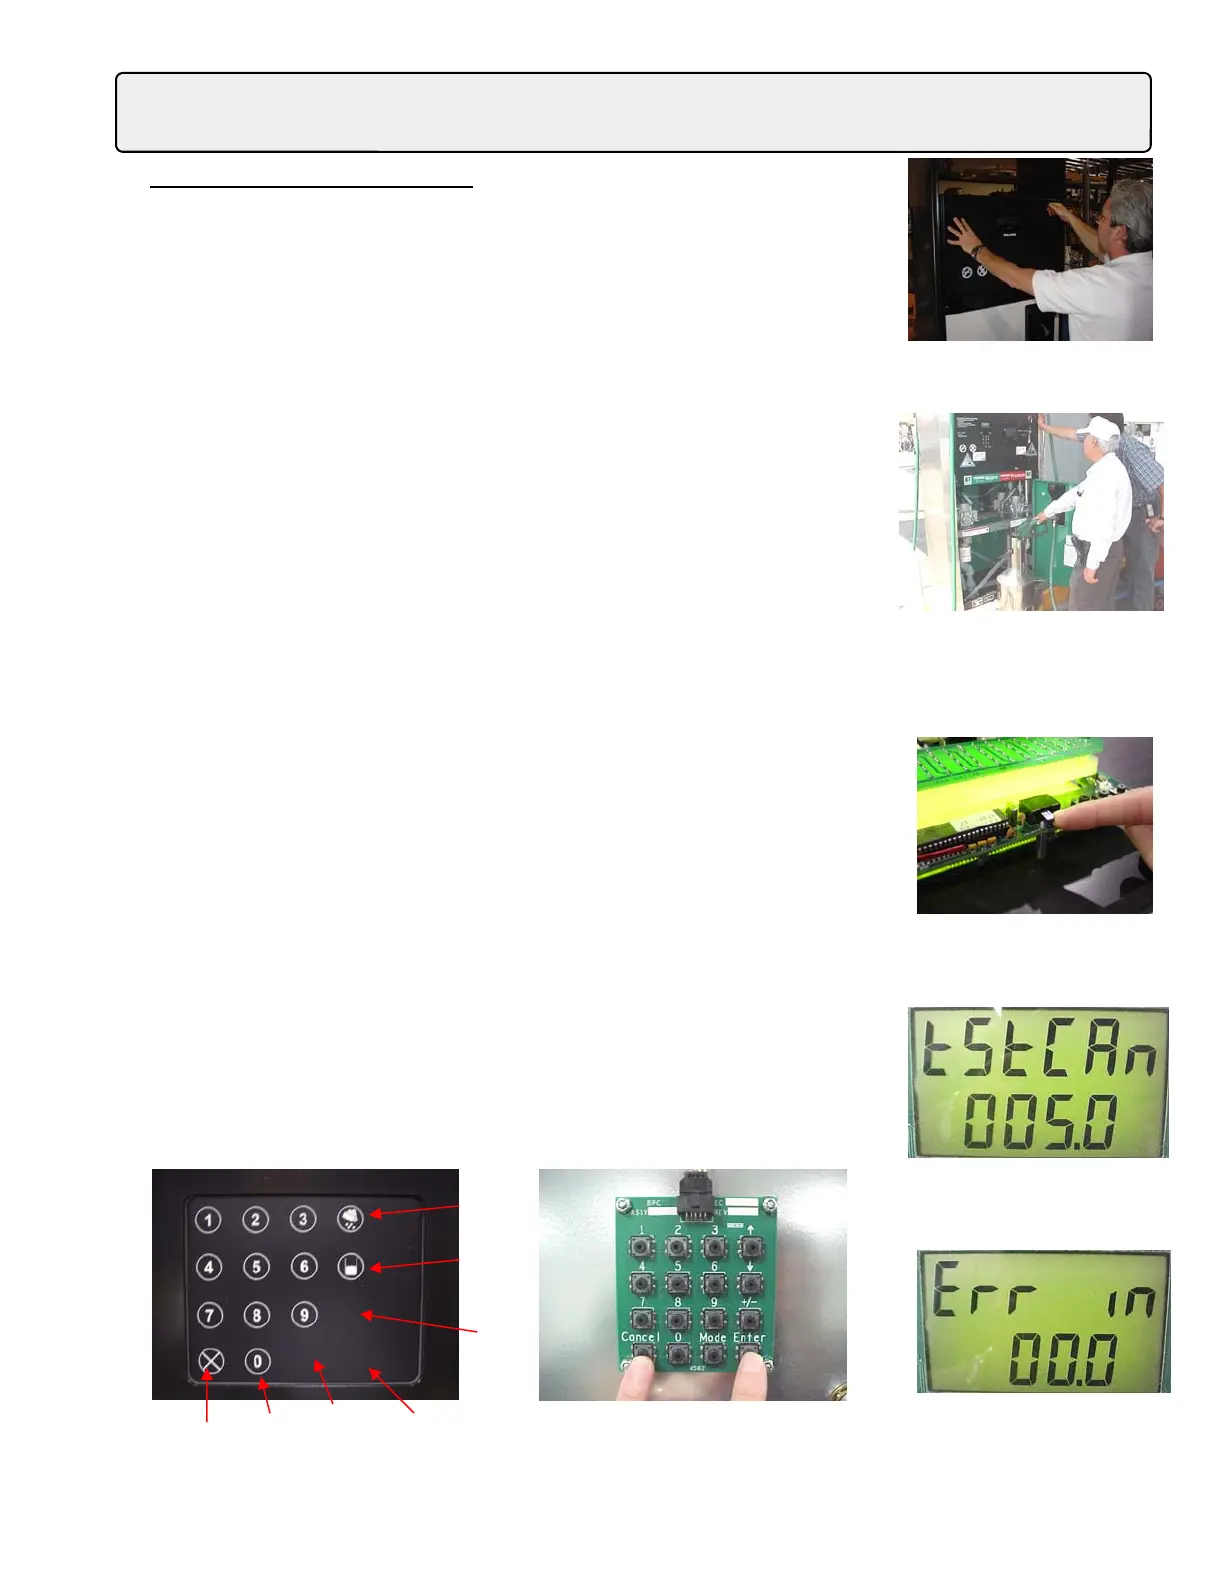
Step 3 - Unlock and open the electronics door on the side with the meter that you want to
calibrate (See Figure 1). IMPORTANT - Make sure you are calibrating the correct meter!
To make sure, locate the meter you are working on and the valve that is connected to it.
Follow those valve wires to the correct CPU/Control Board to ensure you are electroni-
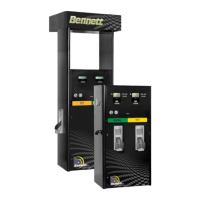
cally calibrating the correct meter. With the power on, locate the electronic calibration
switch on the top of the CPU/Display board (mounted to the door) See Figure 3.
Step 4 - Break the seal and move the switch to the calibrate position. Close the door.
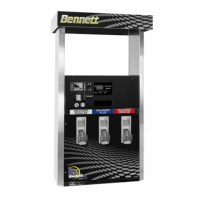
Step 5 - The display should say “TstCAn”. Use the manager keypad to input the size of
the sample (test can size) that you took. If you have a 5 gallon sample enter 5.0. If you
have a 20 liter sample enter 20.0. In this example we will say we used a 5 gallon sample.
See Fig. 4
Step 6 - Press the “Enter” button on the Manager Keypad. The next display should say
“Err in”. This is asking you for the error in cubic inches as measured in the test can. Nor-
mally the test can is calibrated in “cubic Inches”. Enter the amount that your test sample
was either ”over” or “under” the “0” mark on the can. If your sample was “above” you
would enter a “positive” value. If your sample was “lower” or “Below” the test can “0”
mark, you would enter a “negative” or (-) sign. You do this by pressing the +/- button on
the manager Keypad. If you have a Local Preset the buttons are located behind the over-
lay. See Fig. 6 below for a location of the buttons if you have the local preset option.
Fig. 1 - Open the upper door.
Fig. 3 - Remove the seal and turn
the ecal switch “ON”.
Fig. 2 - Pump your sample into a certi-
fied test can.
Fig. 4 - If you took a 5 gallon
sample, enter 5.0
Cancel Zero Mode Enter
+/-
Money/Up
arrow
Volume/
Down arrow
Fig. 5 - This is where you enter
the error as measured in the test
can.
Fig. 6 - Local Preset (left) has an overlay that covers the same Manager Keypad (Right)
on a standard retail 3000 series dispenser. This shows the locations of all the buttons.