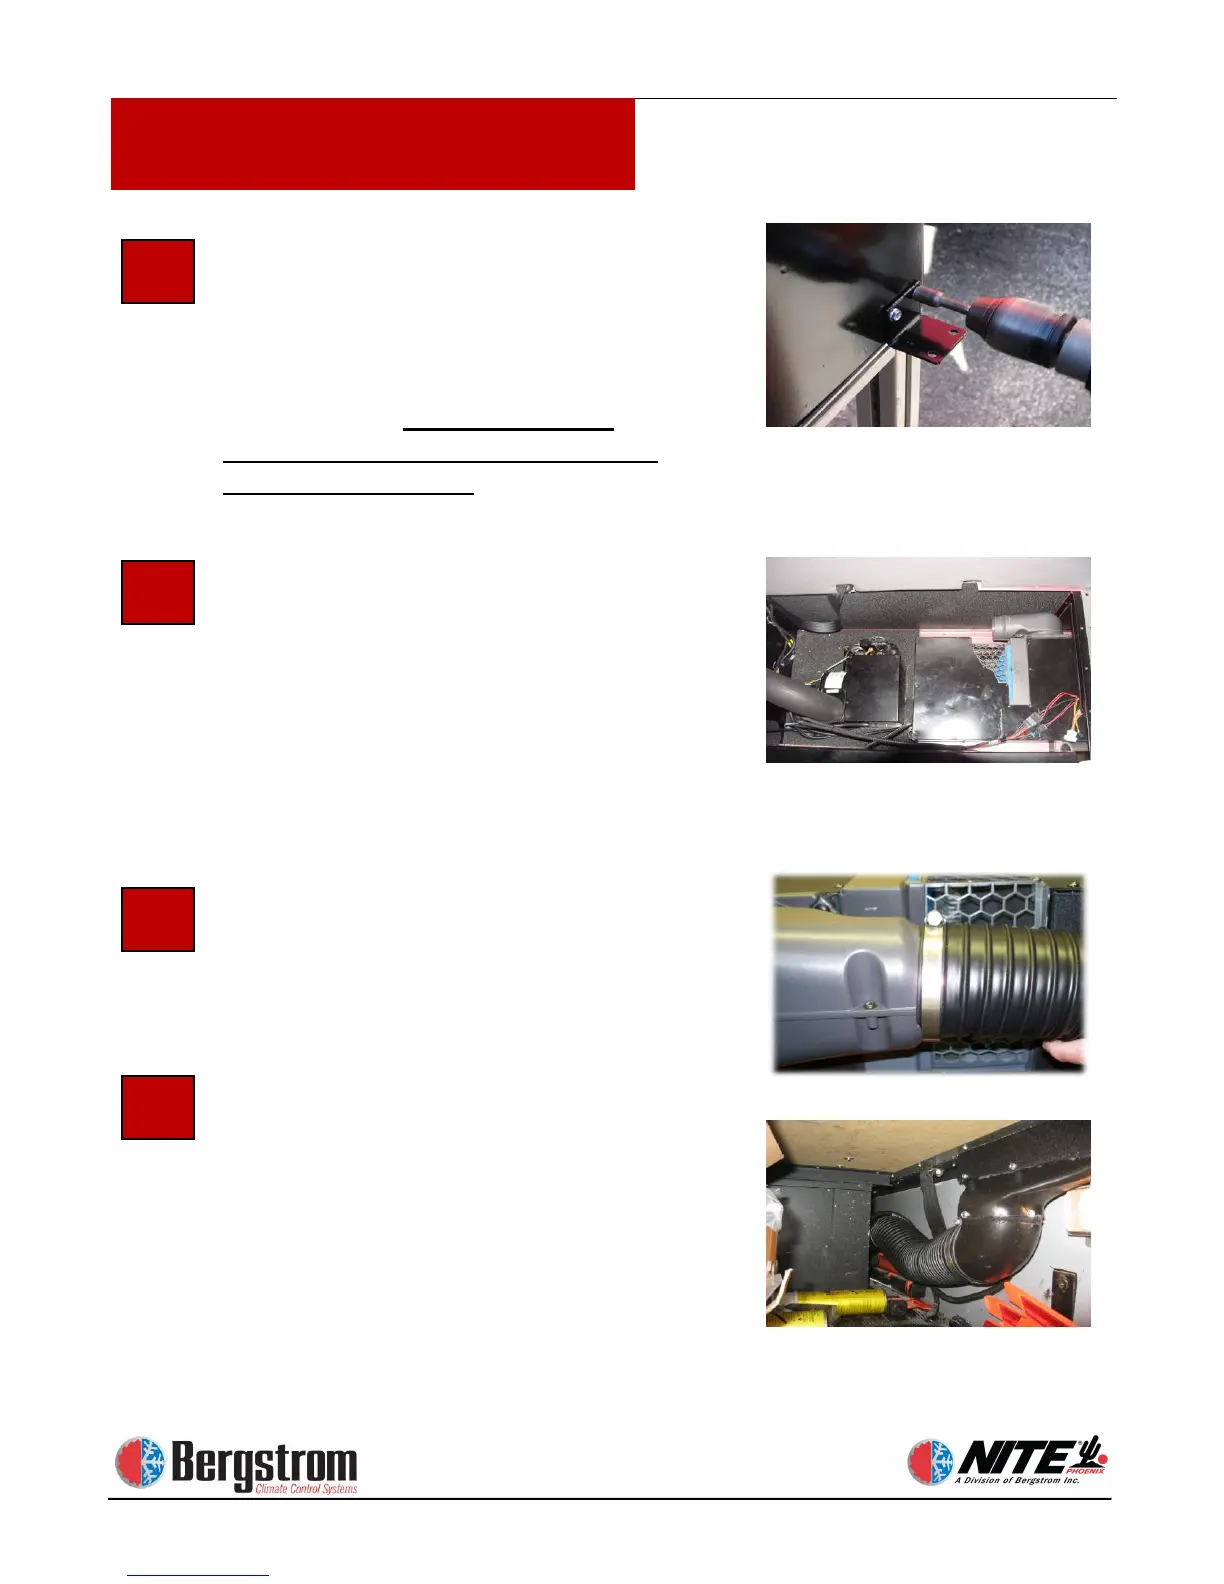
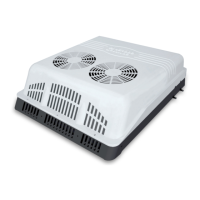
Install mounting feet
The Phoenix unit has 8 pre-dimpled
locations. Fasten feet in the 4 locations
matching the predrilled holes from page
12 step 8. Use 1″ X 5/16 hex head self -
drilling screws. Do not install feet
where the case is not dimpled or you
will damage the unit.
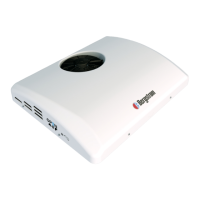
Test Fit the NITE Phoenix Unit,
Elbow Duct and Flange. Set the NITE
Phoenix unit in place as shown. Test fit
the flange and elbow for clearance
against the rear wall. Rotate the elbow
towards the driver’s side. Now secure
the unit using eight
1″ X 5/16 head self-drilling screws in
the predrilled holes.
Attach Assembled Elbow to the
Flexible Duct. Insert flexible duct onto
the round end of the elbow unit. Tighten
hose clamp to secure flex duct to elbow.
Attach Flexible Duct to Transition
Duct. Run flexible duct through
support wall to the NITE Phoenix duct
location. Attach the flexible duct to the
transition duct. Tighten hose clamp to
secure flex duct to transition duct.
Apply silicone sealant around seam.
Photo shows stealth cut and rotated 90°.
Go to step 37