8 9
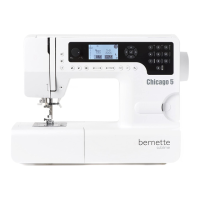
OPERATING INSTRUCTIONMACHINE OVERVIEW AND INSTALLATION
A
E
J
B
B
K
C
G
F
H
D
D
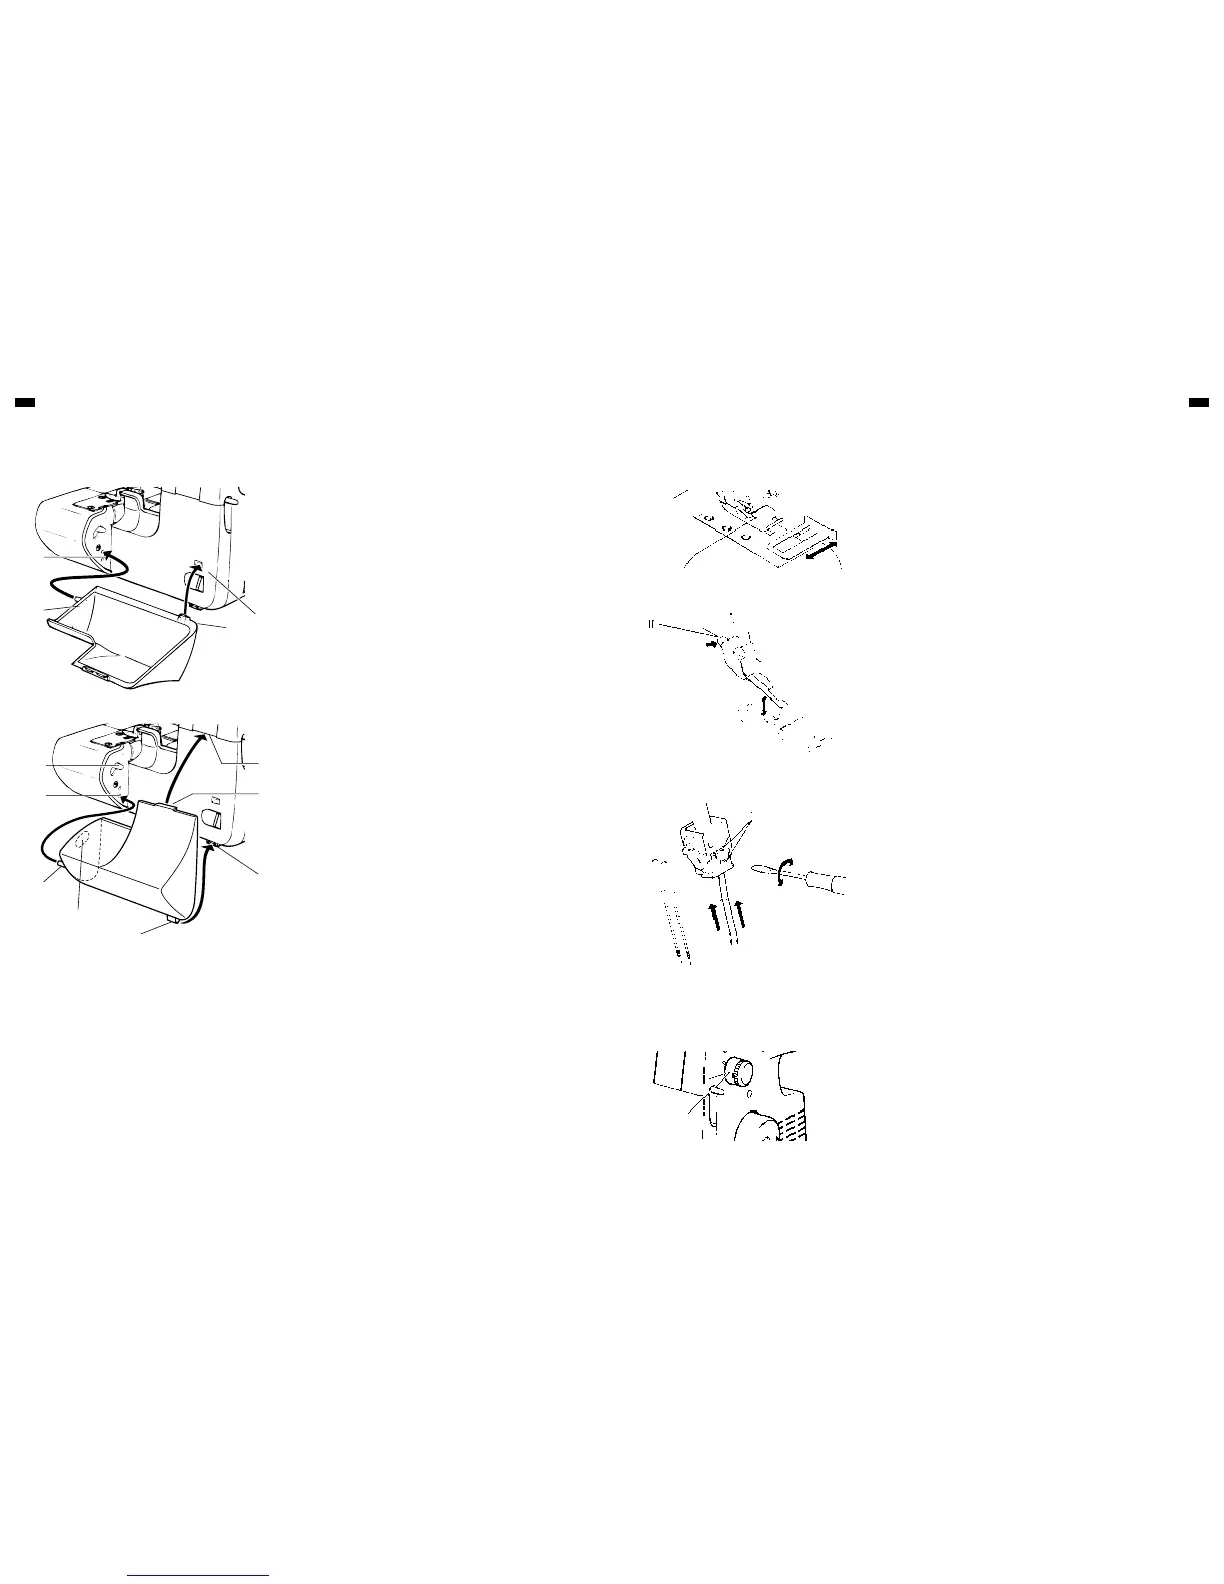
LINT TRAY
When attaching the lint tray onto the position where it may collect scraps of
fabric, insert the projection (B) into the upper hole (A) and the projection (D)
into the hole (C) at the same time.
When storing the lint tray onto the machine after completion of work,
1. Insert the projection (B) into the lower hole (E) and release lever (J) into the
hole (K) at the same time,
2. Insert the projection (D) into the hole (H) and the projection (G) into the
hole (F).
*I
*II
*III
CHANGING NEEDLE
Raise needle bar to its highest point by turning hand wheel towards you, but
leave presser foot down. Loosen needle clamp screw to remove the needle,
and place new needle with Flat Side Away From You, into the needle bar as
far as it will go, and tighten screw.
CUTTING WIDTH GAUGE
When using cutting width gauge, the fabric is cut down and sewn at same
distance from the edge of fabric within the distance of the width adjuster.
CHANGING PRESSER FEET
Be sure needle is in the up position. Raise presser foot lever.
1. Push foot release lever to remove the foot.
2. Place the desired foot on the needle plate aligning needle holes.
3. Lower the presser foot lever and push foot release lever so that the foot
holder snaps on the foot.
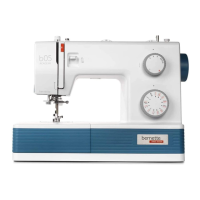
BASIC OPERATING PROCEDURES
OPERATING INSTRUCTION
ADJUSTMENTS AND SETTINGS
STITCH LENGTH
Turn the stitch length dial until the required length is obtained.
The higher the number, the longer the stitch. This dial can adjust the stitch
length from 1 to 5 mm all so on Position P and R.
Illustration
I. Foot release lever
II. Needle clamp screw
III. Flat side away from you.
IV. Stitch length dial
IV