73
Combi mode
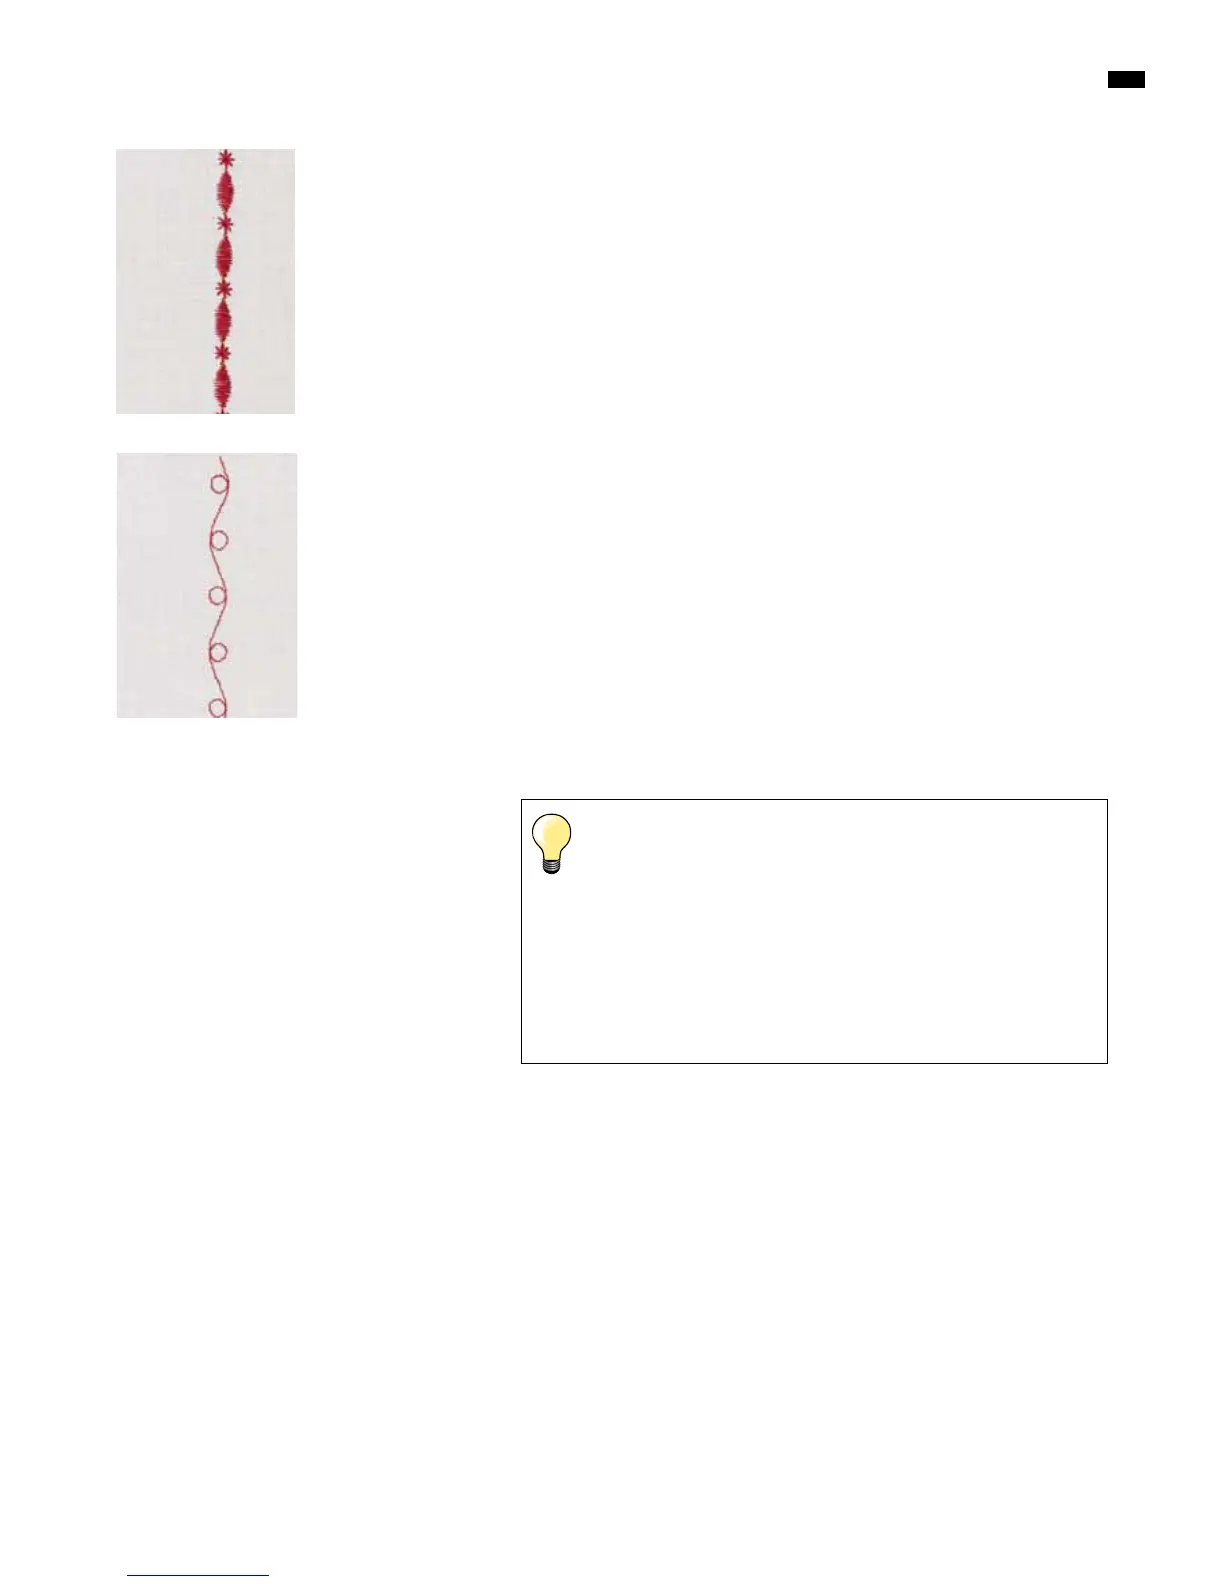
Example A
Continued sewing of the stitch pattern combination.
█
select the «Combi mode», see page 71
█
select decorative stitches
█
press the «OK»-button to confirm
█
select the stitch pattern No. 711 in category 700
█
press the «OK»-button to confirm
█
press the «Back»-button
█
select the stitch pattern No. 407 in category 400
█
press the «OK»-button to confirm
█
press the «Back»-button twice
█
choose the sewing mode
█
press the «OK»-button to confirm
█
sew combination
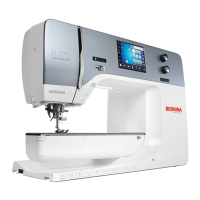
Example B
Combining stitch pattern and «Mirroring»-Function and sewing continuously.
█
select the «Combi mode», see page 71
█
select decorative stitches
█
press the «OK»-button to confirm
█
select stitch pattern No. 730 in category 700
█
press the «OK»-button to confirm
█
select the stitch pattern No. 730 again
█
press the «OK»-button to confirm
█
press the «Back»-button twice
█
choose the sewing mode
█
press the «OK»-button to confirm
█
select the second stitch pattern via the «Navigation»-button «down»
█
press the «Mirror image»-button
█
press the «Pattern begin»-button
█
sew combination
Combinations of decorative stitches sewn with embroidery
thread
stitch patterns appear fuller
thread the bobbin thread into the bobbin finger for best results
Pattern combination on two layers of fabric
Bottom layer does not pucker.
Pattern combination on a single layer of fabric
always use a (adhesive) stabilizer or a tissue paper as a backing
remove stabilizer or tissue paper after sewing
Example C
Programming lettering/numbers.
█
select «Combi mode»-icon
█
select desired alphabet and enter the text
█
press the «Back»-button twice
█
choose the sewing mode
█
press the «Securing»-button
►
the sewing computer sews securing stitches at the beginning of the entered
combination
█
sew the combination
█
press the «Securing»-button while sewing
►
the sewing computer sews securing stitches at the end of the entered
combination and stops
█
trim connecting threads after sewing



 To Next Page