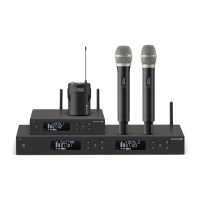
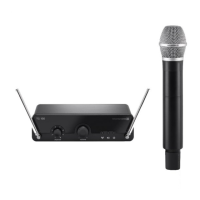
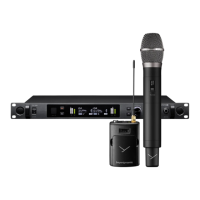
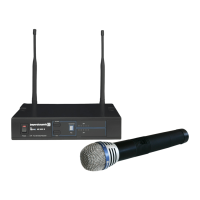
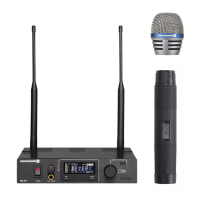
TG 500 – Diversity receiver
8
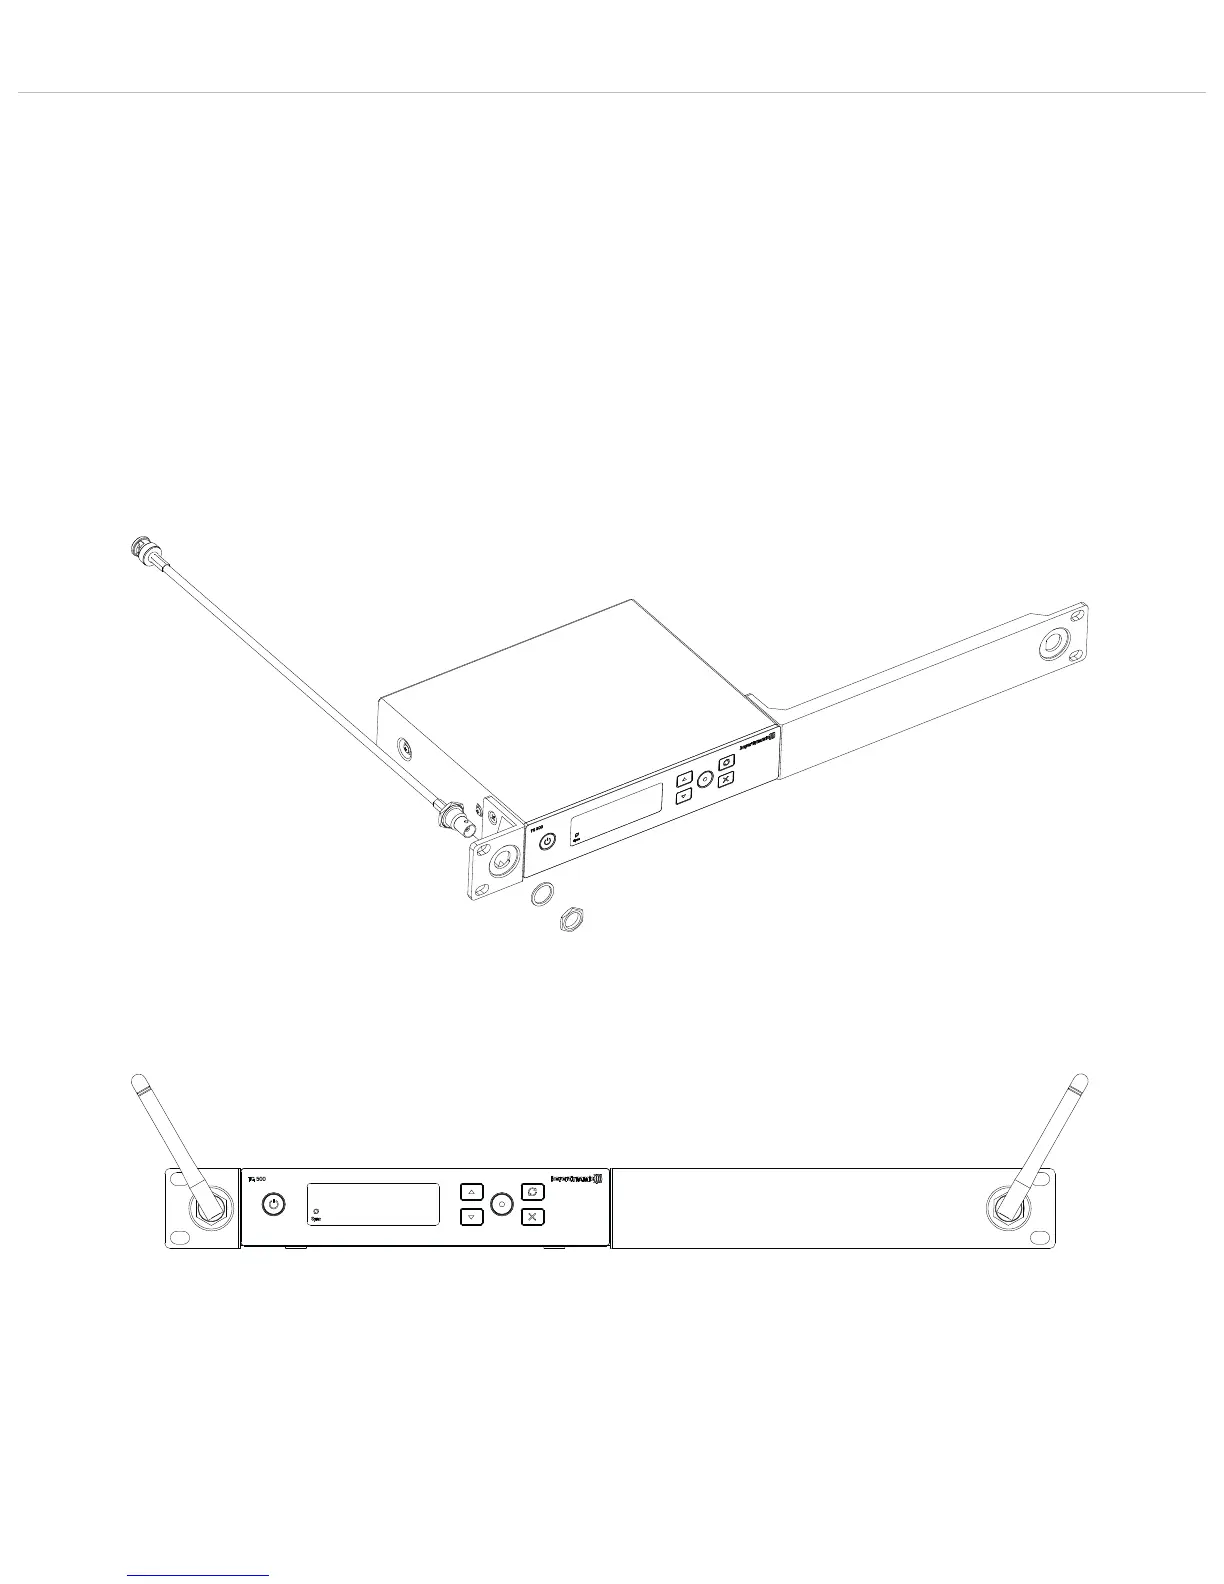
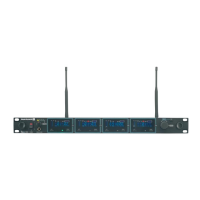
• Connect the antenna cables of the antenna front mounting kit
to the antenna inputs A and B .
• Loosen the nuts and washers of the enclosed adaptors.
• Push the adaptors through the respective opening, with the
thread of the adaptor facing the front.
• Attach each of the adaptors with the washer and nuts.
• Push the receiver into the 19” rack and screw it to the rack with
four suitable screws (not included).
• Connect each of the antenna cables to the back of the adaptor.
• Connect each of the antennas to the front (BNC sockets) of the
adaptor.
• Position the antennas in a V shape facing outwards.
Caution!
• When installing the receiver in a 19” rack or together with
multiple devices in a rack, the ambient temperature, the
mechanical load and the electrical potential may behave
differently than in individual devices.
• If you mount more than one receiver in a rack, one rack unit
should always be kept free or suitable ventilation should be
ensured, e.g. through ventilation panels, due to the heat build-
up between the receivers.
• The ambient temperature in the rack must not exceed the
temperature specified in the technical specifications.
• Make sure the rack does not become top-heavy due to too many
devices so that it could fall over.
• When connecting to the mains, please note the information on
the name plate. Avoid overloading the electric circuits. Provide
overcurrent protection if necessary.
Figure 2-12: Antenna front mounting
Figure 2-13: Positioning of antennas