MARQUE, MODELES ET BREVETS DEPOSES - PRODUITS EXCLUSIFS
12
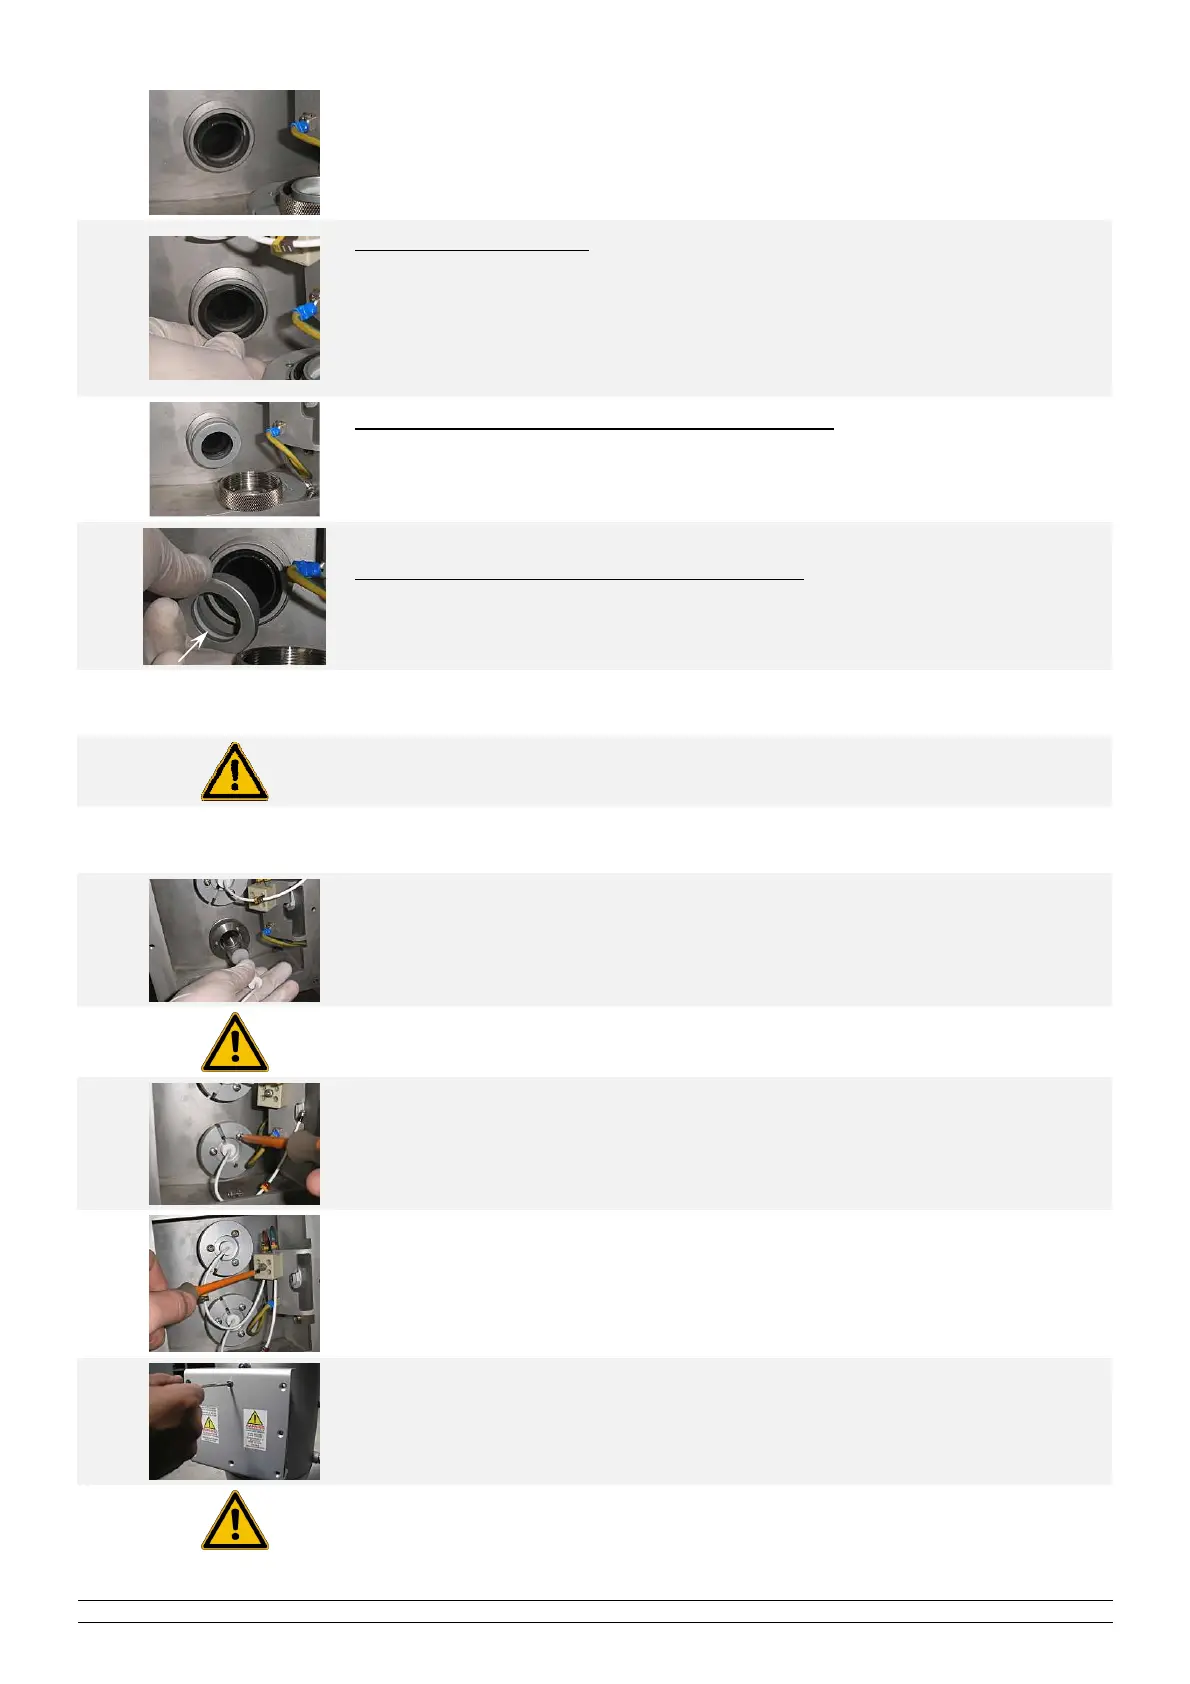
Centre the quartz sleeve, it should stick out equally on both sides.
13
Change the quartz seals:
(Put new seals at each change of lamp)
● lubricate the seals using food grade grease,
● position them around the sleeve,
● push them fully home in their housing using your nail (help you with
aluminium washer).
14
If your reactor is not fitted with a cleaning system:
● replace the aluminium washer,
● replace the MP nuts,
● and go directly to step 17.
15
If your reactor is fitted with a cleaning system:
● replace the aluminium washer with them PTFE ring,
● replace the MP nuts.
16
If your reactor is not fitted with PTFE rings, contact your retailer, who will supply the kit
PDP003478 and the fitting instructions.
17
Put the installation back in pressure before the reassembly of lamps and
check that there is no leakage in the quartz sleeve.
18
Take hold of the new lamp taking care not to place your fingers outside the cap.
(if you do, clean the lamp with a soft cloth and some methylated spirits).
19
Fully engage the lamp in the quartz sleeve.
20
Replace the numbered markings on the new lamp.
21
Replace the aluminium lamp base on both sides.
22
Reconnect the cables to the UV lamp observing with the numbering and the
lamp wiring (See Wiring of the lamp).
23
Replace the two covers.
24
Check the calibration of the UV-C ray measurement cell.
(See chapter MANUAL OF THE MONITOR)


 To Next Page