MARQUE, MODELES ET BREVETS DEPOSES - PRODUITS EXCLUSIFS
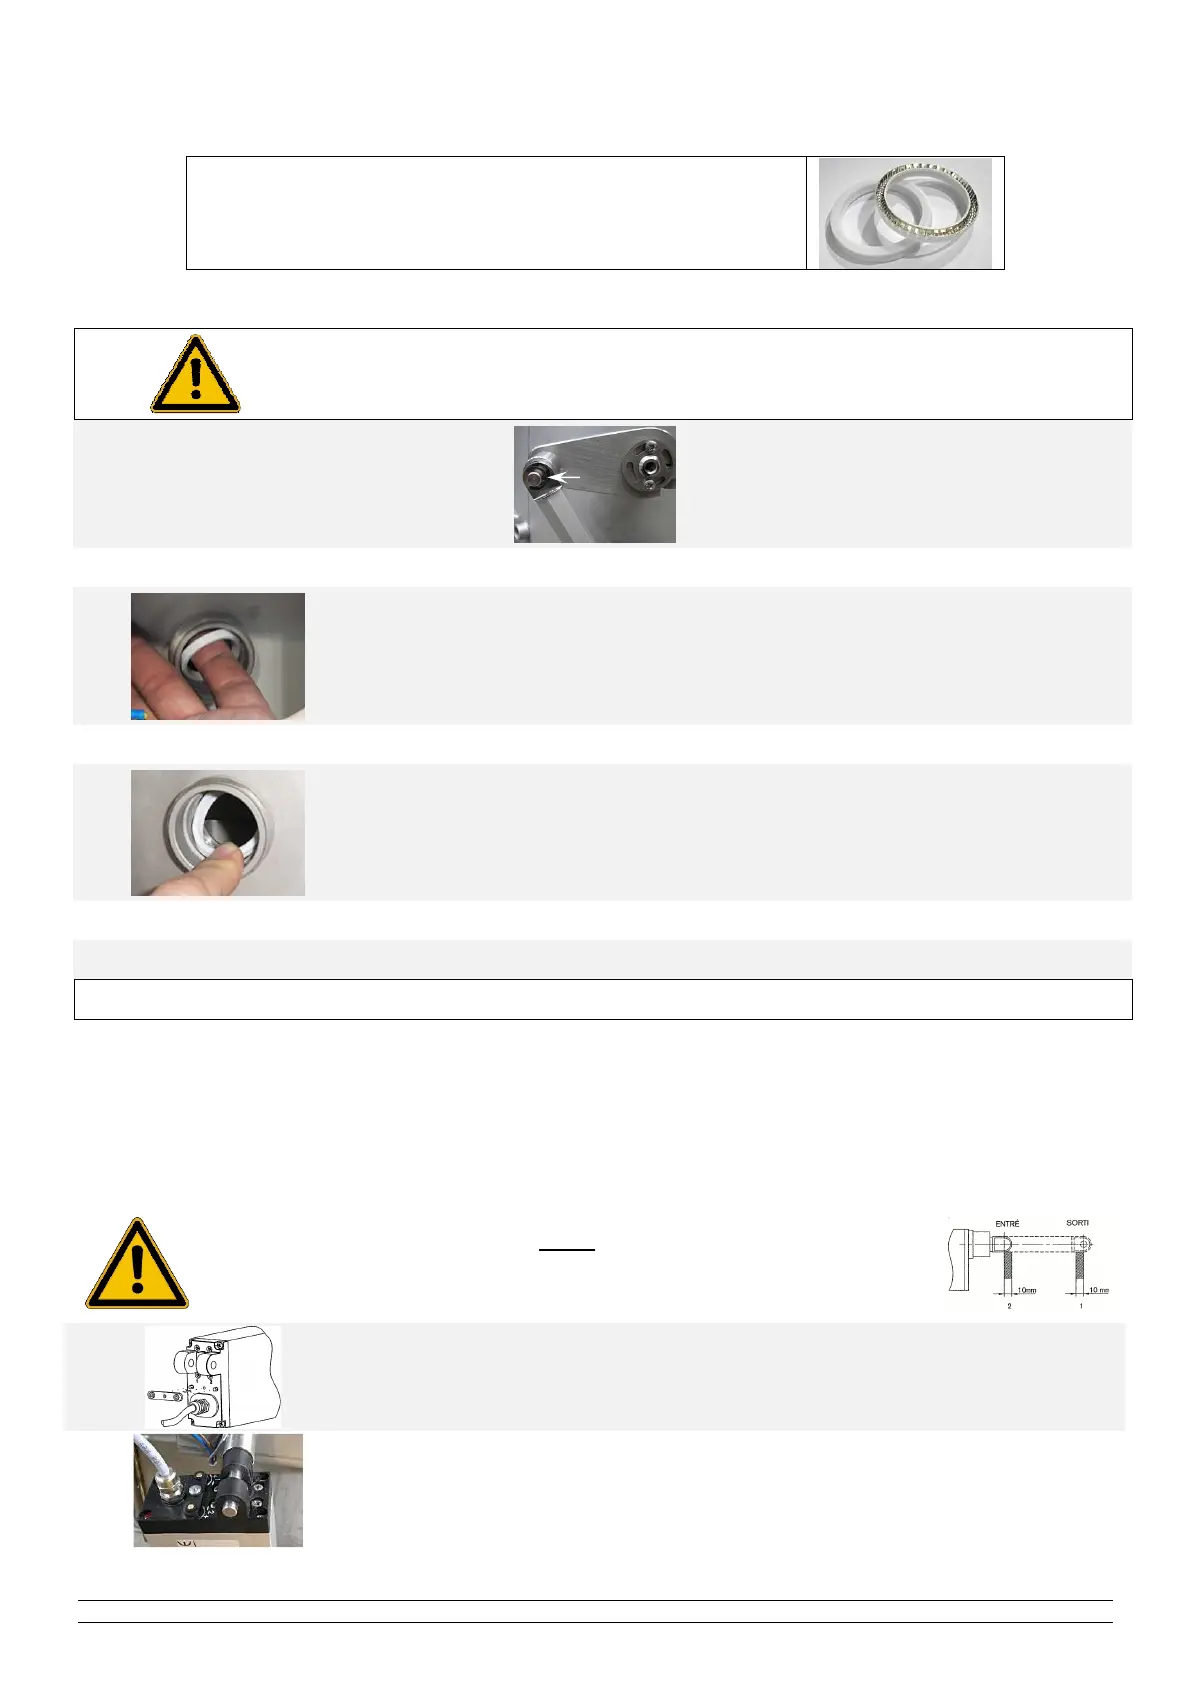
K. CHANGING THE WIPER SEALS
The wiper seal has two faces, which are easy to identify:
- one has a flat white surface,
-
the other has a metal reinforcement.
1
Carry out all the quartz sleeve disassembly operations.
2
Use the handle of manual cleaning
to draw the carriage you as far as
the mechanical stop.
To do the same thing in case of an automatic
cleaning system, disconnect the motor by
removing the circlips (see picture).
3 Note the way round that the wiper joint already in place is fitted.
4
Using your index finger, take hold of the wiper seal and disengage it from its
housing.
(The wiper seal is flexible, do not hesitate to squash it into an oval shape in order
to remove it))
5 Take a new wiper joint.
6
With your index, introduce the new wiper seal into its housing by respecting the
direction of assembly.
7 For the 2nd wiper seal, displace the cleaning carriage at the other end.
8 Repeat the wiper seal replacement operations.
9 Repeat the quartz sleeve replacement operations.
L. C. SETTING THE ELECTRIC ACTUATOR STOPS
If the cleaning system's electric actuators are replaced, it is necessary to readjust the actuator stops. This
operation is explained in the procedure below.
Note:
The beginning and end of the piston stroke may be adjusted by a maximum of
10mm.
1
Unscrew and remove the locking bar on the actuator stop set screws.
2
Engage the actuator with the casing on the reactor side (do not close the circlips for the
moment).