MARQUE, MODELES ET BREVETS DEPOSES - PRODUITS EXCLUSIFS
1
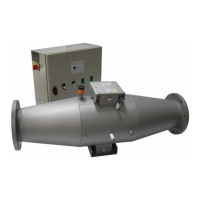
SWITCH OFF the reactor CUT the POWER source and EMPTY IT.
2
Unscrew and remove the two covers.
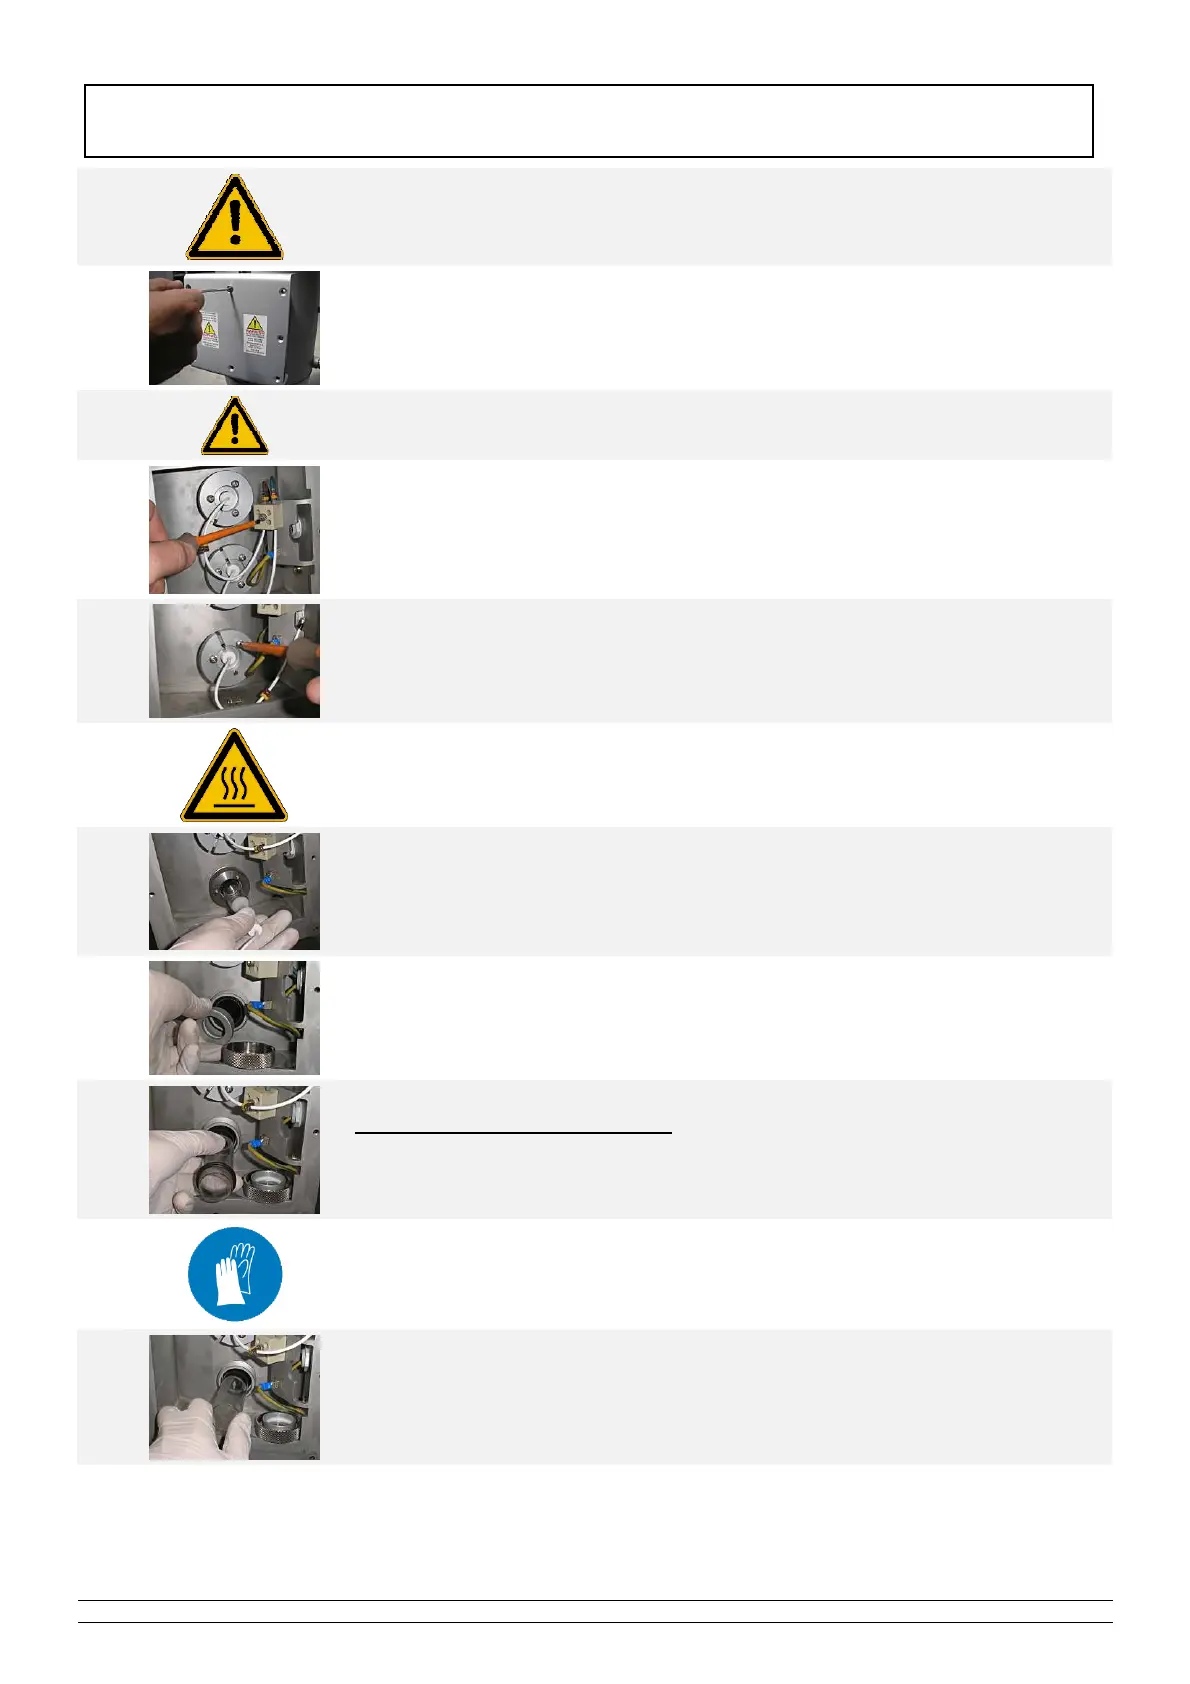
3
Locate the classification of each lamp in order to rewire the new lamps
correctly. (See Wiring of the lamps)
4
Remove the wires from the lamps on both sides by unscrewing the terminals.
(only the cables white supplying the lamps).
5
Unscrew the aluminium lamp base, 3 screws, on both sides.
6
Make sure that the UV lamp is cooled before handle it.
7
Remove the UV lamp and place it on a clean and soft surface.
Carry out this operation CAREFULLY taking care not to place your
fingers outside the cap.
8
Unscrew the MP nuts on both sides and remove the aluminium washer.
9
Gently remove the quartz sleeve:
● Push one end of the quartz sleeve in order to pull the other end.
● Remove the quartz sleeve and its seals.
10
Clean the quartz sleeve with acid or white vinegar or replace it if necessary.
11
While remaining in the axis, gently reposition the quartz sleeve in the
direction indicated by the label on the reactor.
CHANGING UV LAMP AND QUARTZ SLEEVE