5
4. Machine ships with a parts box, you will nd this manual, the conveyor, conveyor belt, cleaner arm, and paddle,
in the parts box.
5. Uncoil electrical cord, plug into specied, gounded outlet. (Specications for this machine are found on the plate
located on the front of the case.) Machine must be properly grounded. Use a qualied electrician to install
according to local building codes.
UNCRATING AND SETUP- CONTINUED
a. Install conveyor and conveyor belt onto the machine. See page 6.
b. Install cleaner arm onto the machine. See page 6.
c. Install paddle into the hopper. See page 6.
7. Check placement of all warning labels and Manual. Machine is now ready for trained operators to process
product.
8. Contact your local Distributor or BIRO directly if you have any questions or problems with the installation
or operation of this machine.
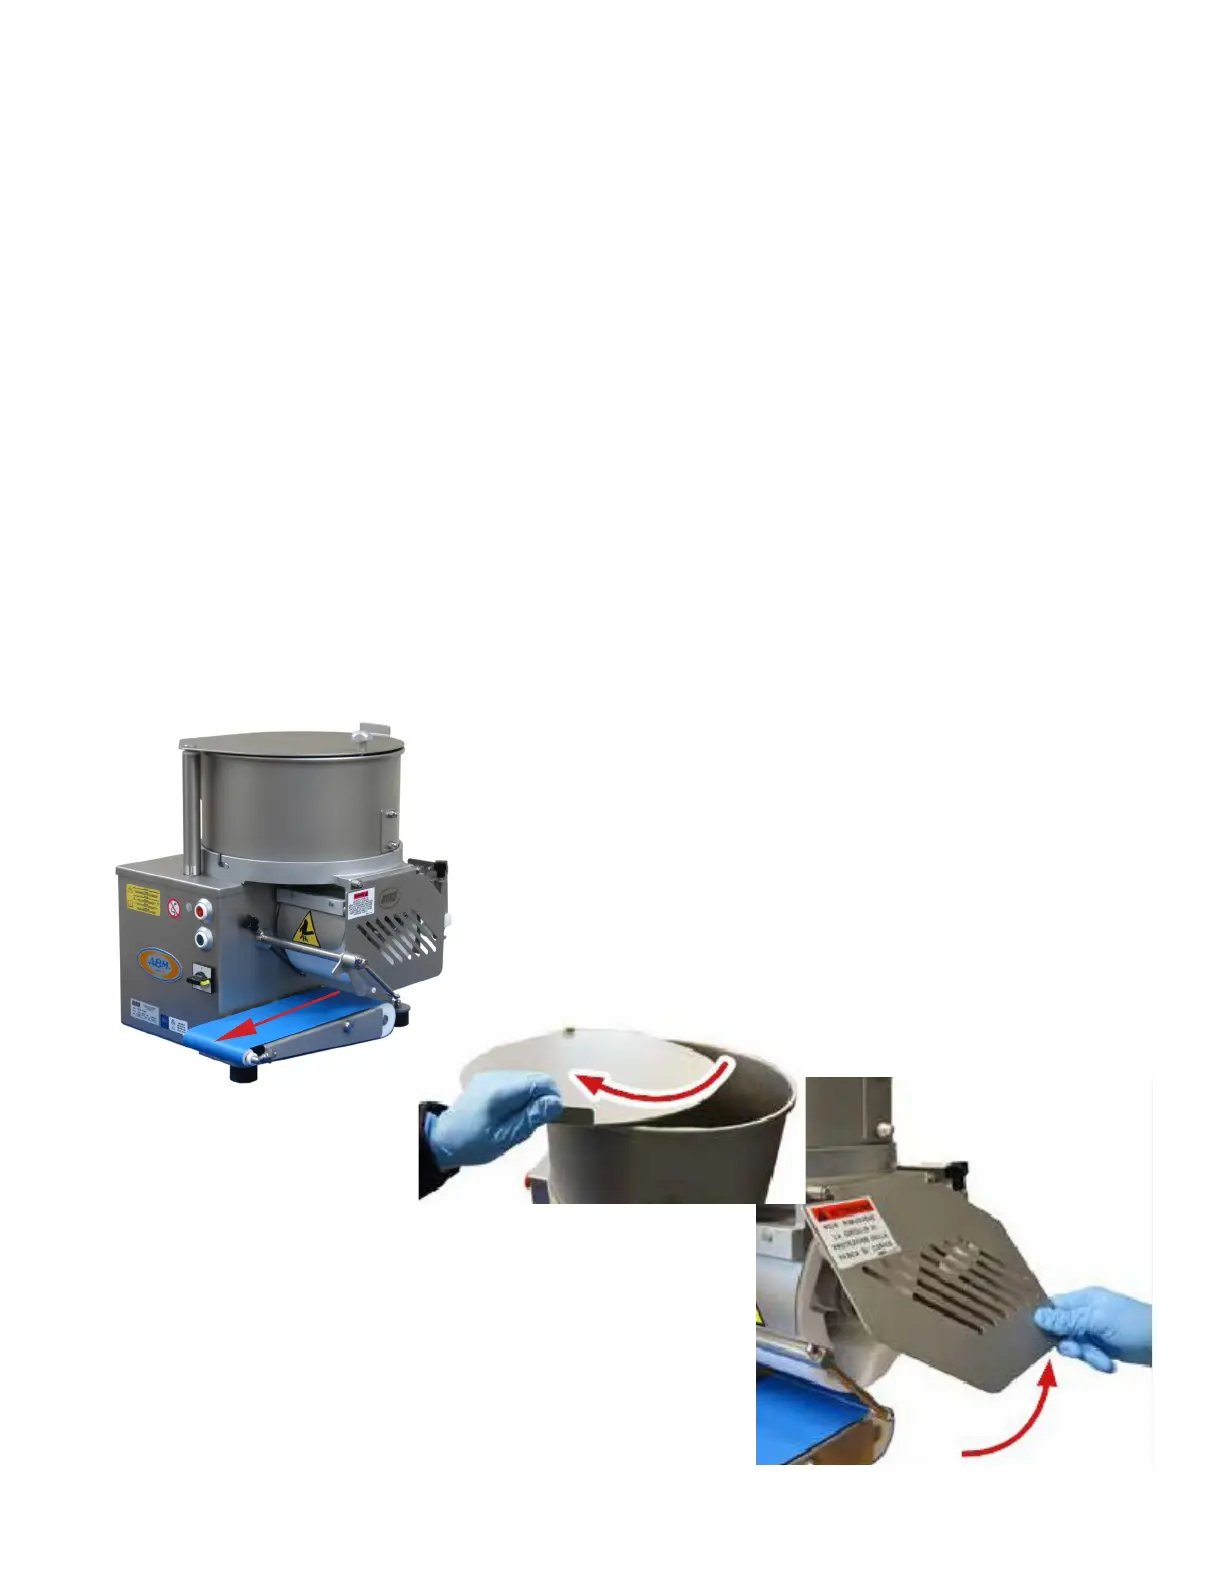
6. With all parts installed, and machine plugged into appropriate grounded power source. Ensure Hopper Cover, and
Drum Cover are both closed and down. Turn Main Power Switch, ¼ turn clockwise to “I”. Note green start button
ashes once. Press start button, Drum and Conveyor Belt should start to rotate (see arrow on picture). Press the red
stop button, machine should stop. Restart machine, Carefully, lift cover lock and swing Hopper Cover open.
Machine should stop. Close and lock the Hopper Cover and restart machine. Carefully lift Drum Cover, machine
should stop. This test has conrmed the safety switches are functional.