3-4-5 Narrow Ribbon Installation
When using ribbons of widths of 110mm or
lower, install in a centered position on the
holder ribbon.
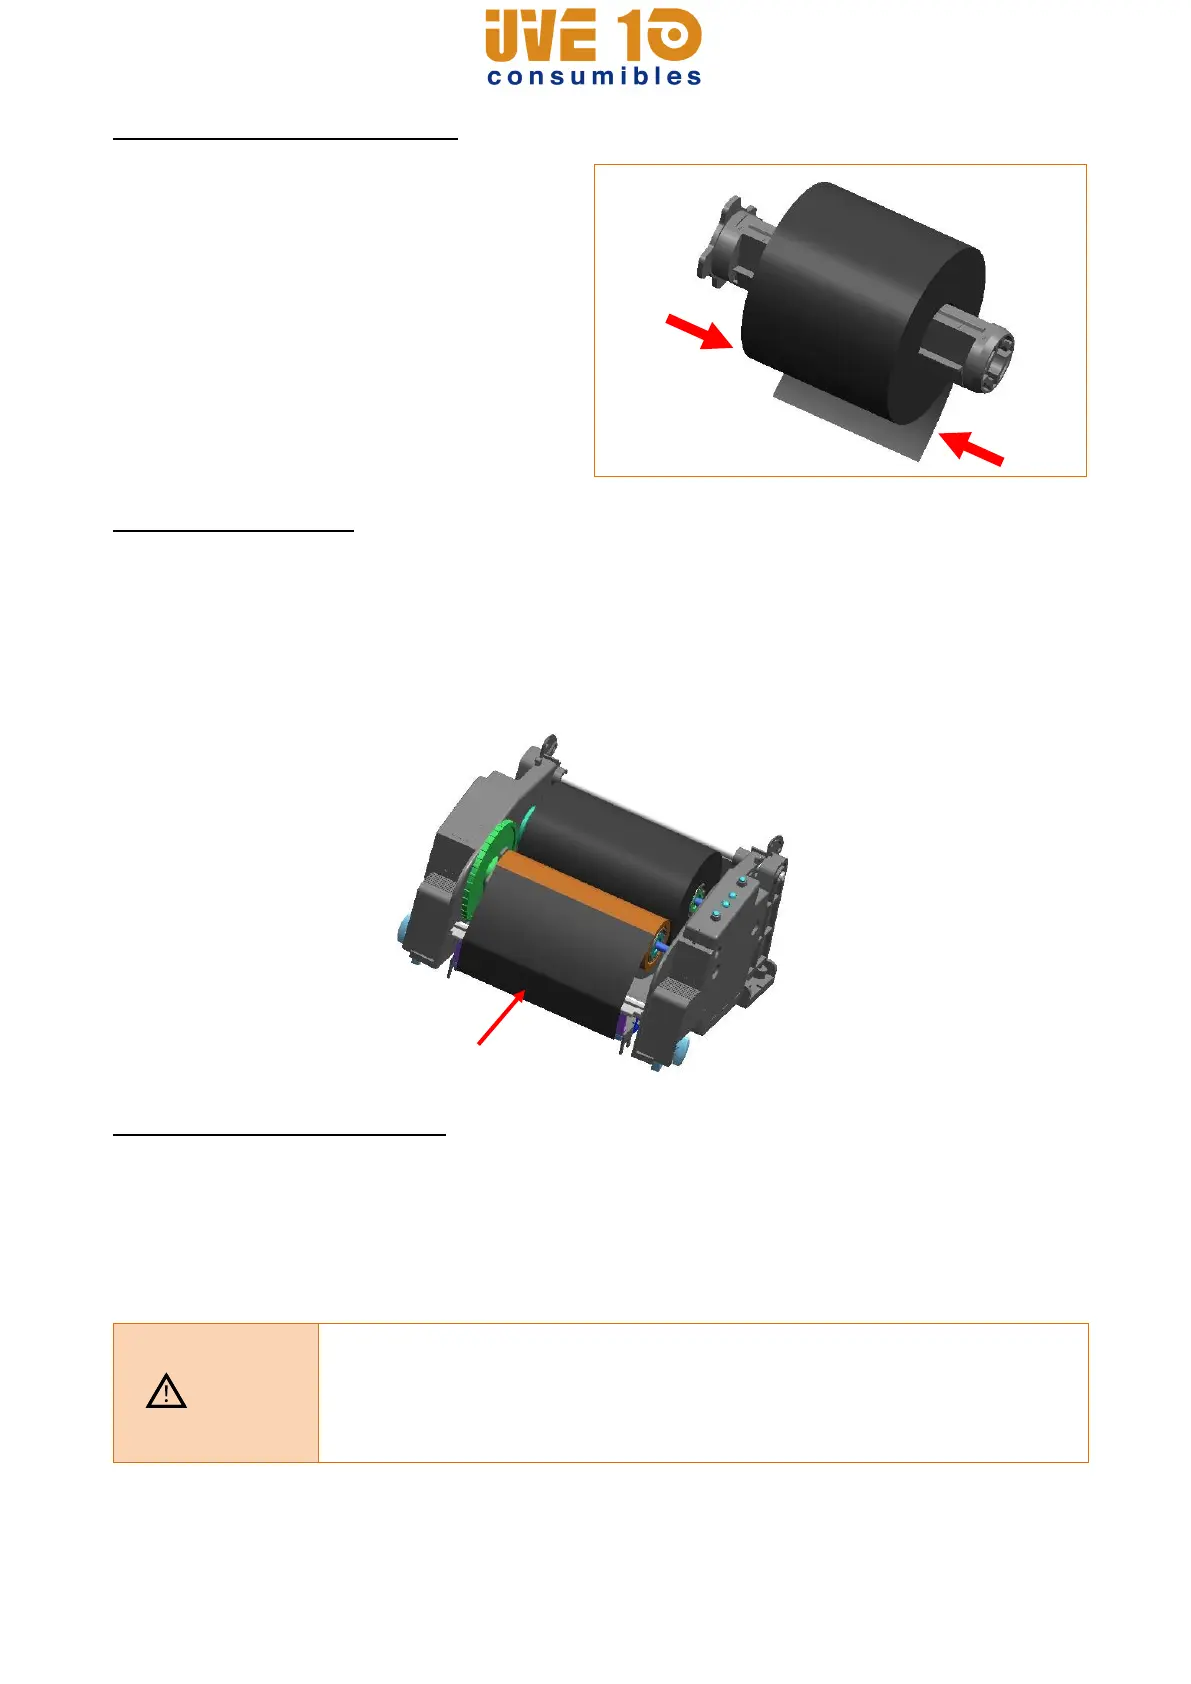
3-4-6 Ribbon Removal
1) Use a knife or other sharp-edged object to cut the ribbon.
(Take care not to injure hands)
2) Open the ribbon assembly and remove the ribbon and core by pushing from left to right.
3) Detach the ribbon holder from the ribbon and core.
3-4-7 Ribbon Sensor Activation
Ribbon detection sensor is disabled by default factory settings. Check the settings related
to ribbon detection sensor if printing does not stop when the printer is out of ribbon or
ribbon is broken.
* Ribbon detection sensor can be enabled by command control. And default setting can
be changed by Unified Label Utility.
- When replacing a ribbon, keep affixed the core of the fully used
ribbon to the ribbon coiling portion on the other side and do not
discard as its use is required.
- As the ribbon holder is required for continuous use, make sure not to
misplace it.
V10 CONSUMIBLES S.L.
Calle Llanos de Jerez 18 Nave 9 Coslada https://v10consumibles.com Tel: 910 269 309