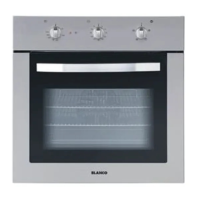
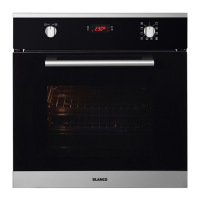
INSTRUCTIONS FOR USE
HEATING POSITIONS AND TEMPERATURE ADJUSTMENT
The handles for the selector and the thermostat controis allow to select the various
cooking temperatures, most suitable for the aliments to be cooked.
The lamp of the oven is on, with no heating elements operated (electrical
resi~
-
stances) Durlng oven operation the lamp will always remain on.
DEFROSTING
The motor-fan is operated; by stirring the cold air inslde the oven, it favours a
quick
defrosting
of the freezed aliments. The handle of the thermostat is to be
@
in the posit~on (0). No heating elements is operated.
TRADITIONAL COOKINGS
Upper and lower heating elements operated; temperature adjustable from 50°C
to MAX on the thermostat. This function allows the cooking of any type of food
thanks to the optimal temperature distribution level.
CONVECTION COOKINGS
Upper and lower heating elements and the motor-fan operated, temperature
adjustable from 50'C to MAX on the thermostat
Lower heating element and the motor-fan operated; temperature adjustable from
50°C to MAX on the thermostat.
-.
-
Back heating element and the motor-fan operated; temperature adjustable from
@
50T to MAX on the thermostat.
GRILL COOKINGS
Grill element operated: turn the thermostat to position MAX.
Grill element and the motor-fan operated;
we suggest to turn the thermostat to
.
position MAX.
COMPONENT OPERATION
MINUTE- COUNTER
To use the minute-counter, wind up the ringer rotatlng the knob clockwise by one comple-
te
rotalion. Then turn it backwards until the chosen time is reached (max. 60 minutes).
When the present time has elapsed, the acoustic signal starts up. Upon the acoustic signal
the minute-counter does not interrupt the functioning of the oven.
INSTRUCTIONS FOR USE
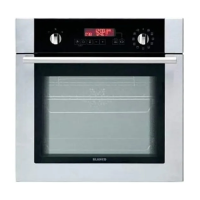
END-OF-COOKING TIMER
The end-of-cooking timer, adjustable from 0 to 120 minutes, is used to programm the
cooking end and to switch off the oven. To use it, rotate f~rst the knob clockwise by one
click onto position
((1.1));
then, wind up the ringer by further rotatlng the knob by a nearly
complete rotation; finally, turiiing it backwards, set the desired tlme Once the preset time
has.elapsed, the acoustic signal starts up and the oven is automatically switched off. To
switch the oven to the manual operation, thus excluding the timer, turn the knob to its ini-
tial position by rotating it counterclockwise by one click
until the symbol
$J
of the con-
trol board matches the reference on the knob.
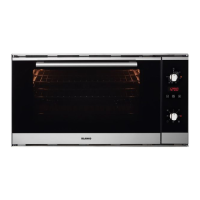
TIMER
To programme the timer, press and turn the knob leftwards until it
coincides with the hour. (If the knob is turned riglitwards, a safety
mechanism protects the elements of the timer).
COOKING
TIMER
To programme the cooking time (adjustable from 0 to 180 minu-
tes), turn the knob anticlockwise, but without exerting a pressure
and until the disc's window, or the hand, coincides with the
reque-
sted cooking time. The oven is disconnected and the continuous
bell is activated when the preset time is over. To stop the bell, turn
the knob
leftwards without exerting a pressure, until the port or the
hand coincides with symbol
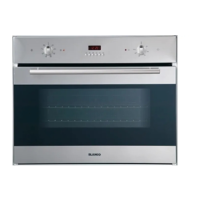
MECHANICAL DIGITAL PROGRAMMER
It is used to programme the oven start and stop. The programmer is fined with an electric
timer for displaying the hour.
Figure 15 displays the programmercontrols: use knobs A.
0,
and adjusting ring
C,
to carry
out the necessary adjustments, such as:
Knob A:
Turn this knob clockwise to correct the time of the digital timer. (This is done when instal-
ling the appliance, when the current is cut out, for controlling both advance and lag, and
so on).
Knob
6:
Press and turn this knob clockwise to preset the cooking start time on dial
F.
Adjusting ring C:
Turn this ring clockwise to preset the following:
cooking time
(210
minutes max)
.
manual operation of the oven (position
)
acoustic signal cut off (position
)
These signals appear on dial
E
(fig. 15).