Task Procedures Illustrations
250
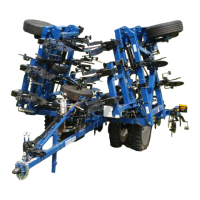
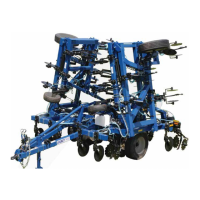
AT6020
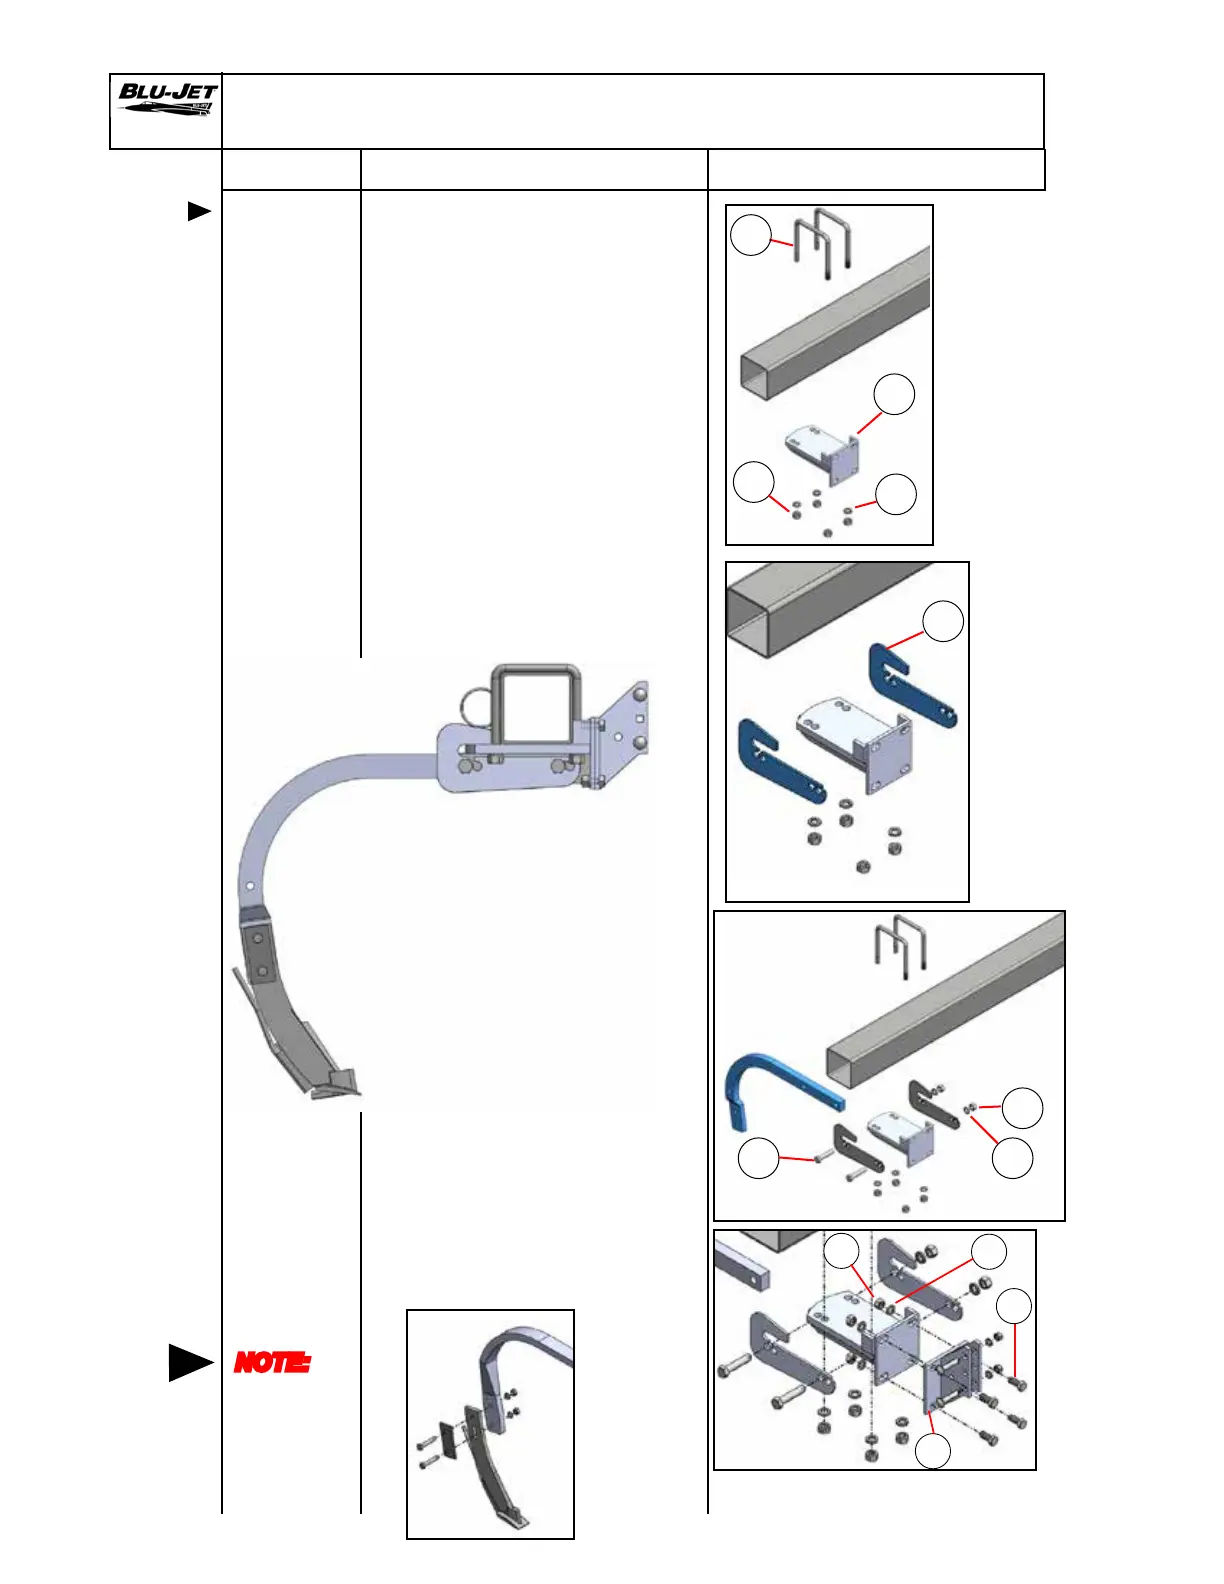
Shank Assembly and Mounting
EdgeBent
shank parts
1. Place (a) (BP3350) 3/4” x
7-7/16” u-bolts over tube.
Raise (b) (AM4893) EdgeBent
shank rigid mount bracket
over the u-bolts. Secure with
(c) (BP3035) 3/4” lock washers
and (d) (BP3034) 3/4” hex nuts.
2. Slide (e) (AM4891) anti-rotation
braces next to bottom weldment.
3. Insert two (f) (BP3142) 3/4”
x 3-1/2” hex cap screw
through anti-rotation plates
and shank. Secure with
(c) (BP3035) 3/4” lock washers
and (d) (BP3034) 3/4” hex nuts.
4. Attach (g) (AM4772) atback
coulter bracket with (h)
(BP3097) 5/8” x 1-1/2” hex
cap screws, (i) (BP3039)
5/8” lock washers and (j)
(BP3038) 5/8” hex nuts.
b
c
d
e
f
d
c
NOTE:
No threads
in shear
area when
attaching
knives
j
h
g
i
a
 Loading...