5
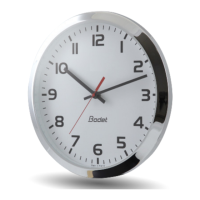
2.3 Double Face clock
- Fit the bracket on the wall or on the ceiling with 2 screws Ø6.
- If necessary, carry out the various connections (external supply see page 5 and connection
to a time distribution network : see page 7).
- Present both clock on the bracket, then turns it a quarter turn in the clockwise so that the
clocks are in the correct position.
See page 12 for the dimensions.
III - POWER SUPPLY
3.1 Clock with batteries
Insert the battery (ies) matching up the [+] and [-] symbols.
Caution : You should not drop, heat, make holes in, dismantle, modify or short circuit the
batteries, nor allow them to come into contact with water or re.
Dispose of used batteries in accordance with the instructions given and with the laws in
force in the country.
3.2 Clock with 230V power supply
Installation and maintenance of this equipment must be carried out by qualied personnel only.
Electrical installation must comply with current standard CEI 364.
The mains supply for the clocks must include a neutral phase circuit breaker 6A, rapidly accessible.
This circuit breaker must be switched off during maintenance operations.
Note : the power supply wires must be linked near their xing point.
DHF Slave clock (230V) :
- Connect the power cable (1.5m) on the 230V power source.
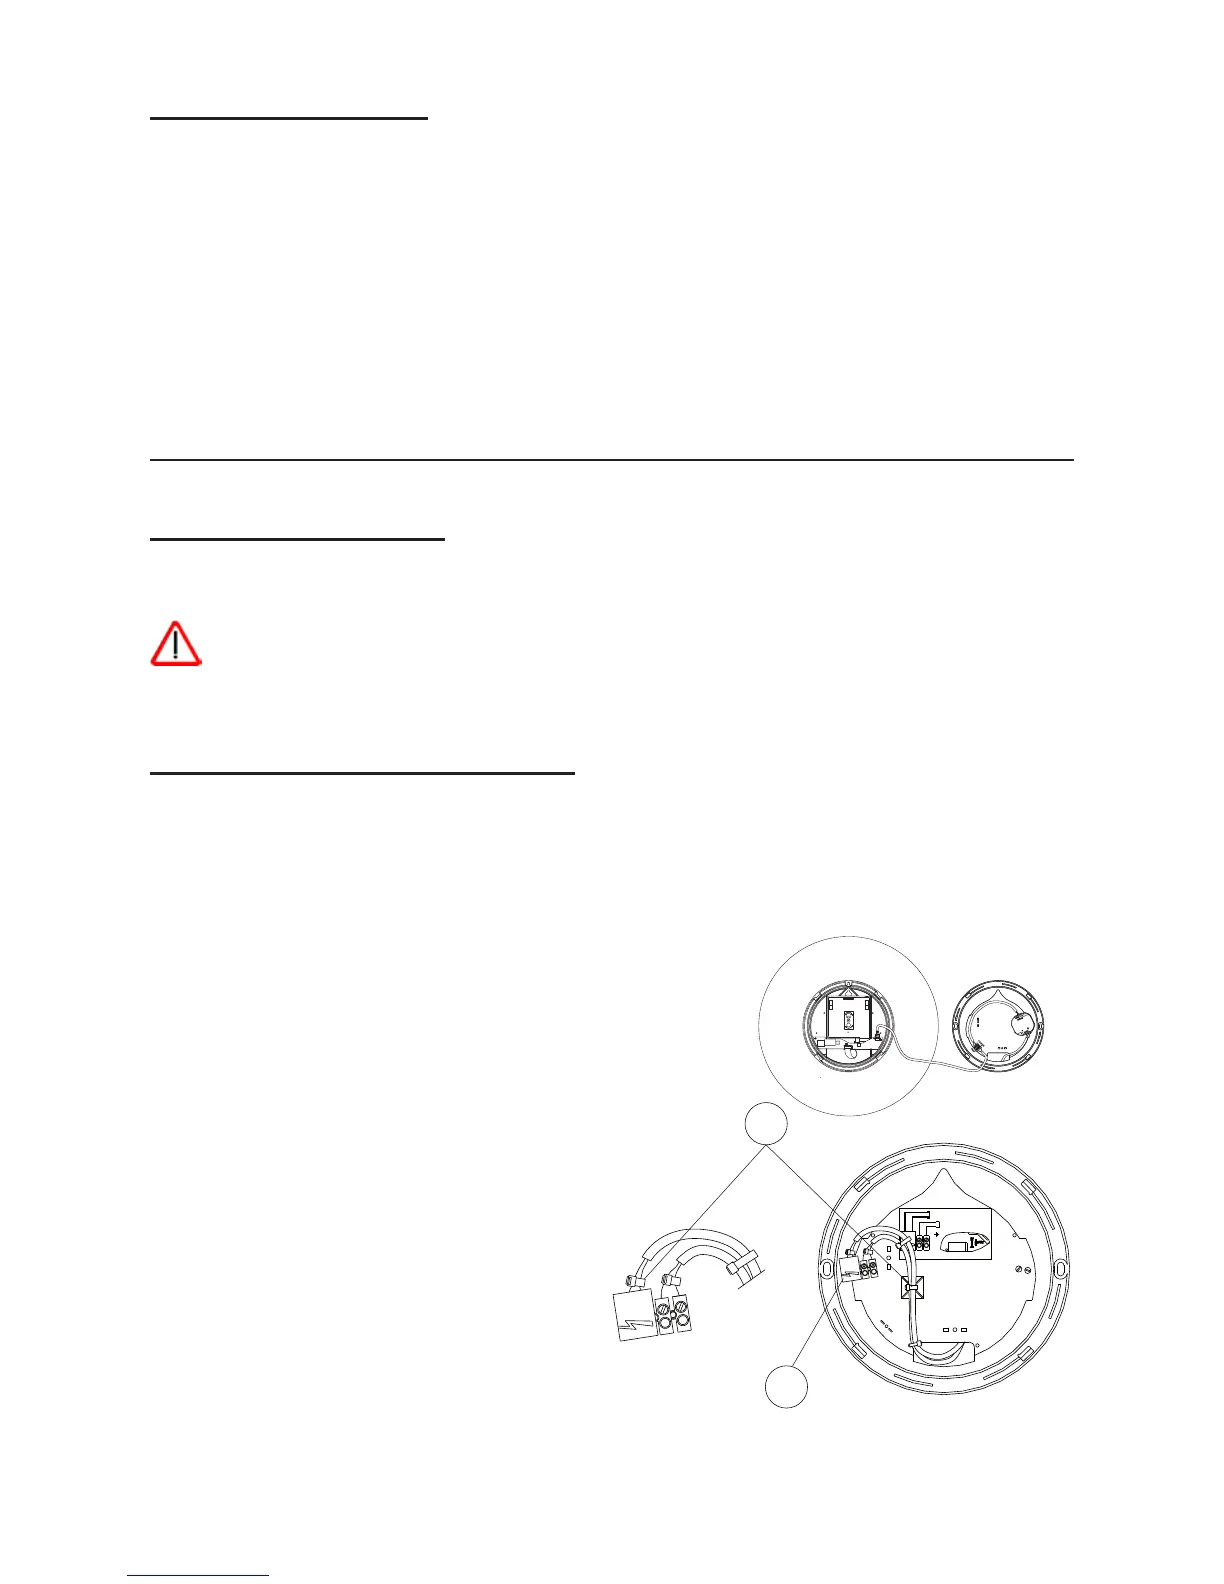
AFNOR/Irig-B clock 230V :
- Remove the black protective hood which
is on the terminal (C). Connect mains
supply 230 Volt 50 Hz to the supply card
terminal: max.1,5 mm
2
wire and bare on 5
mm. This equipment belong to the electric
class II, so, the connection to the earth is not
compulsory.
Put the protective cover back in place. Lock
the wires with collars (S).
Caution: to simplify the crossing of the cable
in the double side bracket ; remove the
sheath on a length of 500mm.
C
S
2
3
0
V
.
2
3
0
V
.
2
3
0
V
.
A
lim
. 2
3
0
V
.
A
F
N
O
R
/IR
IG
-B