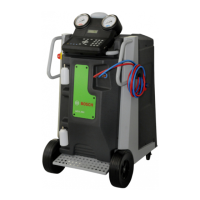
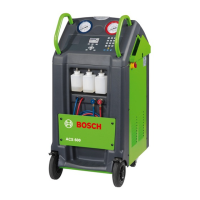
ACS 553, ACS 563 Service Manual
1 689 975 295 2021-04-13Robert Bosch GmbH
75
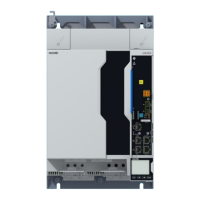
Plumbing and Mechanical
These instructions outline the steps to replace
In most cases, the manifold does not have
to be removed from the unit for repair. Most
solenoids and check valves can be replaced
without complete removal of the block from the
unit. When this is possible, remove and replace
the faulty component in place, after following
steps 1 through 5 in Removing Manifold.
The remaining steps (6-11) outline the
procedure for removing the entire manifold.
See Figure 4-5.
If the manifold is being repaired, refer to
the Repairing or Replacing a Solenoid
or Replacing Check Valve as needed.
When installing hoses, solenoids, and check
valves, replace the O-rings and use thread
sealant where necessary.
1. Clear service hoses and remove them.
2. Disconnect unit from the power source.
3. Remove the front plastic cover.
4. Remove the four screws under the control
panel.
5. Tilt the control panel upwards the front of
the unit.
6. Disconnect all hoses from the manifold.
7. Disconnect all wires from the block
components.
Remove the dryer filter by turning it
counterclockwise.
9. Loosen the two rear screws and remove the
2 lateral screws (see Figure 4-4).
10. Remove the 2 vertical screws behind the
11. Remove the manifold by sliding the manifold
away from the unit side panel until the rear
See Figure 4-5 while performing the following
procedures.
1. Connect the hoses and lines to the manifold.
Refer to Figures 4-1, 4-3, and 4-5 for the
proper location of the hoses.
2. Reconnect all wiring as shown in Figure 4-5.
3. Restore the manifold as original.
4. Tilt the control panel down and secure with
four screws.
5. Reinstall the front plastic cover.
6. Attach the outside high- (red) and low-side
(blue) service hoses. Tighten at 7.9 Nm
torque.
7. Connect the unit to the power source,
perform a function test, and check for leaks.
Rear screws
Lateral screws
Vertical screws
 Loading...