19
Using the Head Assembly Lock Pin
To avoid possible injury,
disconnect plug from power
s
ource before performing any assembly,
adjustments or repairs.
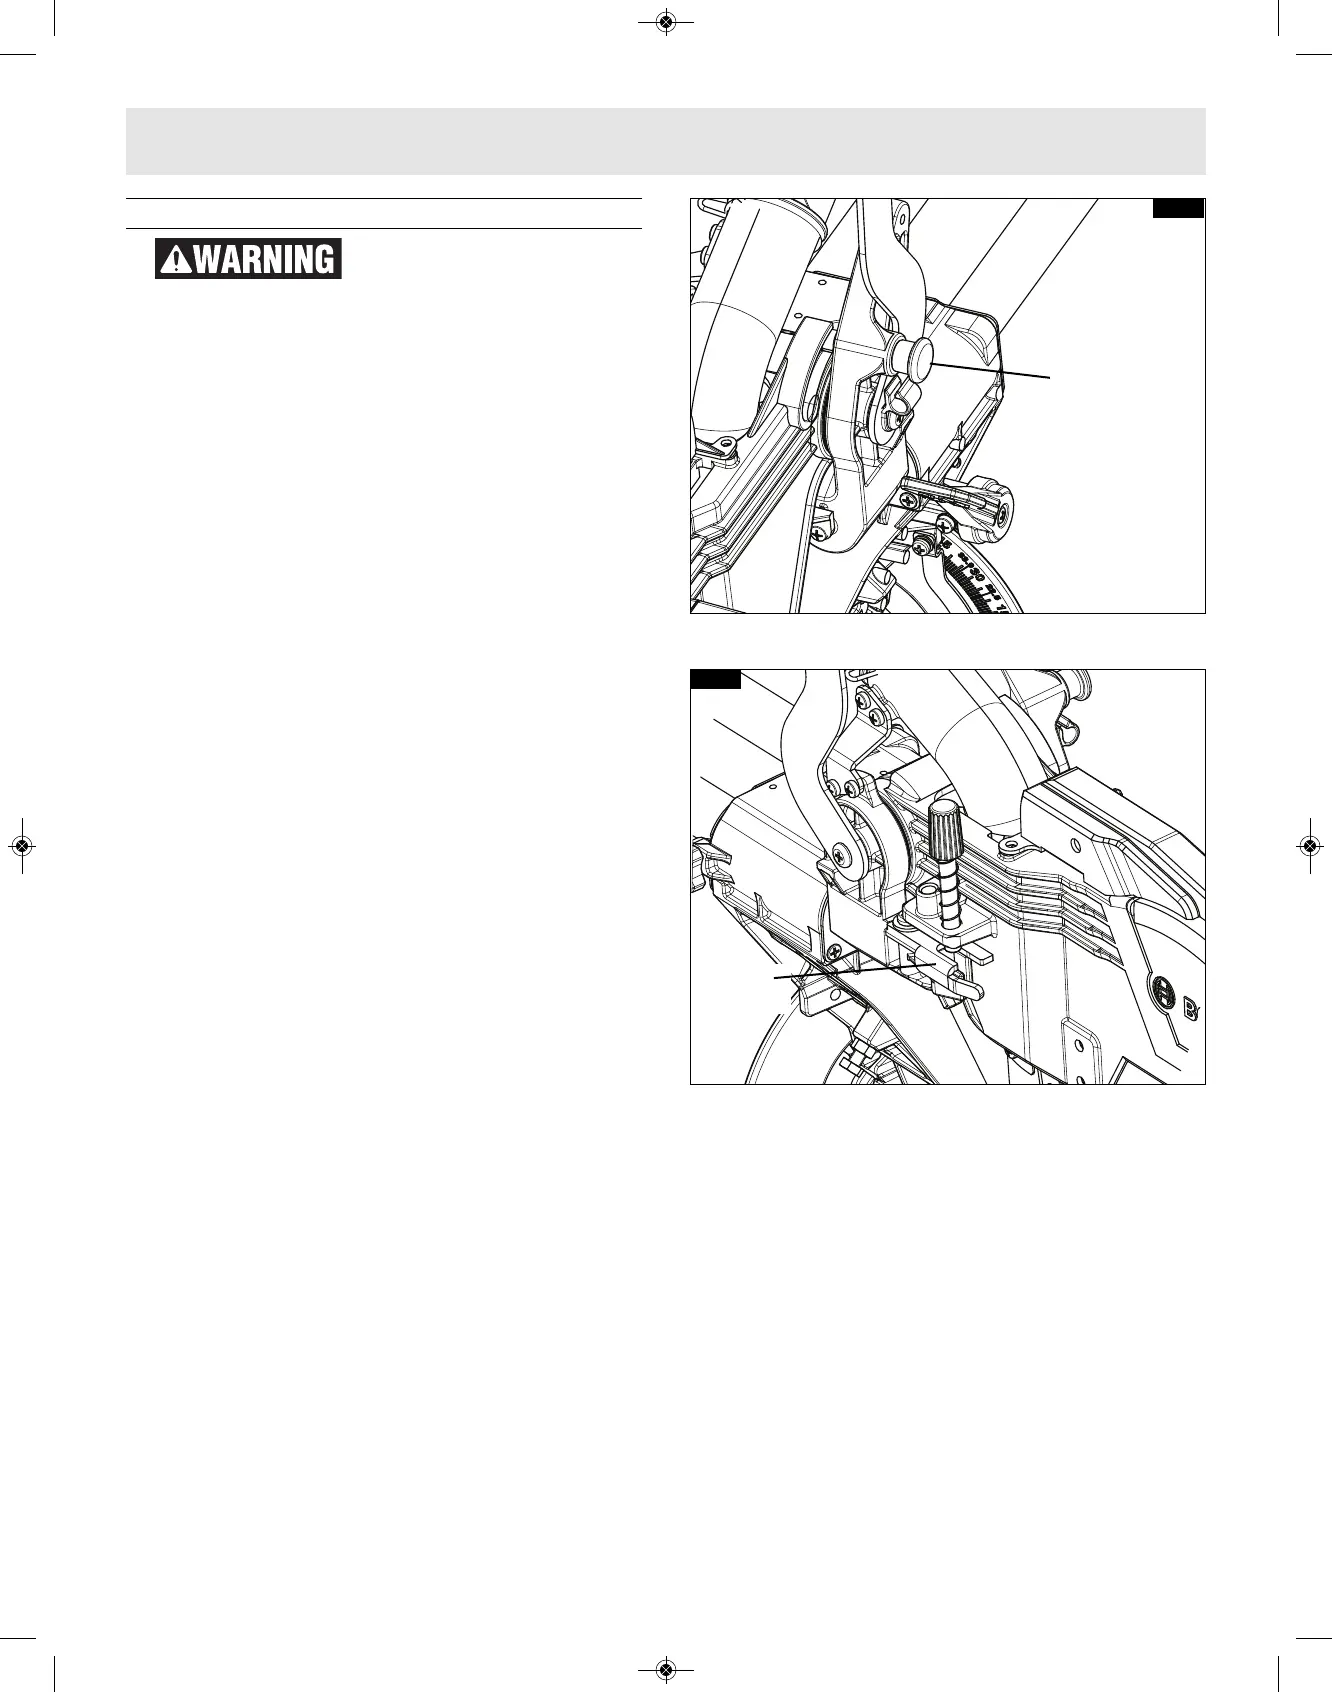
HEAD ASSEMBLY LOCK PIN
The head assembly lock pin (figure 8) is used to
hold the saw’s head assembly in the DOWN
position. This position prevents the head from
bouncing up and down during transportation. This
also makes the saw more compact for lifting and
storage. This position is also required for some
calibrating procedures.
TO ENGAGE THE HEAD ASSEMBLY LOCK PIN:
1. Check that the depth stop plate is disengaged,
pressed in against saw head, (figure 9).
2. Grasp the saw’s main handle and press down on
the head assembly.
3. While pressing the saw head down, push in on
the head assembly lock pin, (figure 8). Release
the head assembly. The head will be locked in
the DOWN position.
TO DISENGAGE THE HEAD ASSEMBLY
LOCK PIN:
1. Grasp the main handle and press down on the
head assembly.
2. While pressing the head down, pull out the head
assembly lock pin. Release the lock pin, but
maintain your grip on the main handle. Slowly
allow the spring-loaded saw head to come up to
the top of its travel and then release the handle.
FIG. 8
FIG. 9
Head
Assembly
Lock Pin
Depth
Stop Plate
Assembly