English | 11
u Do not direct the laser beam at persons or animals and
do not stare into the laser beam yourself (even from a
distance).
To switch off the measuring tool, press and hold the on/off
button (8).
If no button on the measuring tool is pressed for approx. five
minutes, then the measuring tool will automatically switch it-
self off to preserve battery life.
If the angle has not been changed for approx. five minutes
while the measuring tool is in the "grade measurement" oper-
ating mode, the tool will automatically switch itself off to pre-
serve battery life.
All saved values are retained when the tool is automatically
switched off.
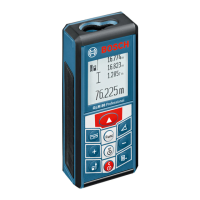
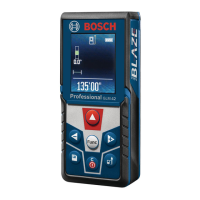
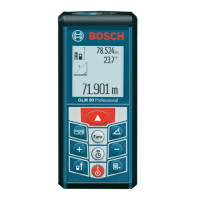
Measuring process
After the measuring tool has been switched on by pressing
the measuring button (2), the tool is always in the length
measurement function by default, or in the grade measure-
ment function if the tool has been inserted into the measur-
ing rail (24). Other measuring functions can be switched to
by pressing the respective function button (see "Measuring
functions", page12).
Once the measuring tool has been switched on, the rear
edge of the measuring tool is selected as the reference level
for measurement. You can change the reference level by
pressing the reference level selection button(10) (see "Se-
lecting the reference level (see figureA)", page11).
Apply the measuring tool with the selected reference level to
the point at which you want to start the measurement (e.g.
wall).
To switch on the laser beam, briefly press the measuring but-
ton (2).
u Do not direct the laser beam at persons or animals and
do not stare into the laser beam yourself (even from a
distance).
Aim the laser beam at the target surface. To initiate the
measurement, briefly press the measuring button (2) again.
While the laser beam is continuously switched on, measure-
ment will begin after the first press of the measuring button
(2). In the continuous measurement function, measurement
begins as soon as the function is activated.
The measured value typically appears within 0.5 seconds
and no later than 4 seconds. The duration of the measure-
ment depends on the distance, the lighting conditions and
the reflective properties of the target surface. The end of the
measurement is indicated by an audio signal. Upon comple-
tion of the measurement, the laser beam is automatically
switched off.
If no measurement has been performed within approx.
20seconds of aim being taken, the laser beam is switched
off automatically to preserve battery life.
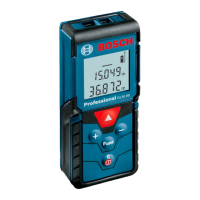
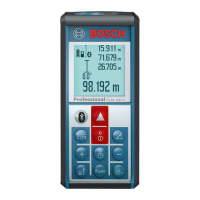
Selecting the reference level (see figureA)
You can choose between four different reference levels for
the measurement:
– The rear edge of the measuring tool or the front edge of
the measuring pin (9) when it has been folded out by 90°
(e.g. when applying the tool to outer corners)
– The tip of the measuring pin (9) when it has been folded
180° (e.g. when measuring from a corner)
– The front edge of the measuring tool (e.g. when measur-
ing from a table edge)
– The centre of the thread (19) (e.g. for tripod measure-
ments)
To select the reference level, press the button (10) until the
required reference level is shown on the display. The rear
edge of the measuring tool is pre-set as the reference level
every time the measuring tool is switched on.
It is not possible to make a retrospective alteration to the ref-
erence level for measurements that have already been taken
(e.g. when displaying measured values in the measured
value list).
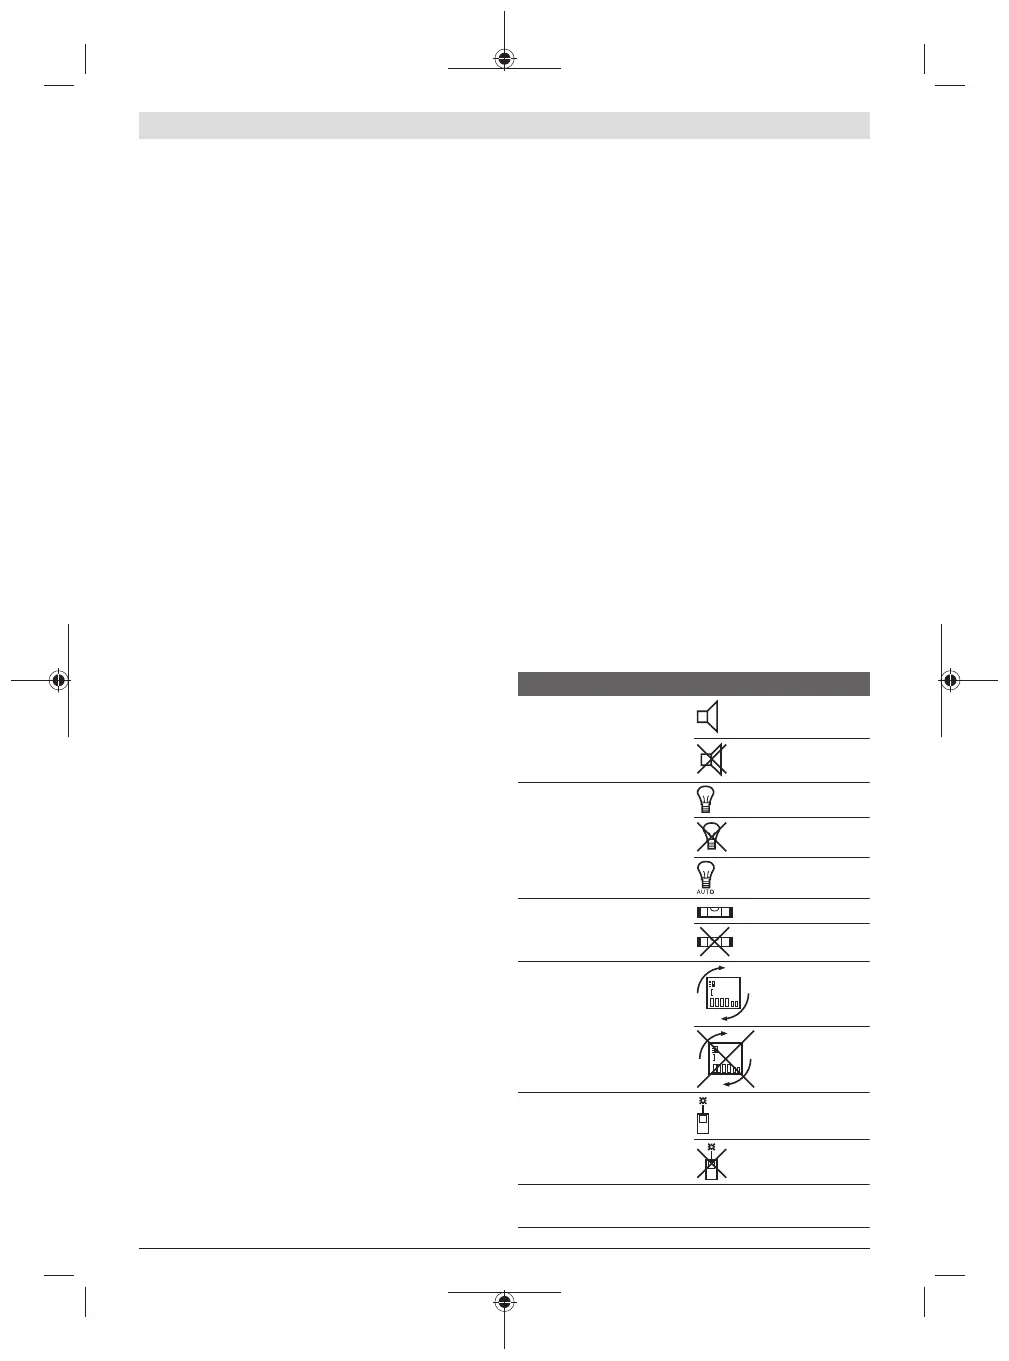
Basic settings menu
To enter the basic settings menu, press and hold the button
for basic settings (4).
Briefly press the basic settings button (4) to select the indi-
vidual menu items.
Press the minus button (5) or the plus button (11) to select
the setting within the menu items.
To exit the basic settings menu, press the measuring button
(2).
Basic settings
Audio signals On
Off
Display illumination On
Off
Automatically
on/off
Digital spirit level On
Off
Display rotation On
Off
Continuous laser beam On
Off
Unit of distance (depending
on country version)
m, ft, inch, etc.
Bosch Power Tools 1 609 92A 544 | (27.05.2019)
 Loading...