Installation 41/60
RE 92714-01-B/04.2018, A10VO, A10VSO, A10VSNO Series 32, Bosch Rexroth AG
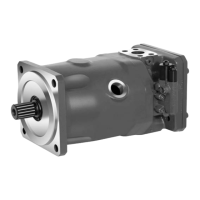
If necessary, you can change the position of the connector by turning the solenoid
body. This is independent of the connector version.
CAUTION! Hot surfaces on the solenoid!
Risk of burns!
▶ Allow the solenoid to cool down sufficiently before touching it.
▶ Wear heat-resistant protective clothing, e.g., gloves.
To do this, proceed as follows:
1. Loosen the mounting nut (1) of the solenoid. To do this, turn the mounting nut
(1) one turn counter-clockwise.
2. Turn the solenoid body (2) to the desired orientation.
3. Re-tighten the mounting nut. Tightening torque of the mounting nut: 5+1 Nm.
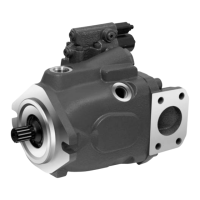
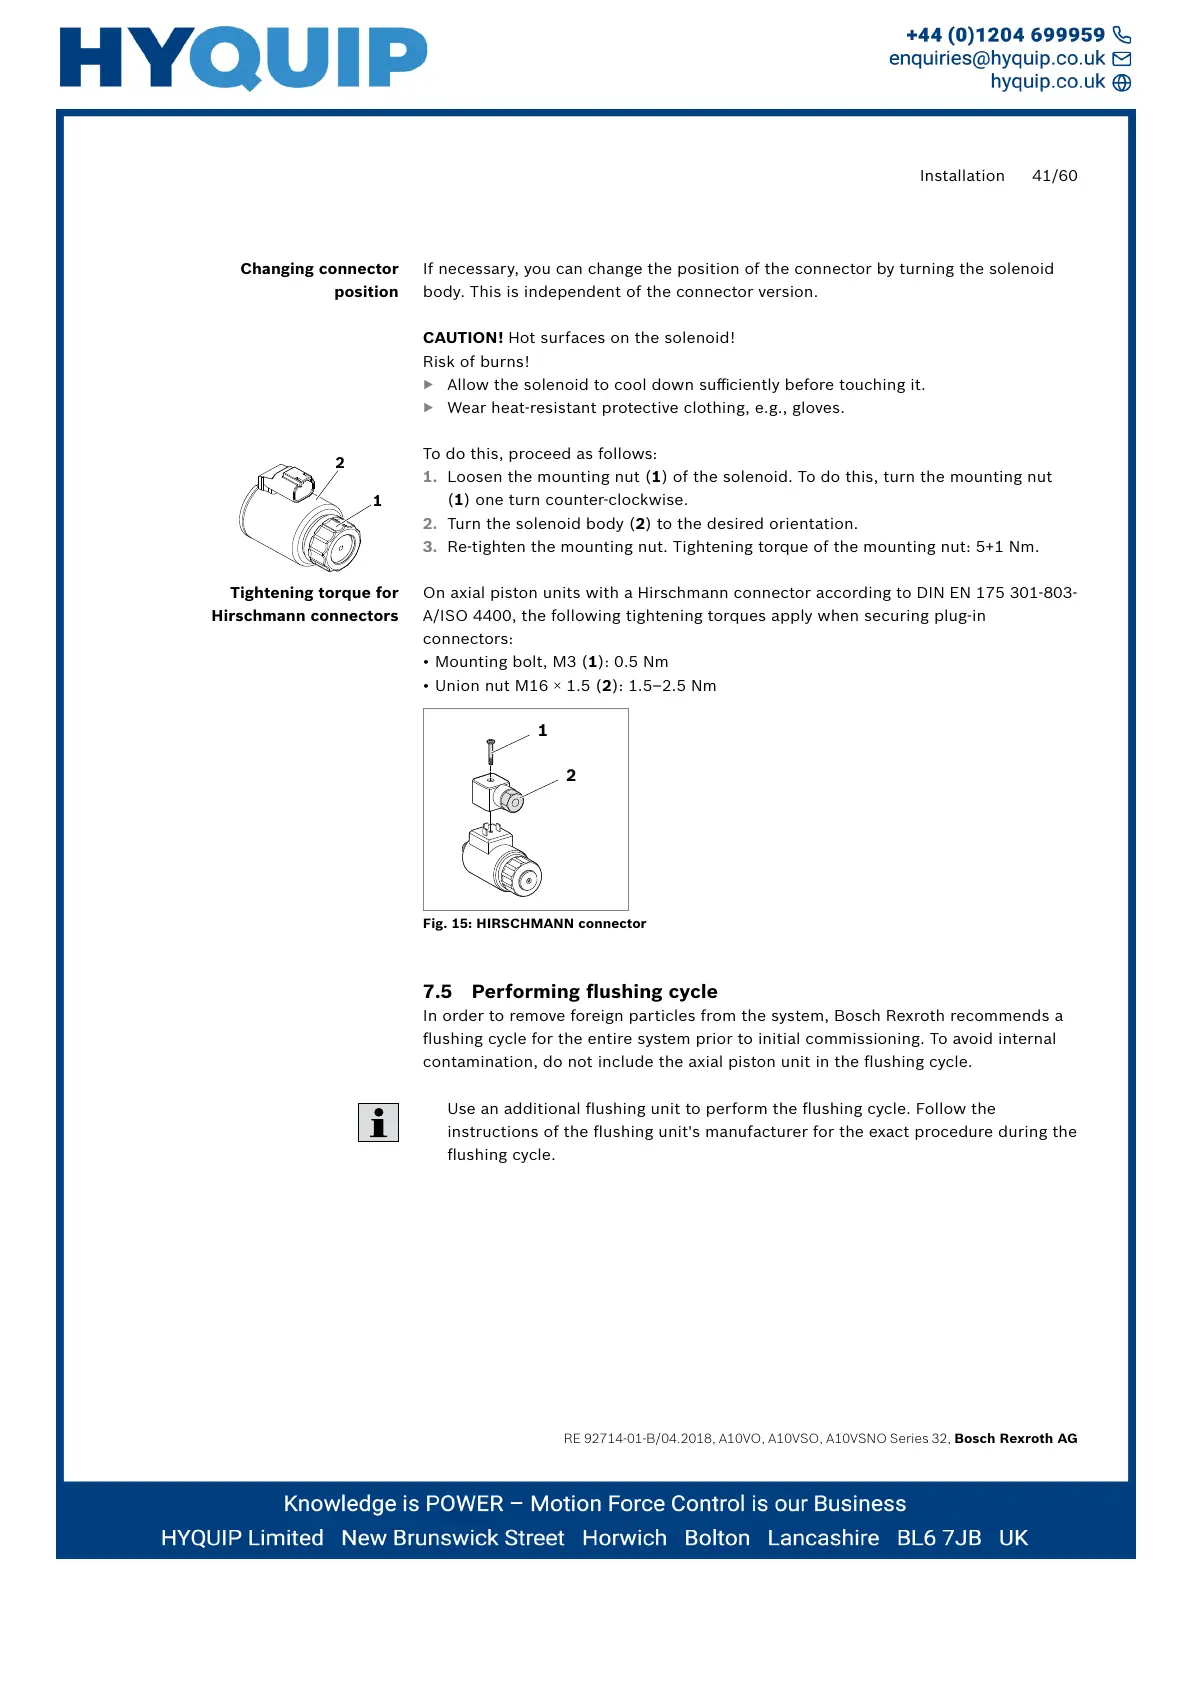
On axial piston units with a Hirschmann connector according to DIN EN 175 301-803-
A/ISO 4400, the following tightening torques apply when securing plug-in
connectors:
• Mounting bolt, M3 (1): 0.5 Nm
• Union nut M16 × 1.5 (2): 1.5–2.5 Nm
1
2
Fig. 15: HIRSCHMANN connector
7.5 Performing flushing cycle
In order to remove foreign particles from the system, Bosch Rexroth recommends a
flushing cycle for the entire system prior to initial commissioning. To avoid internal
contamination, do not include the axial piston unit in the flushing cycle.
Use an additional flushing unit to perform the flushing cycle. Follow the
instructions of the flushing unit's manufacturer for the exact procedure during the
flushing cycle.
Changing connector
position
1
2
Tightening torque for
Hirschmann connectors