10
WALL INSTALLATION
EnglishEspañolItaliano DeutschFrançaisNederlandsKorean ThaiArabic S. Chin
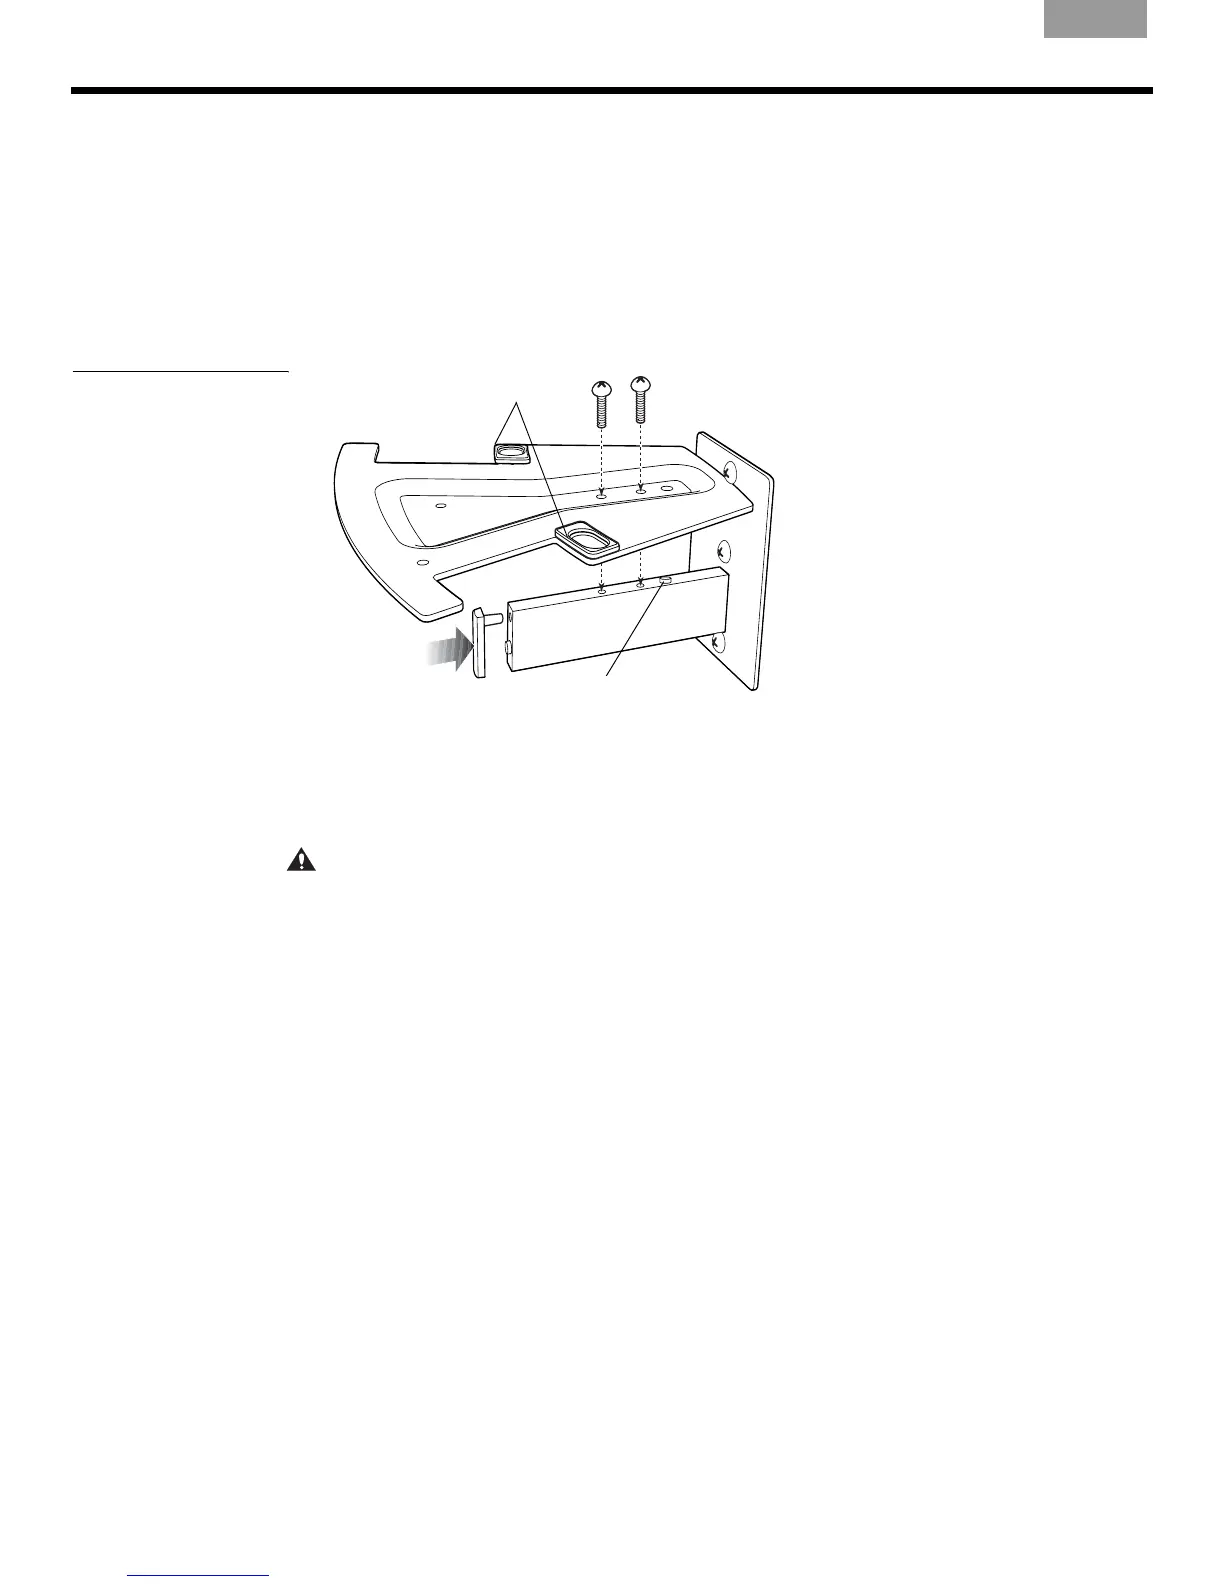
Finalizing the wall bracket assembly
You are now ready to assemble the bracket, using the two assembly screws:
1. Attach the end cap to the end of the mounting assembly bar (Figure 11).
2. Place the bottom of the platform on top of the mounting assembly bar so that the rear
hole on the platform fits onto the alignment pin on top of the bar.
3. Insert the two screws from above the platform and tighten both to hold the platform
securely in place.
Figure 11
Wall bracket assembly
Alignment pin
Assembly screws
Platform
Mounting
assembly
End cap
Footpads
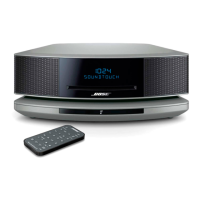
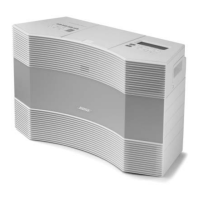
Securing your Wave
®
product to the bracket
With the bracket securely mounted, be sure to add the bracing pin, as instructed below, for
increased stability when you place your Wave
®
system on the platform. Do not use the pin
with a Wave
®
music system and a Multi-CD Changer combination.
CAUTION:
Be sure to insert the pin only in the bracket platform hole that is appropriate for your
system.
For the Wave
®
music system or Wave
®
radio II, use the hole shown (Figure 12). !
For a Wave
®
radio/CD, use the hole near the center of the bracket platform, instead.
1. When you have located the proper hole on the platform, press the two halves of the pin
together and fit them through this hole. The pin snaps into place.
2. Lower your Wave
®
system onto the platform, making sure it engages the pin and that the
back feet of the Wave
®
system rest securely inside the foot pads on the platform.
 Loading...