7
ArabicKoreanNederlands S. ChinThaiItalianoEspañol FrançaisEnglish Deutsch
WALL INSTALLATION
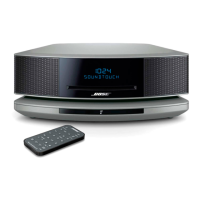
When the Wave
®
product you are using is properly secured to the bracket, plug the system
power cord into an AC wall outlet. For any remaining length of cord, be sure to use the !
supplied plastic straps and mounting pads (Figure 8). Loosely bundle the cord and attach it
where it will not hang down or be seen.
Figure 8
Bundling and attaching any
loose cord
Mounting pad
Plastic strap
Power cord
Avoid tightly bundling the cord, which contains the FM antenna.
Mounting the bracket on a wall
In a wall mounting, the front of your Wave
®
system measures 12 inches (30.5 cm) from the
rear of the mounting assembly. On either side, your Wave
®
system measures 7¼ inches !
(18.4 cm) from the center of the platform.
WARNING:
For use of the bracket with a Wave
®
music system and Multi-CD Changer, do NOT
mount the bracket directly to wall board (sheetrock). For this purpose, use the type of surface
and mounting hardware described in B or C on page 8. Also, for this purpose, do NOT mount the
bracket on a wall under a cabinet.
Before drilling any holes:
1. Remove the assembly screws and Caution card from the mounting assembly. !
Save both screws for use in assembling the bracket.
2. Position the mounting assembly where you want it on the wall. !
You may use a carpenter’s level to make sure the assembly is straight.
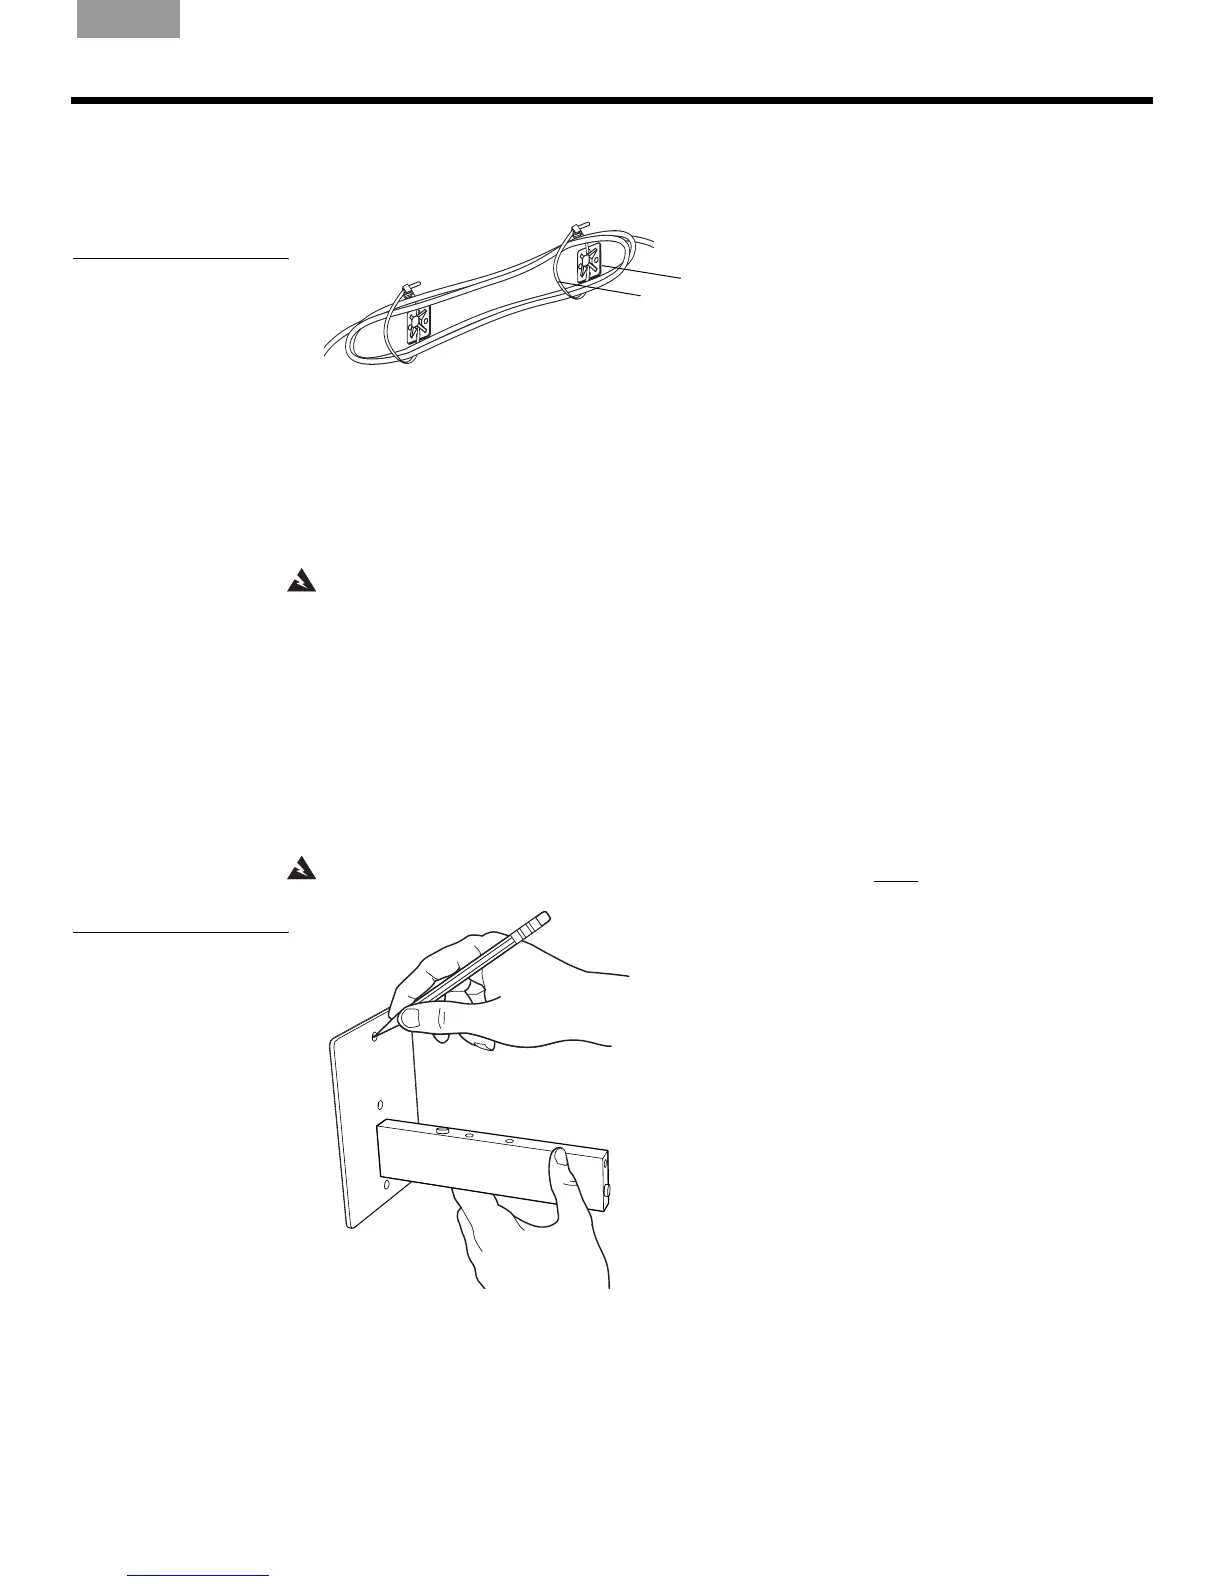
3. Mark the three drill holes with a pencil (Figure 9).
WARNING: Do NOT use the mounting assembly as a template while drilling.
Figure 9
Marking drill holes for wall
mounting
 Loading...